Click here to go straight to my PDF test prints!
It includes 8 files: 8.5"x11" folio pre- and post-imposition, 12"x18" octavo pre- and post-imposition, 12"x18" quarto pre- and post-imposition, and 12"x18" folio pre- and post-imposition
After determining that I wanted to print and bind my own family history books I had to upgrade my 10-year-old office printer to something better suited for printing fine art books. My husband did most of the leg work to narrow down printer options to only a few options, and we ultimately settled on the Epson ET-8550. This printer can print up to 13"x19" (A3+) paper, uses ink tanks instead of cartridges, includes two extra ink colors (two types of black ink and a grey), and is reasonably priced. Keith Cooper gives a very detailed review of the Epson ET-8550 on his YouTube Channel. For me, this fit all my needs for printing my own books.
Once I got my new printer, I needed to see what it’s limits were. Primarily: how big can I actually print (which affects the final sizes of my books)? and how do I actually print the signatures?
How Big Can You Actually Print on the Epson ET-8550?
Technically, this printer accepts paper up to 13"x19" (A3+), which is a great size, but many printers must print with margin. One of the other reasons I bought the Epson ET-8550 is because it claimed it supported edge-to-edge printing, but all the instructions I could find on borderless printing were geared towards printing on photo paper. In order to print books I needed to know if there was going to be a border and how big it’d be so I could properly set up my book imposition templates to account for it.
Printing Borderless Documents
I found that printing documents edge-to-edge was not as intuitive of a process as printing photos seemed to be. When printing photos most of the presets for printing on photo paper include borderless printing, or have an option for borderless. However, there is no borderless printing option for printing a document.
After a lot of trial and error, I found that I could print a document borderless if I printed each page one at a time. There were no settings to change and the printer did this regardless of my margin settings or paper size, even when the preview showed margins.
Great! Now I could print edge-to-edge posters and books that fit onto a single sheet, but what about larger books? Well, unfortunately, I had to manually select and print each page individually. All settings being equal, printing them one at a time makes them borderless where printing the whole document at the same time results in a border. (At least for large pages. I did notice that single 8.5”x11” paper did print with a border, so there’s some sort of size cut off for this method.)
Limitations of Borderless Printing
Through my research I also learned that in order to do borderless printing, there’s a special pad in the machine to wipe off ink to prevent ink smearing. This pad fills up over time and is one of the few pieces on the machine that is not replaceable. This means that once the pad is full I won’t be able to print borderless until I send my entire printer into Epson to get the pad replaced. I’m not sure how many prints the pad will actually cover, and I couldn’t find any definitive answer online either. One thing to keep in mind for determining if printing a particular book borderless is necessary.
Because of this and the fact that I’d have to print each page one at a time, I decided that the 1/4 inch margin was easy enough to cut off after the fact.
Steps For Printing Book Signatures for Bookbinding on an Epson ET-8550
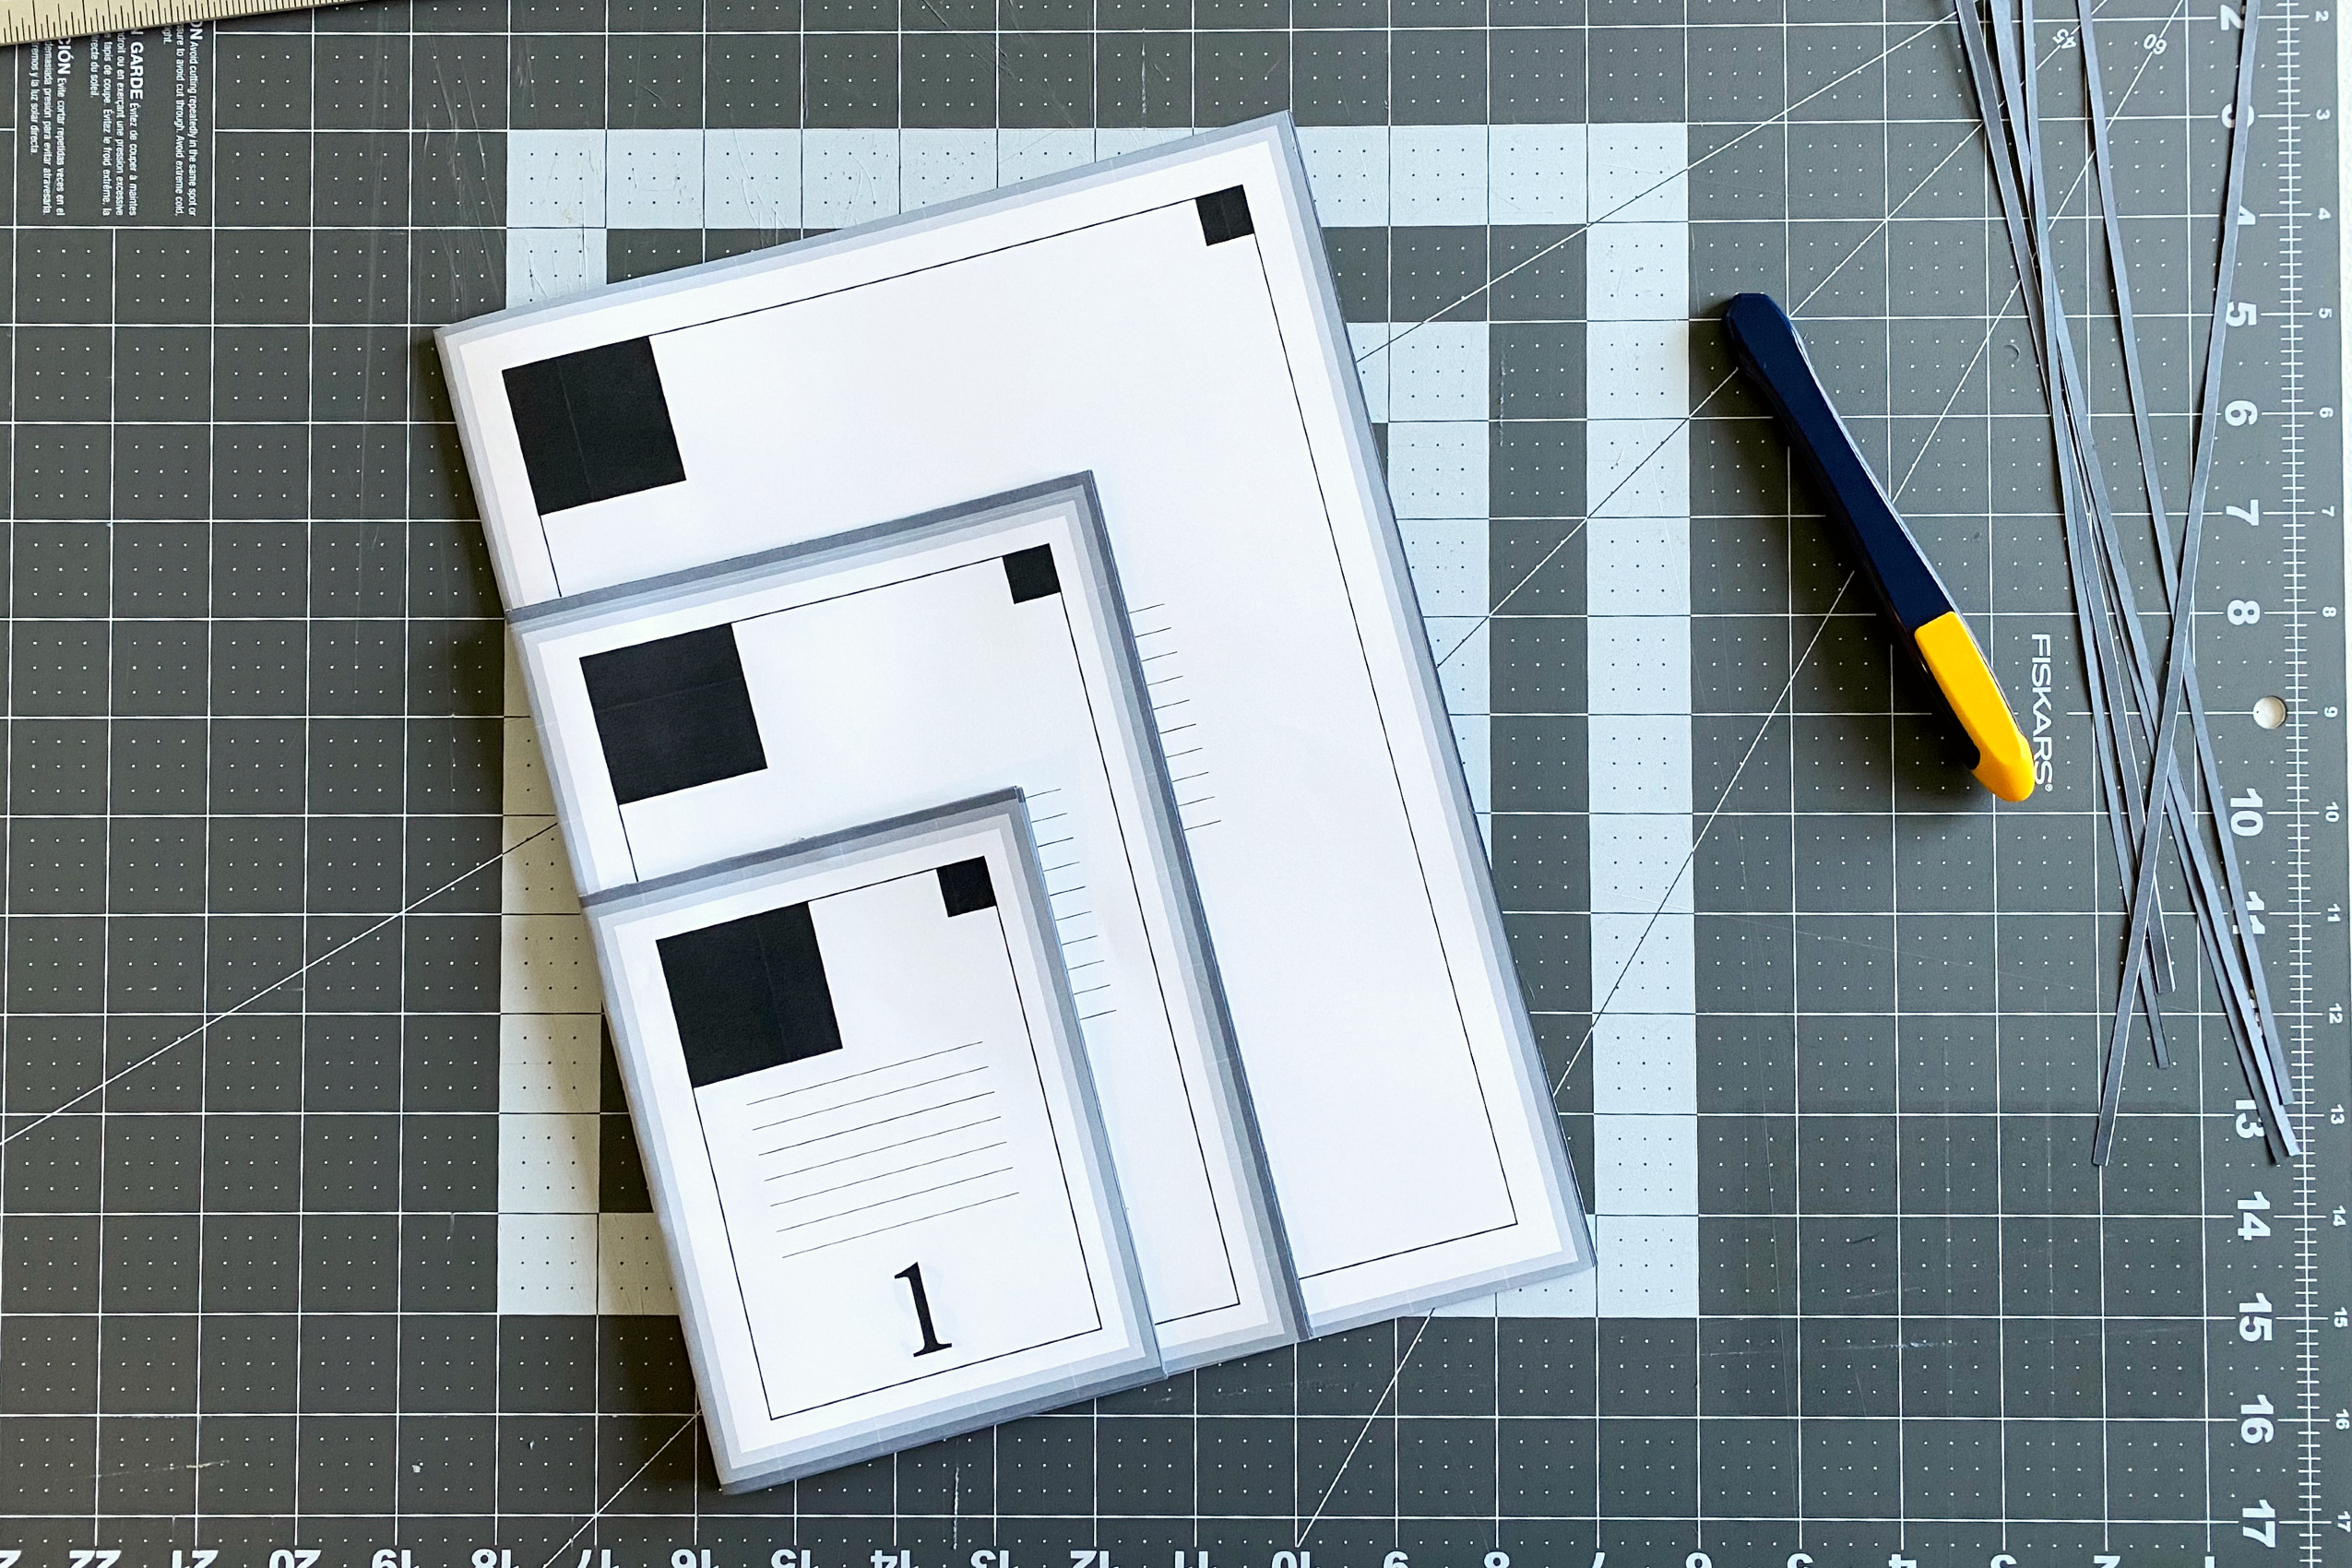
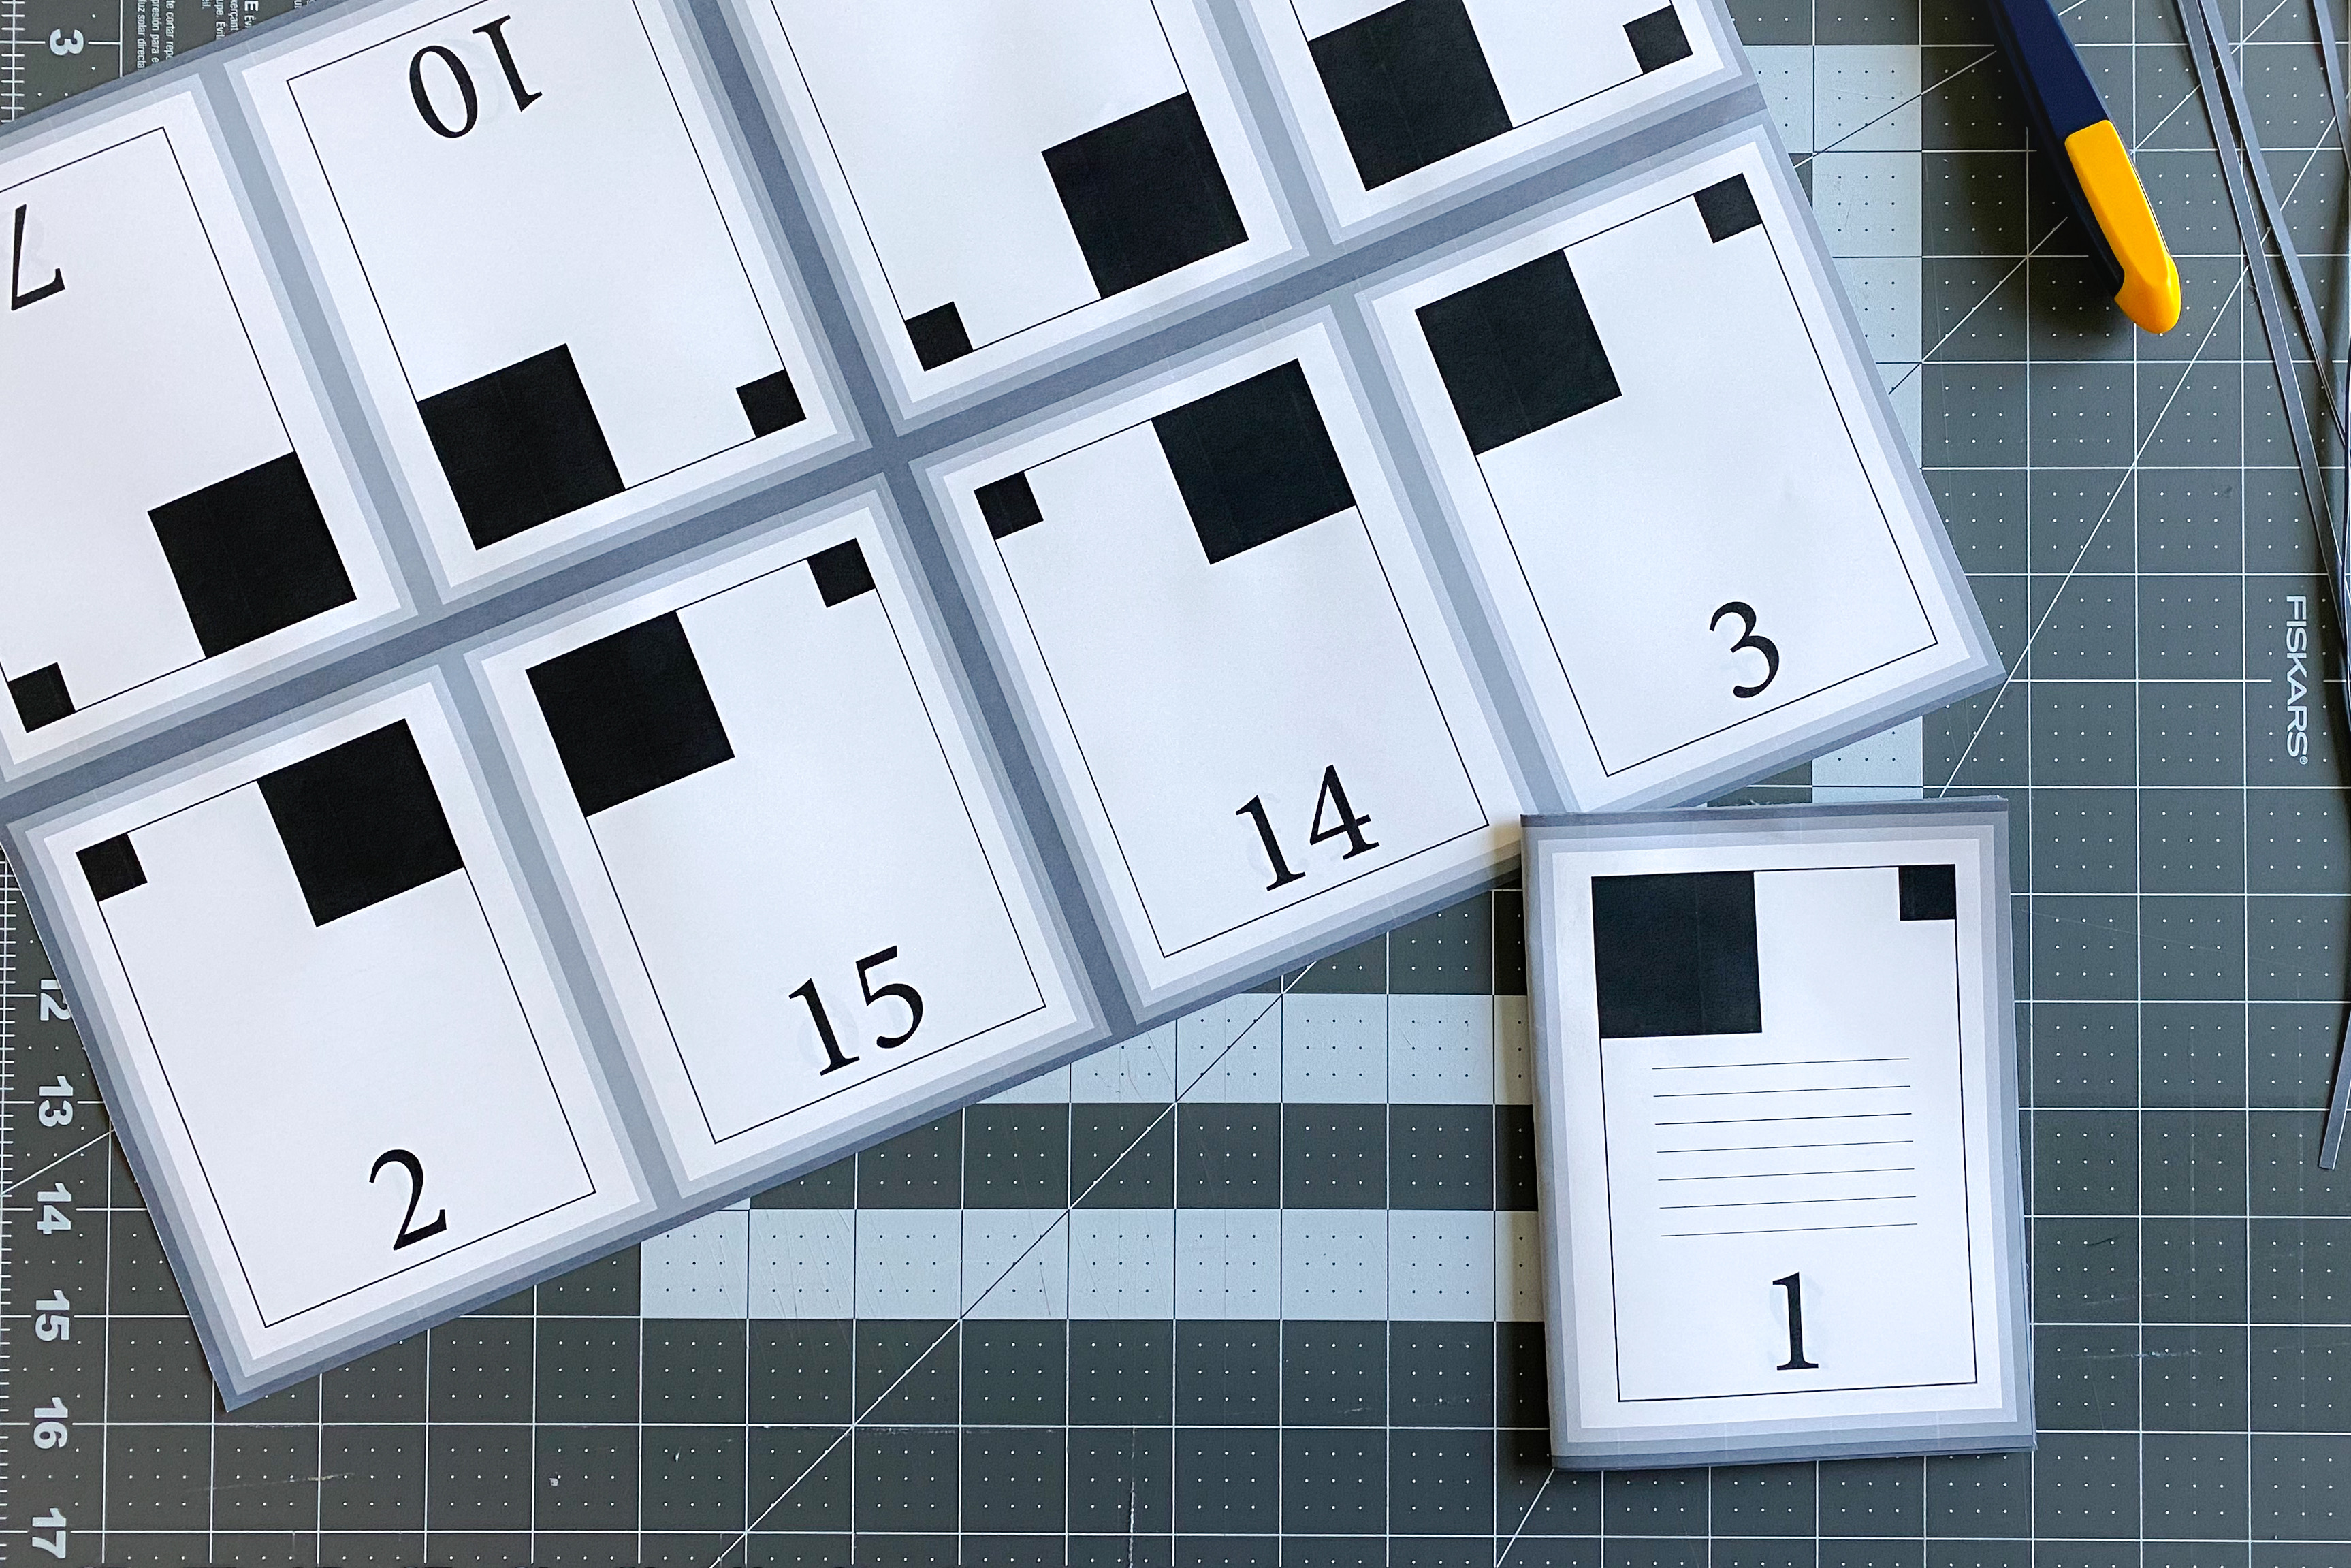
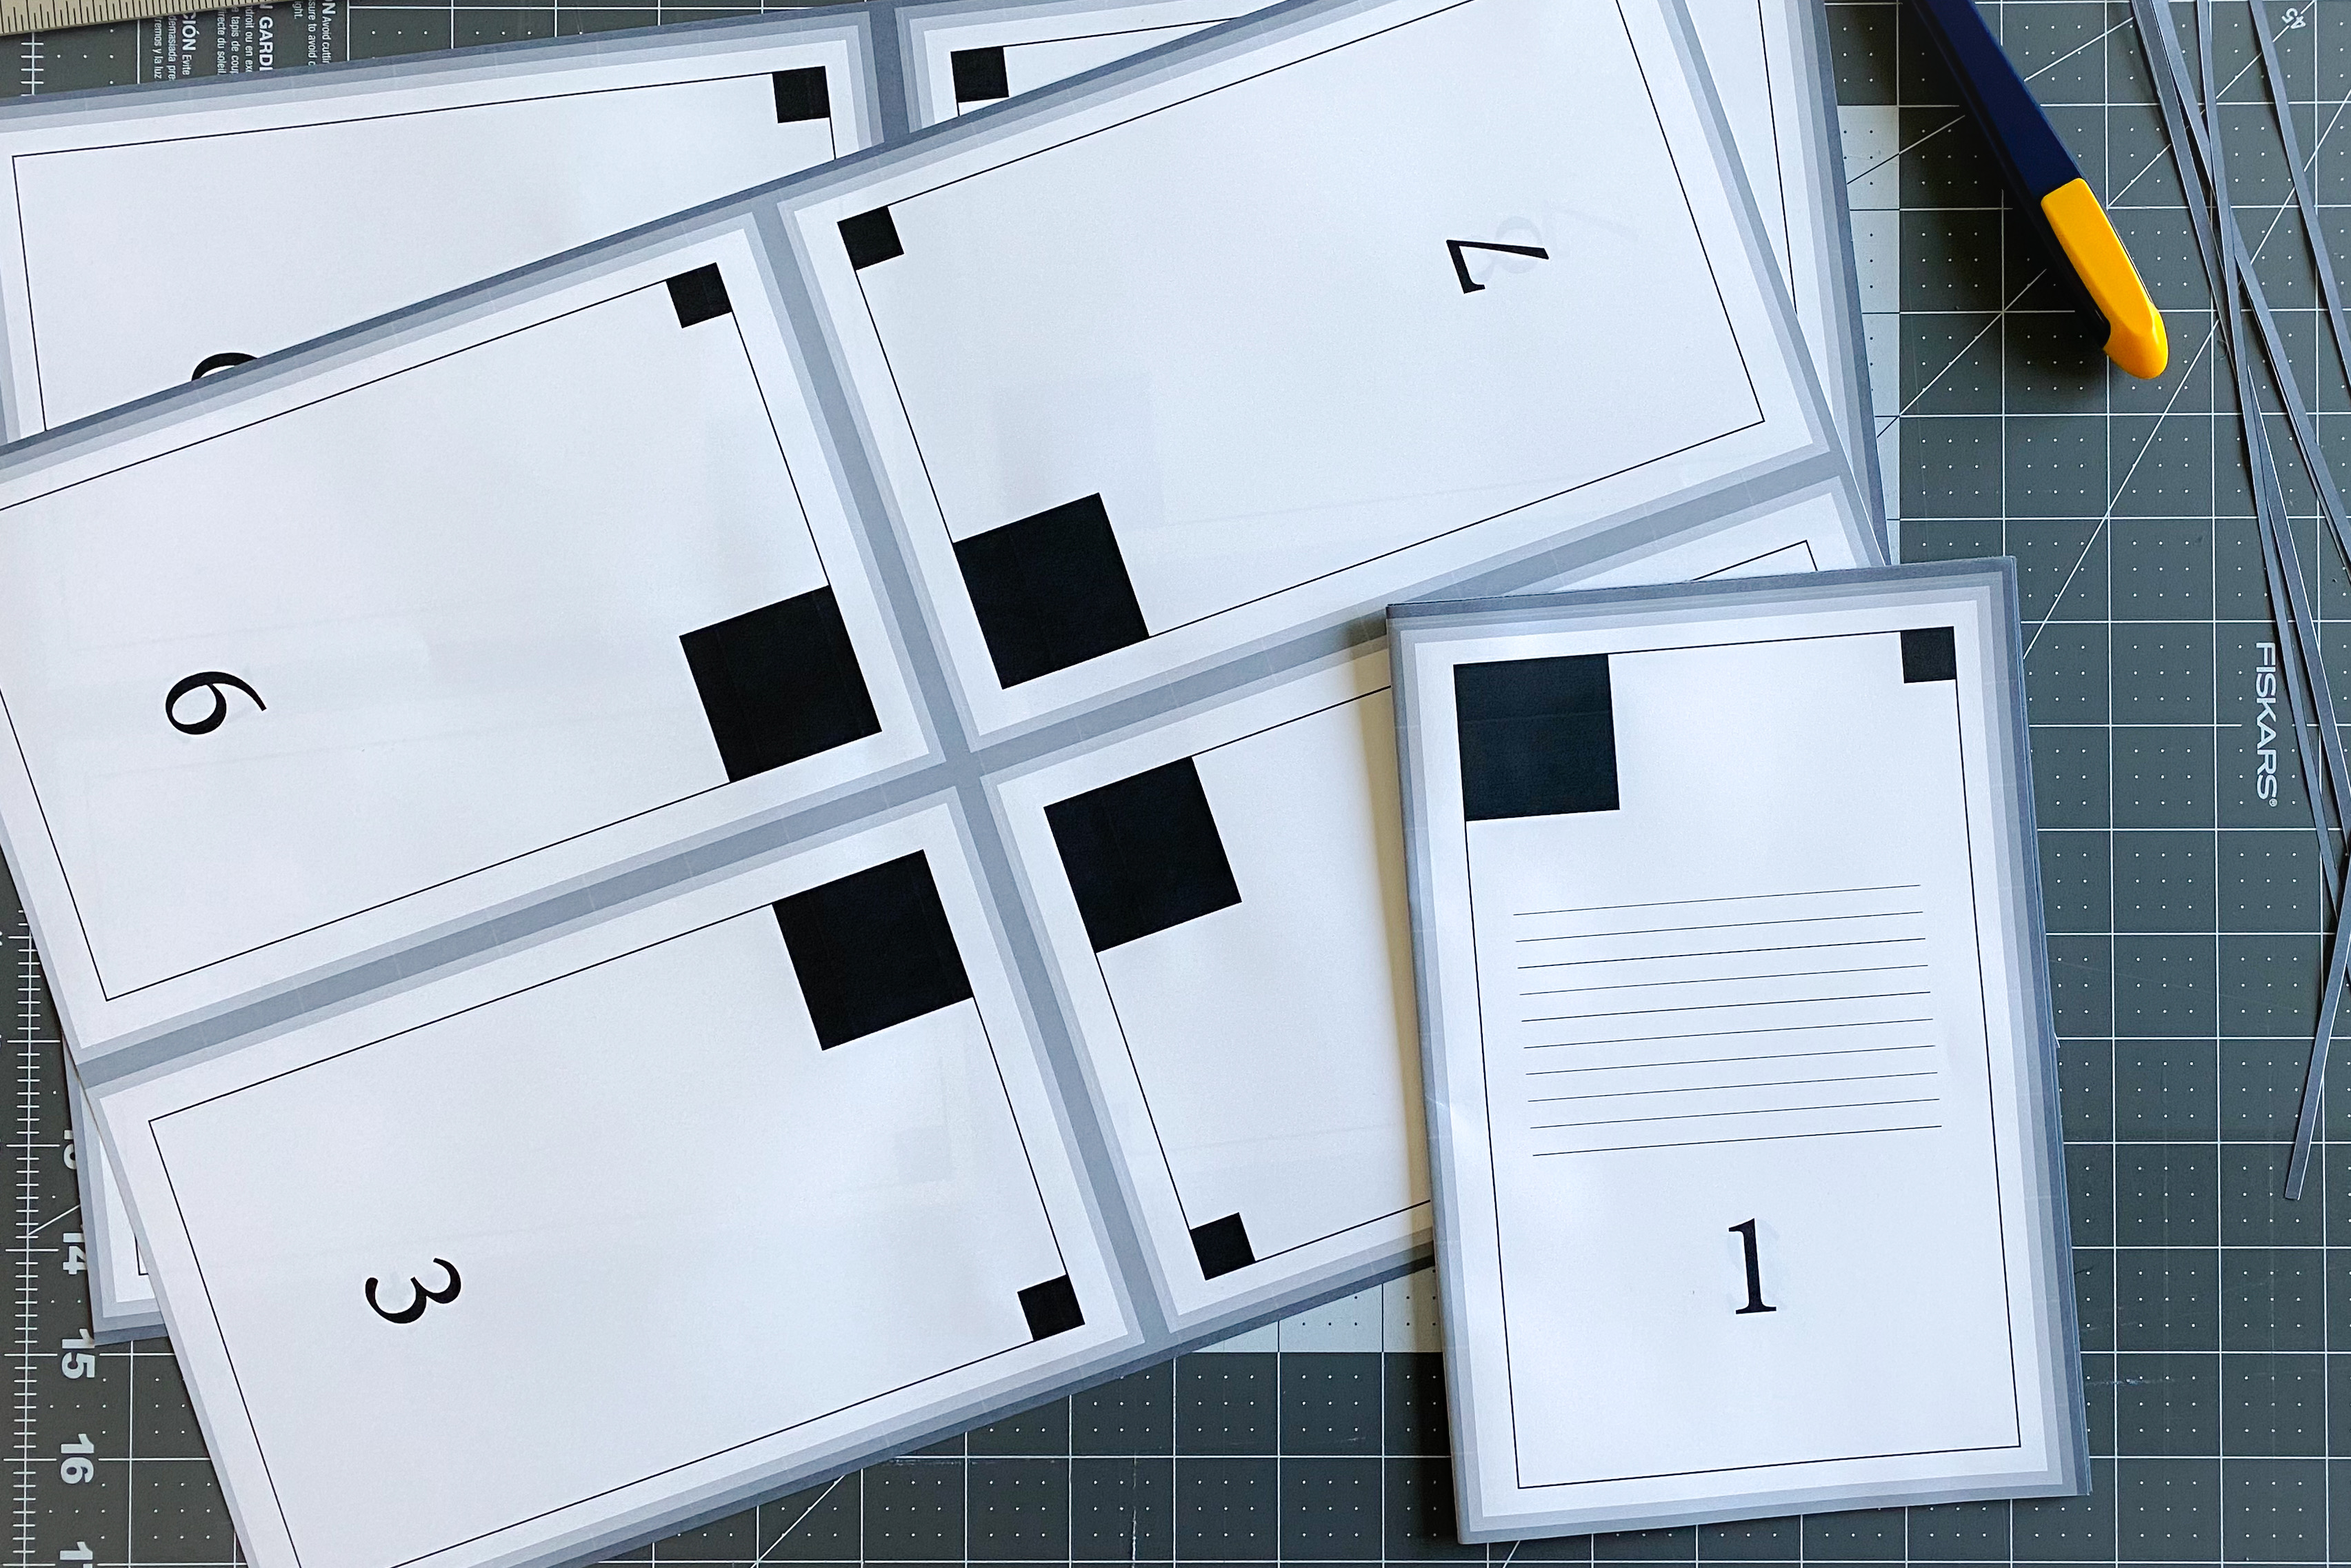
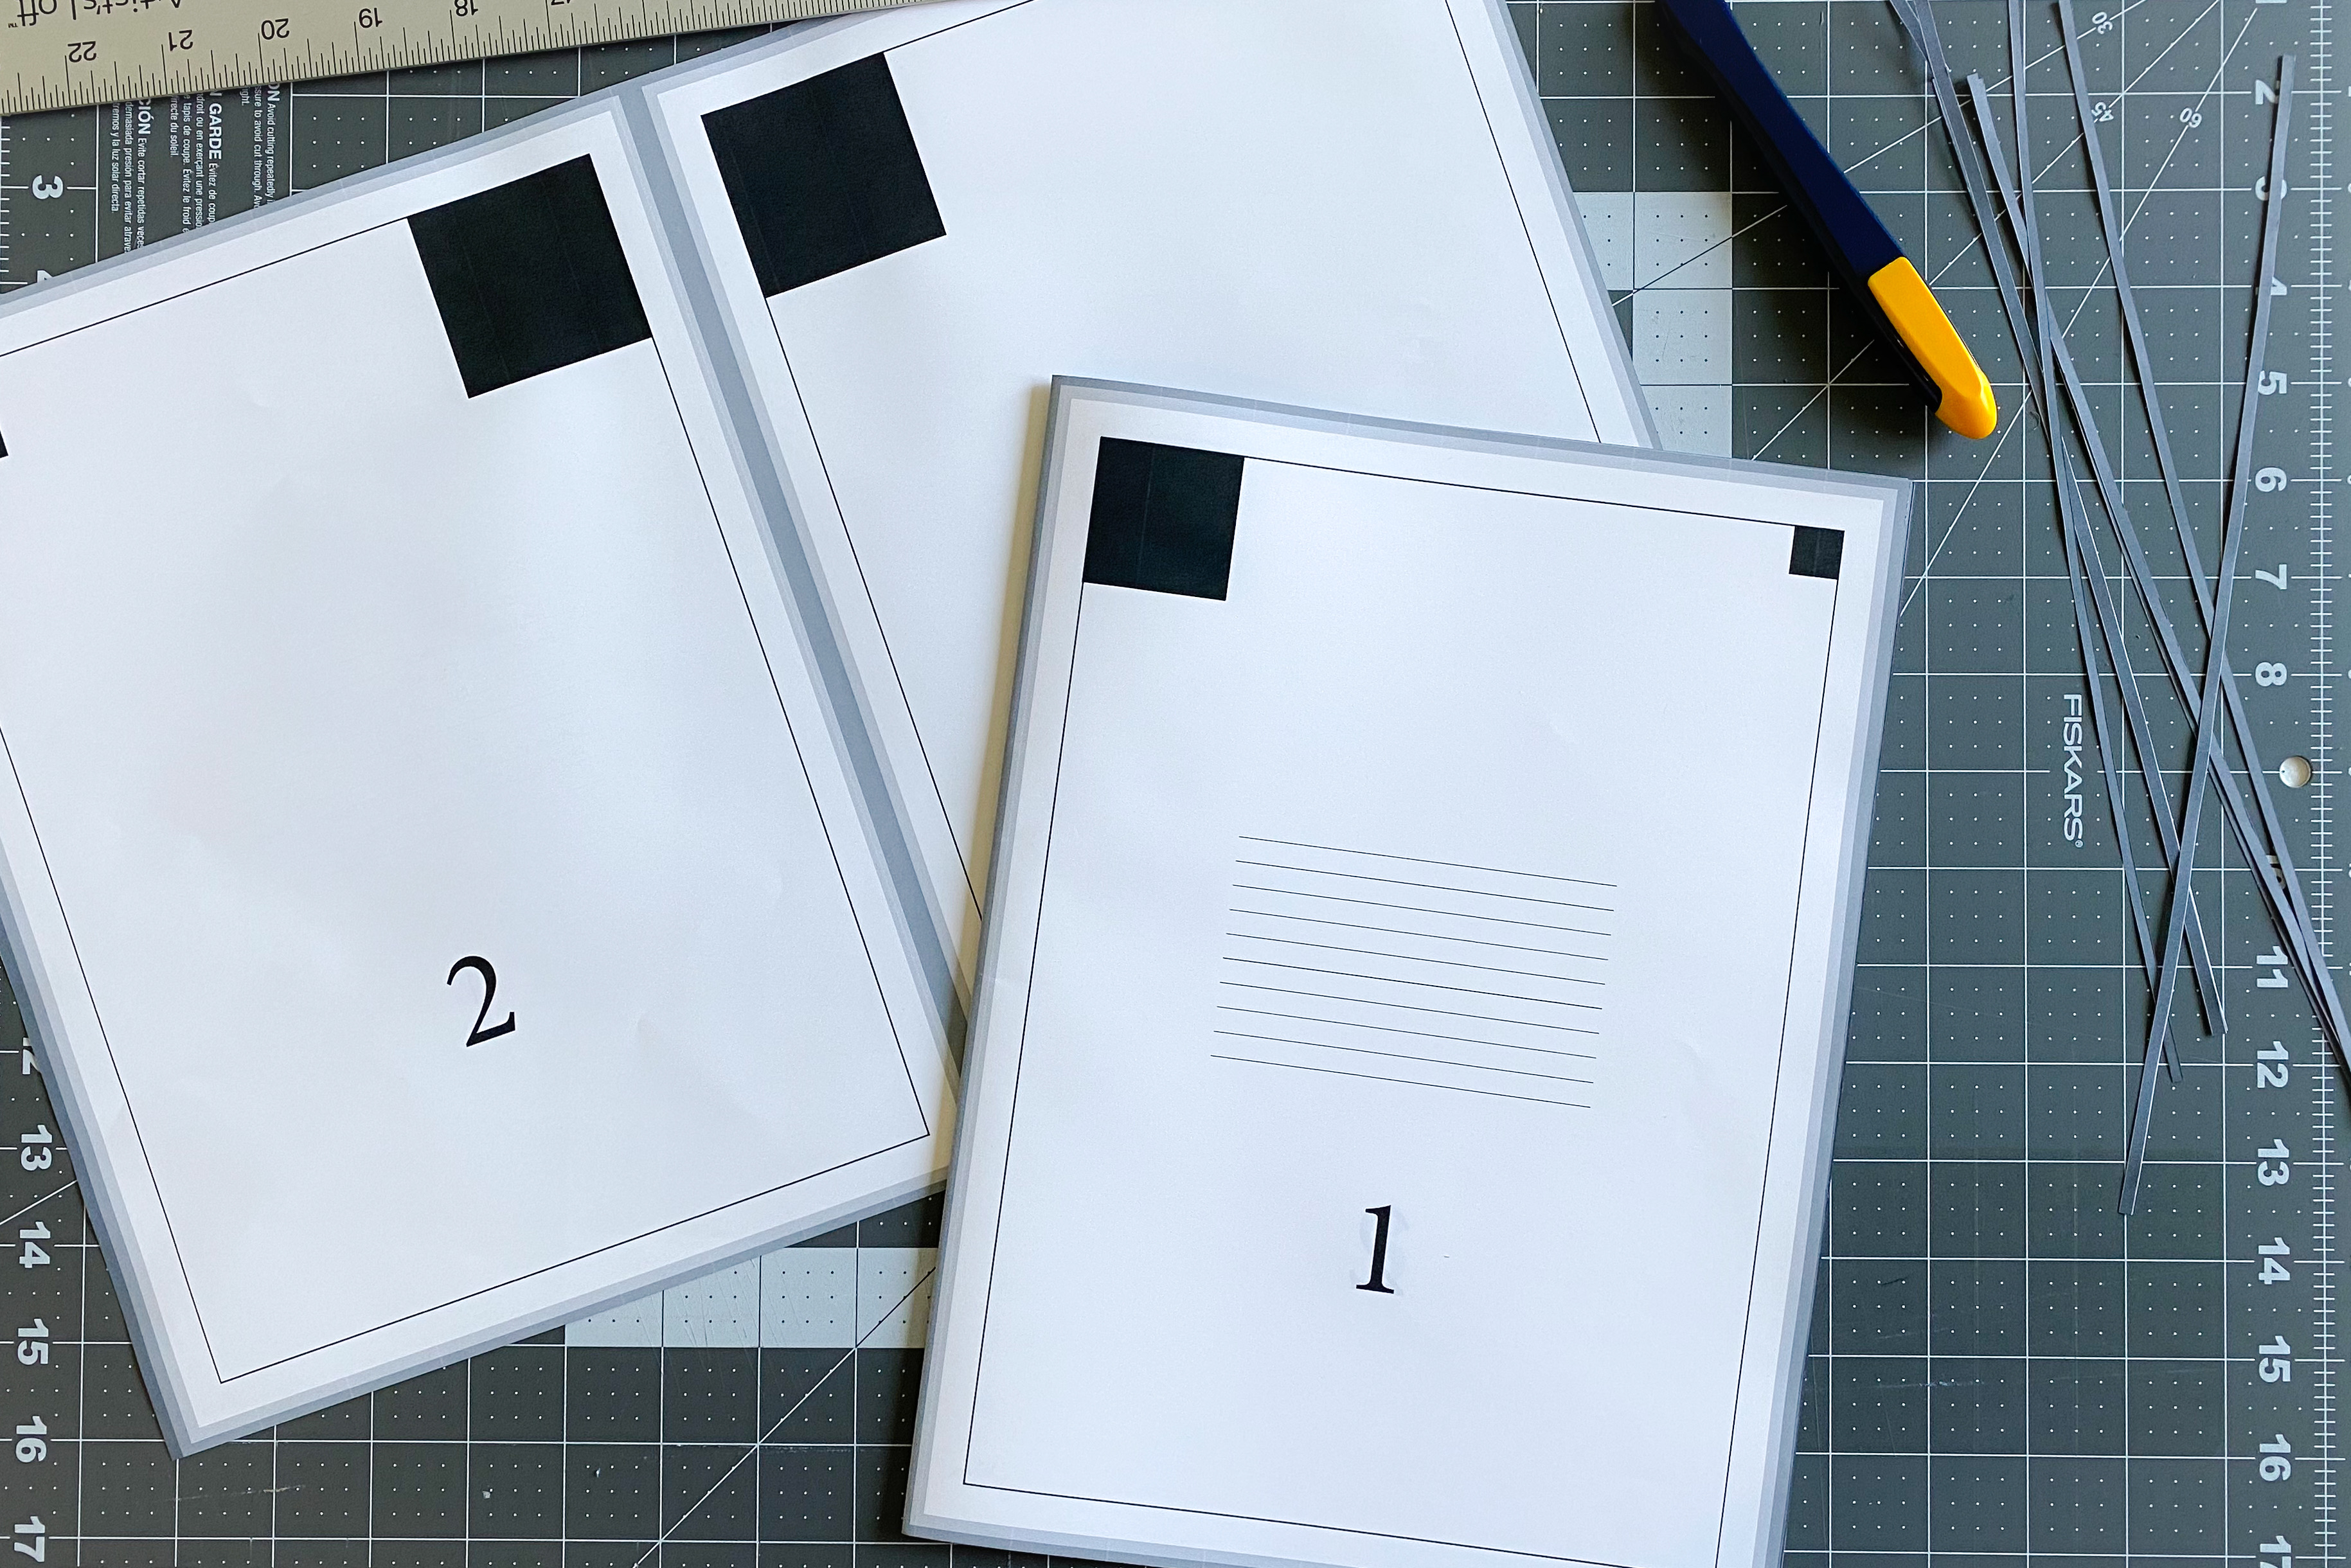
Printing signatures hurts my brain a little, so I created several test files to make sure that I knew how to load, feed and fold the paper correctly so that my signatures were lined up correctly. I’ve made these available for $0.99 on my Etsy shop. The PDF test files have a pre-imposed version of the book and an imposed version for verifying that the imposition software is working correctly.
I spent some time researching imposition software, and I finally found one called bookbinder.js that had only what I needed and was free. It doesn’t have an enormous amount of bells and whistles required by professional print shops, but just enough for a hobbyist.
Supplies
- PDF test files for folio, quarto and octavo sizes and the result files
- bookbinder.js opened
- 12"x18" test paper (I use Hammermill Copy Paper and it does the job.)
The print settings I use are on a Mac printing from the Preview app using the default print dialogue.
Step 1: Imposing the Document
Imposition is the process of arranging multiple ordered pages and on larger sheets of paper. After printing, the larger sheets are then folded and cut down to the final book size. When the imposition process is done correctly, the final pages will be in order.
- Navigate to bookbinder.js in the browser.
- Under “File Info”
- For the input file, use the non-imposed PDF test file for the desired book size (e.x. folio, quarto or octavo).
- Under “Printer”
- Set the paper size to “Arch_B (864 x 1296 pt),” which is the equivalent of 12”x18” paper.
- Set the printer type to “single sided”
- Under “Page Layout”
- Select the option that matches the test file (e.x. folio, quarto or octavo).
- Under “Signature Format”
- Select “Standard Signatures”
- For the length, put in 4 for folio, 2 for quarto and 1 for octavo (there should be 16 sheets of cut paper for each section)
Step 2: Configuring Printer Settings
- Before printing, it’s helpful to have already calibrated the printer. I just used their default calibration setup.
- Add a new page profile for printing on 12"x18" plain paper.
- Double check other print settings before beginning. I lower the ink density to -1 and turn off bidirectional printing because those have worked best for my prints in the past.
Step 3: Printing Side 1
“Pages”
- print all
- print in color: on
- double-sided: off
- paper size: set up a new profile that has .25 margins, 12" width and 18" length (this should match the printer settings)
- orientation: portrait
“Preview”
- auto rotate: checked
- scale: 97%
“Media & Quality”
- Feed: Rear Tray
- Media Type: Plain Paper
- Quality: Best
“Layout”
- 1 page per sheet
“Paper Handling”
- Collation Off
- All Sheets
- Normal sheet order
Issue where the printer only prints every other page.
I’m not sure why my printer does this, but whenever I’m printing these larger paper sizes it skips every other page regardless of my settings. To get around this I duplicate each page in the PDF, so when it skips a page, it’s skipping one it’s already printed.
It did not have this problem with printing on 11”x17” pages, so there must be an magic size cutoff for this weird issue.
Step 4: Flipping the Paper
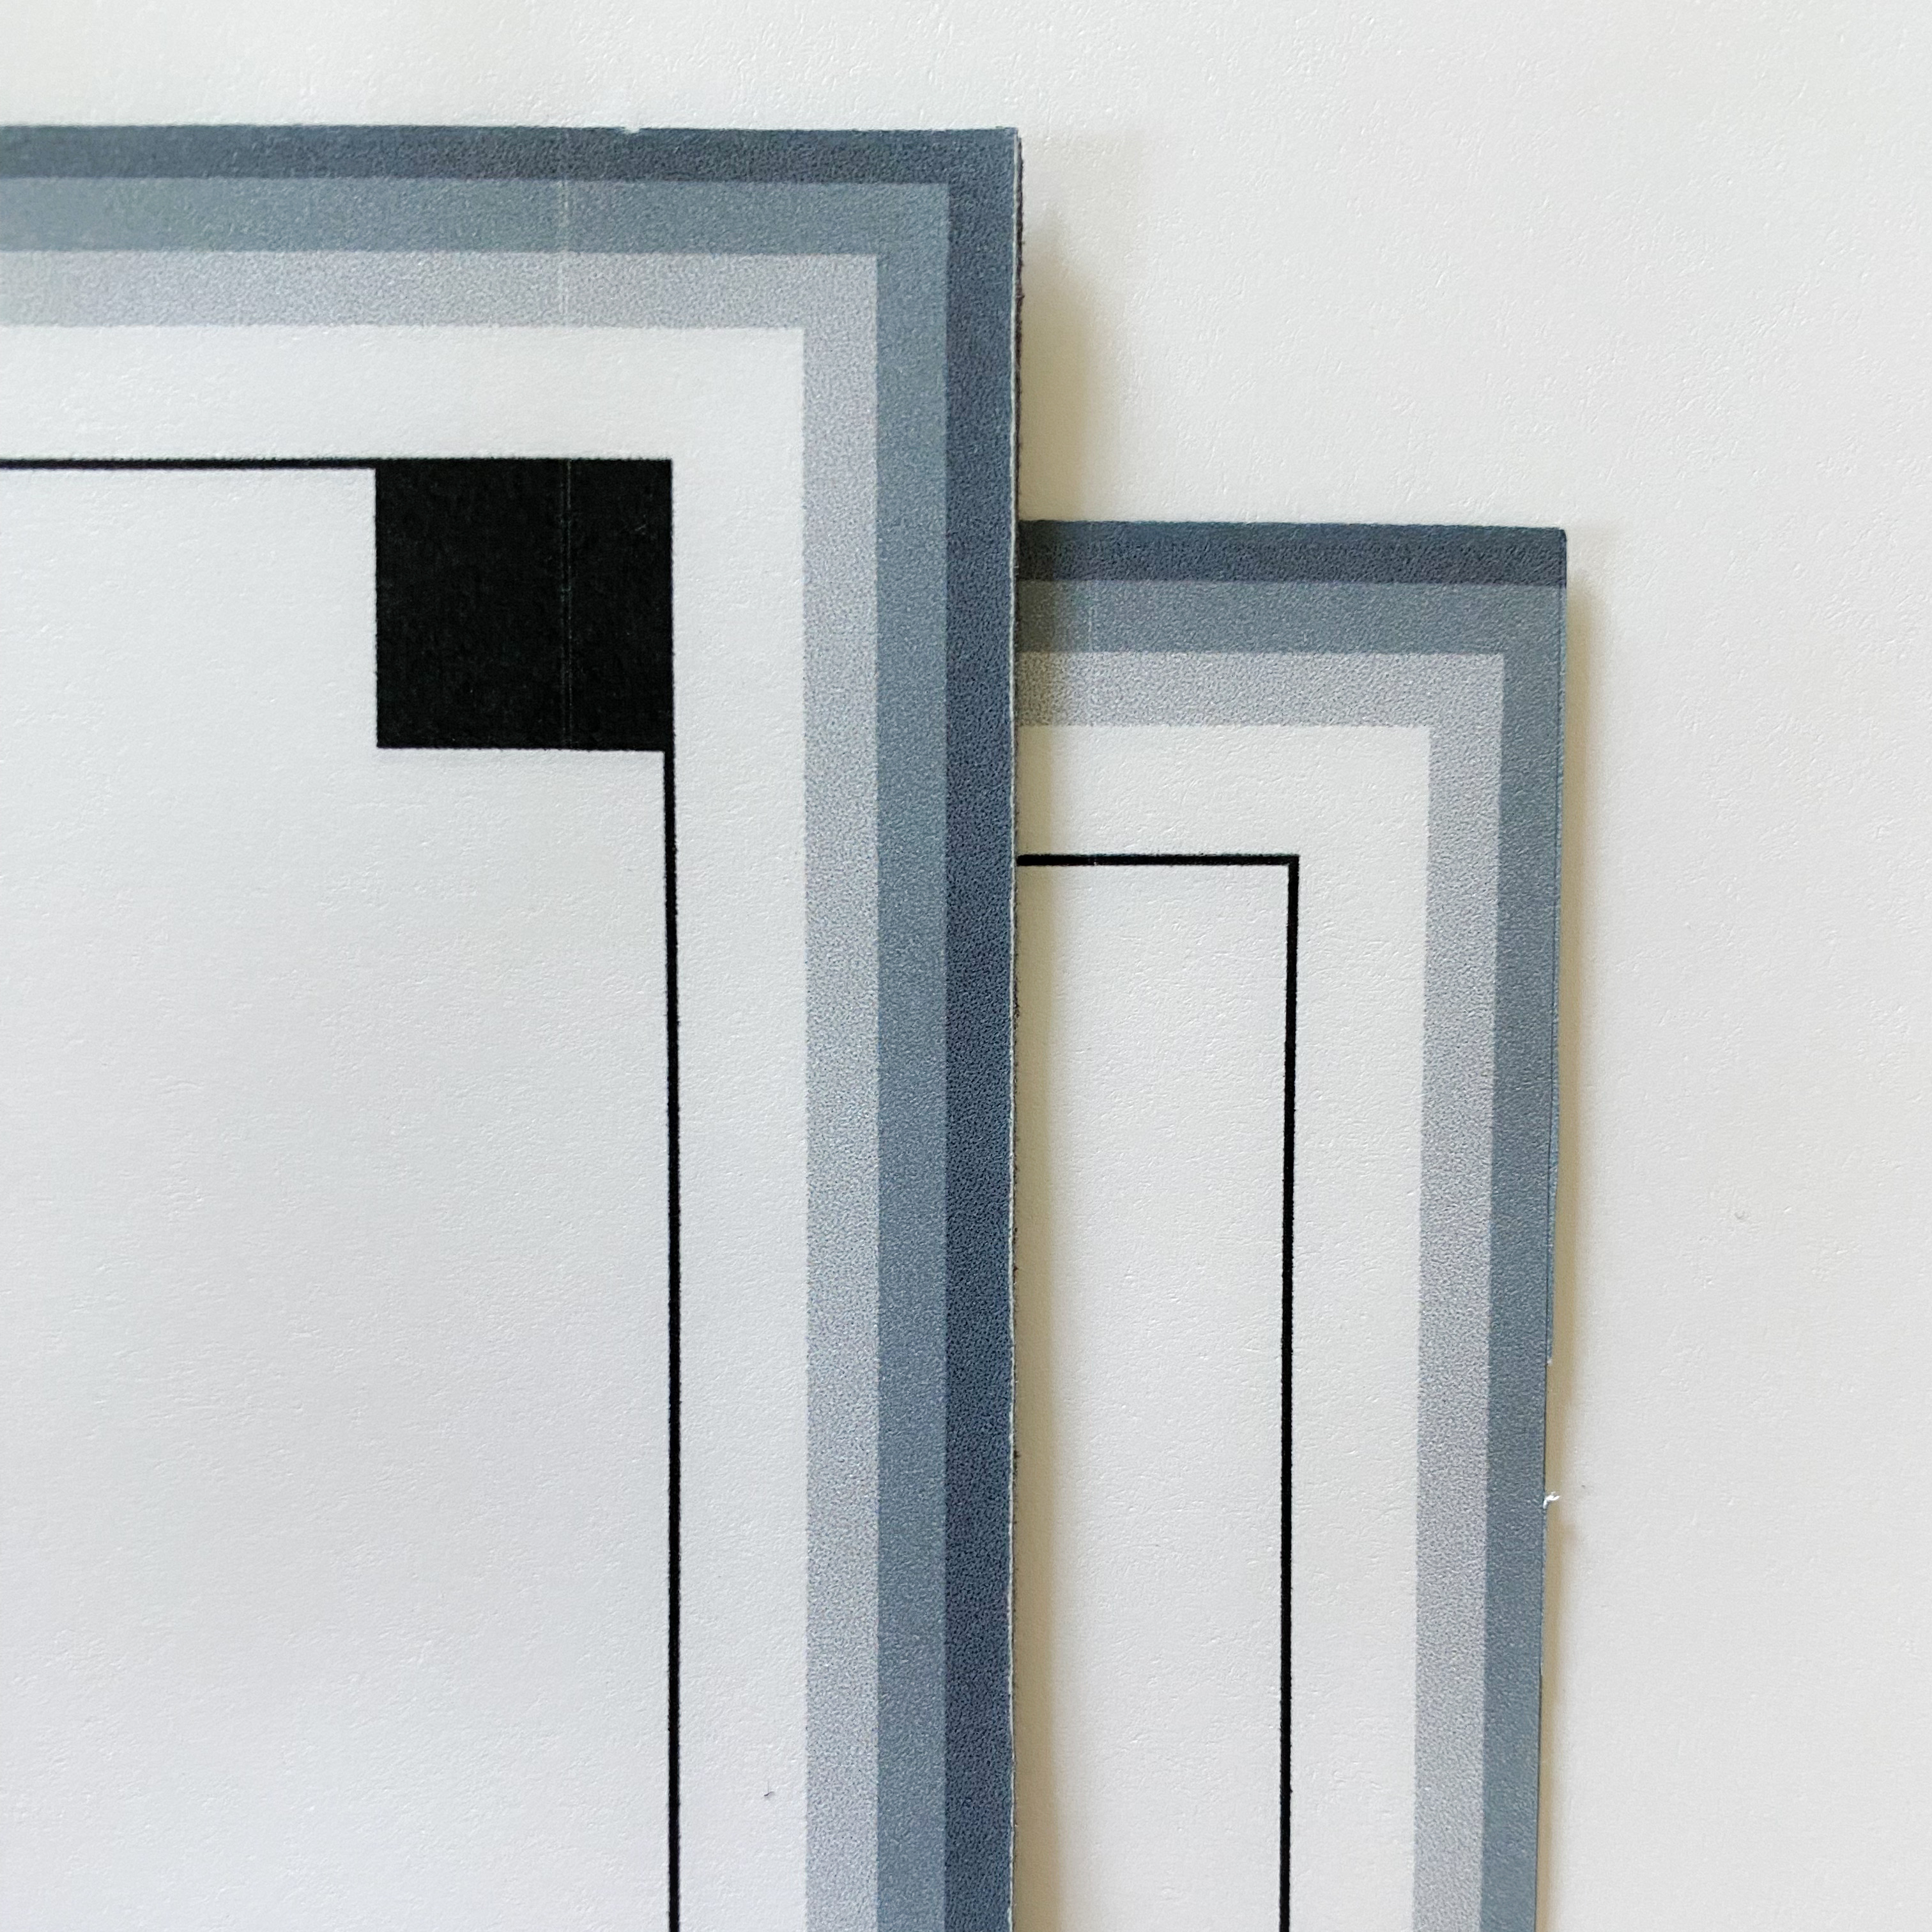
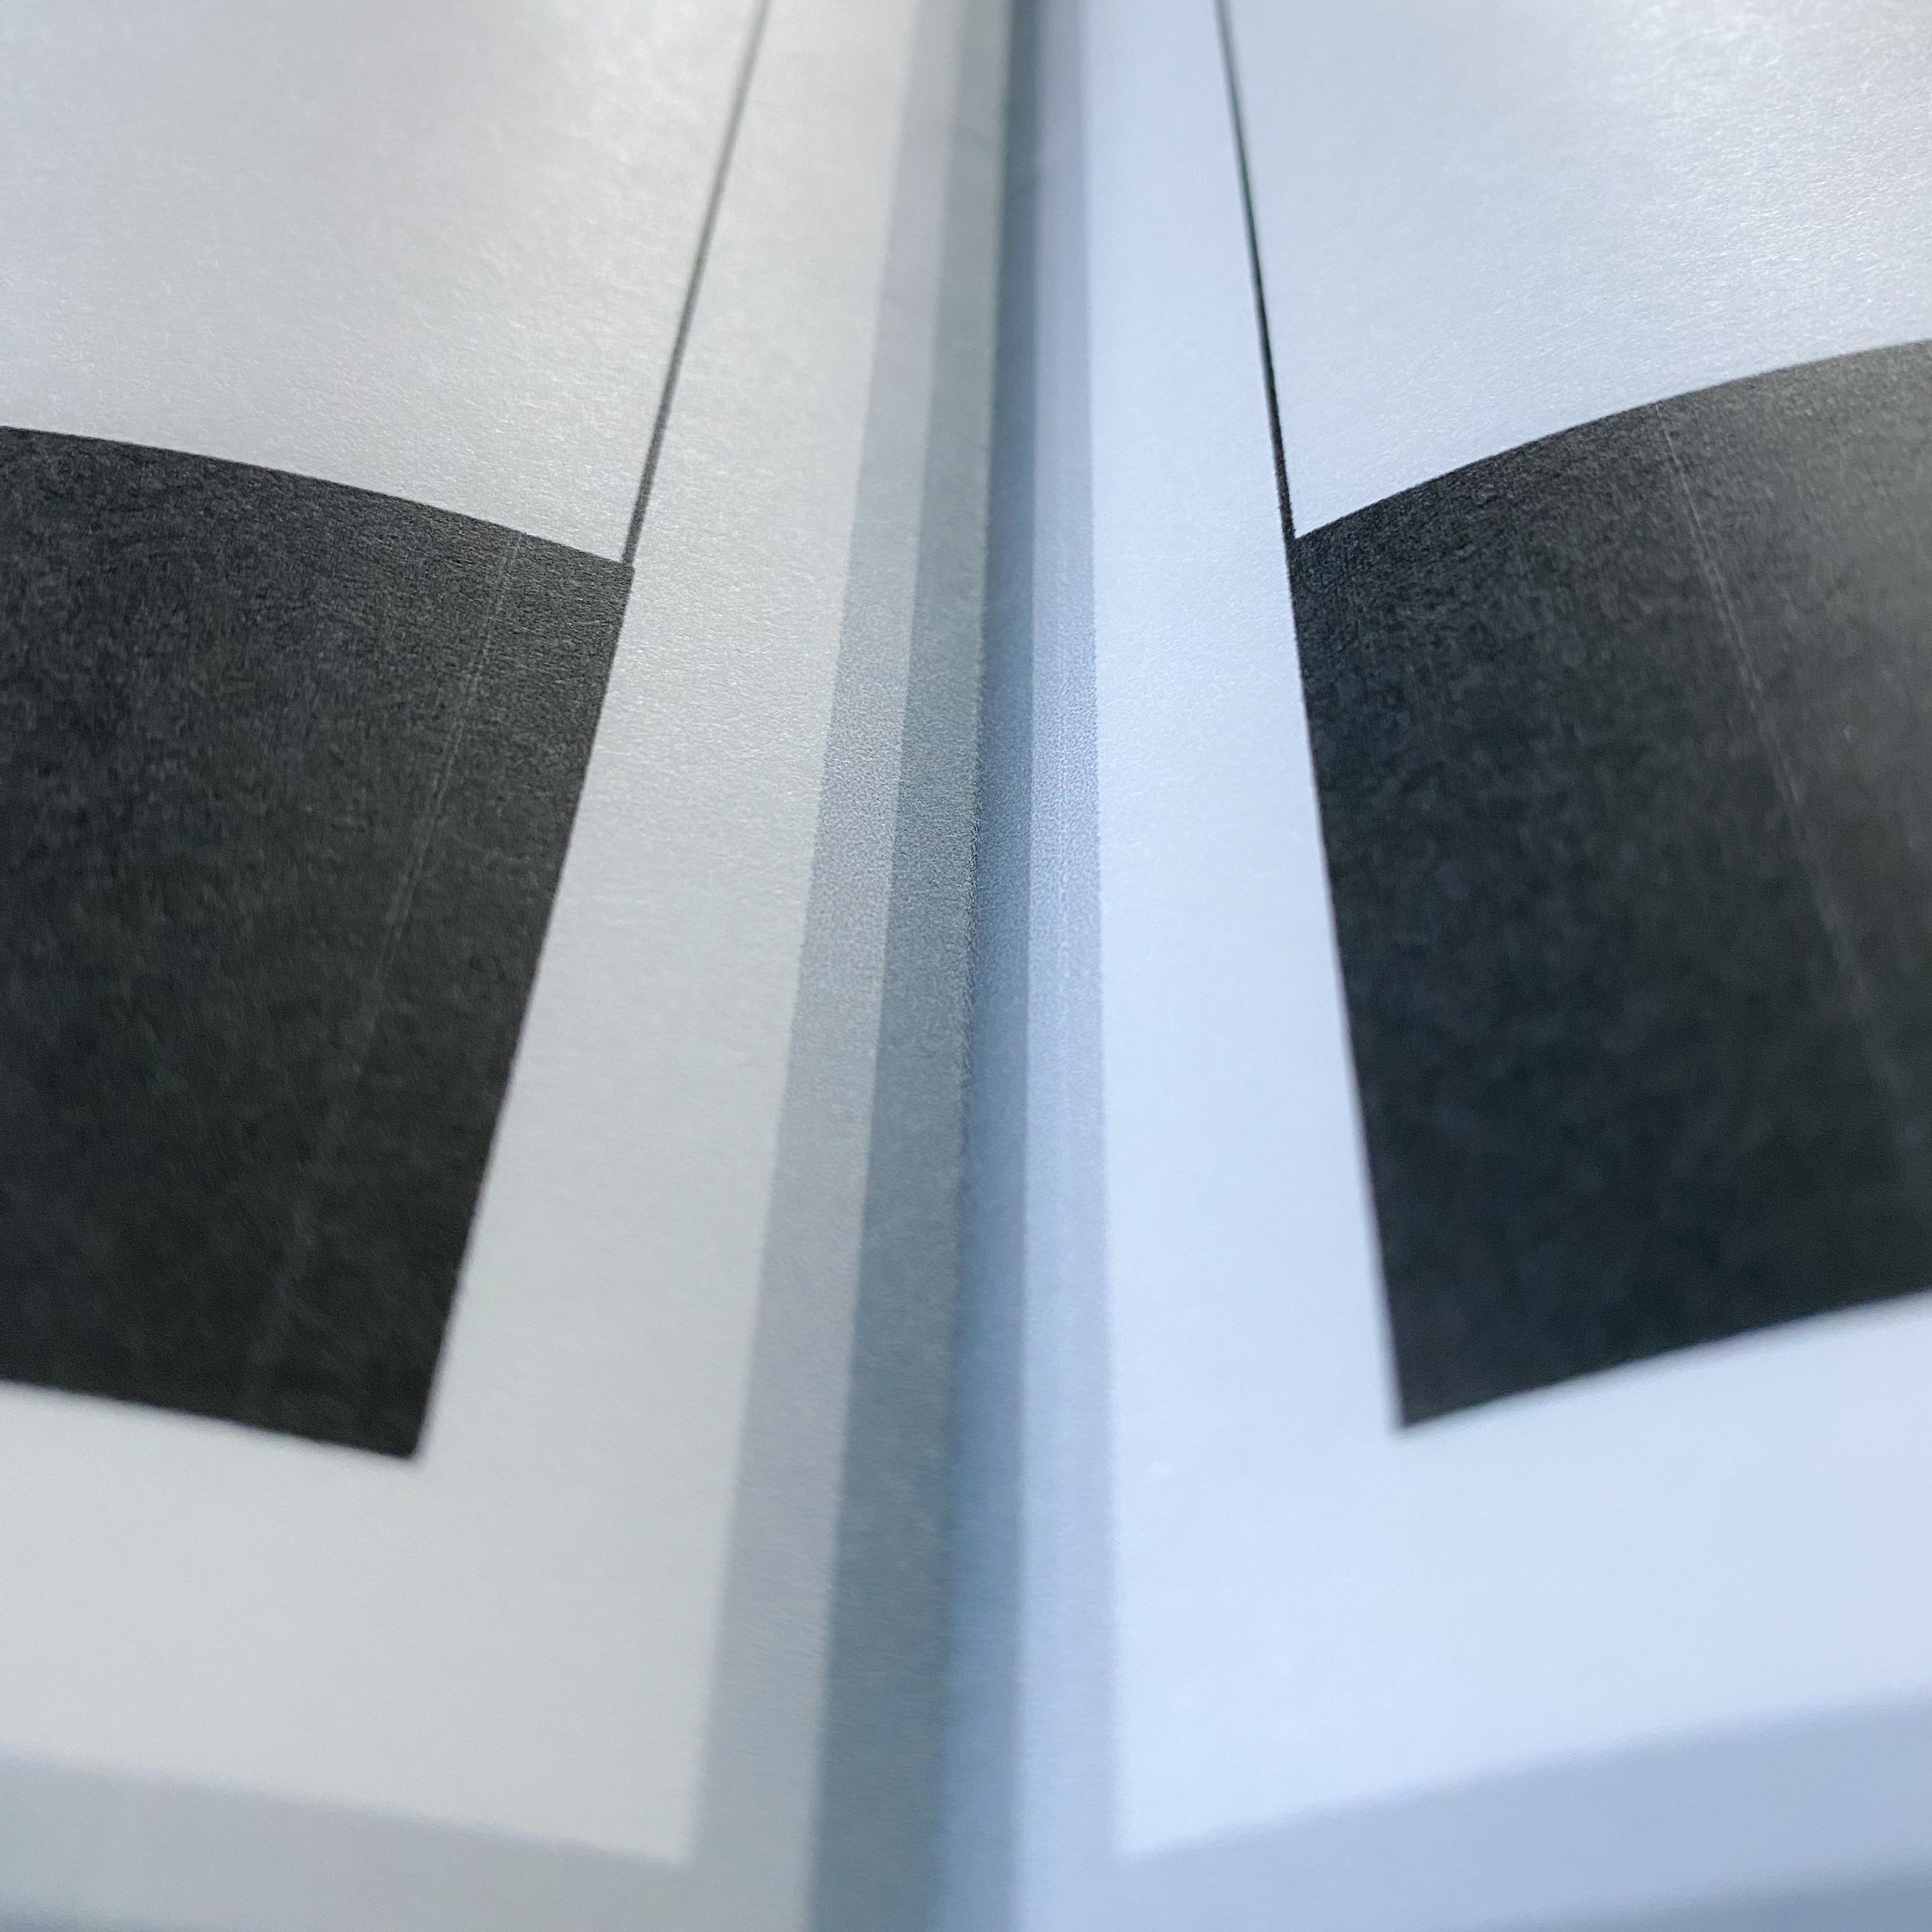
Even though the margins are set to be .25" on all sides, the bottom edge ends up with an additional .25" of unprinted paper for printing with a border and .25” missing at the bottom for borderless.
Flipping the paper incorrectly results in the back pages being misaligned by .25". So, after the pages are finished printing do the following:
- Pick up the entire stack of pages, keeping it oriented exactly how it came out of the printer.
- Flip the entire stack along the long edge, so the short edge furthest from the printer after printing is still the furthest from the printer.
- Place the stack in the rear feed tray, the short edge that was furthest from the printer should be inside the printer.
Following these steps should ensure that the front and back of the pages line up correctly. I practiced with my test prints several times to make sure I got it down before printing any final books.
Step 5: Printing Side 2
Make sure that the scale is set to 97% again.
This setting is not preserved between print jobs, so it’ll have to be adjusted for each set of pages. Also, this can technically be any percentage, just be sure the percentage remains the same for a single project.
Under “Layout:” “Reverse Page Orientation” needs to be set to true. This takes into account the flipping the pages from the previous step.
In bookbinder.js there is an option to have the imposition software changes the orientation in the exported files, but it does not work on folios. I don’t like having to remember a different process for different sizes, so I opt for making the change in the print dialogue for all my books.
An easy way to check if the back pages are printing correctly is to carefully lift up the top of the page as it comes out of the printer - make sure that the bottom and top pages are consecutive.
Step 6: Trimming and Folding the Paper
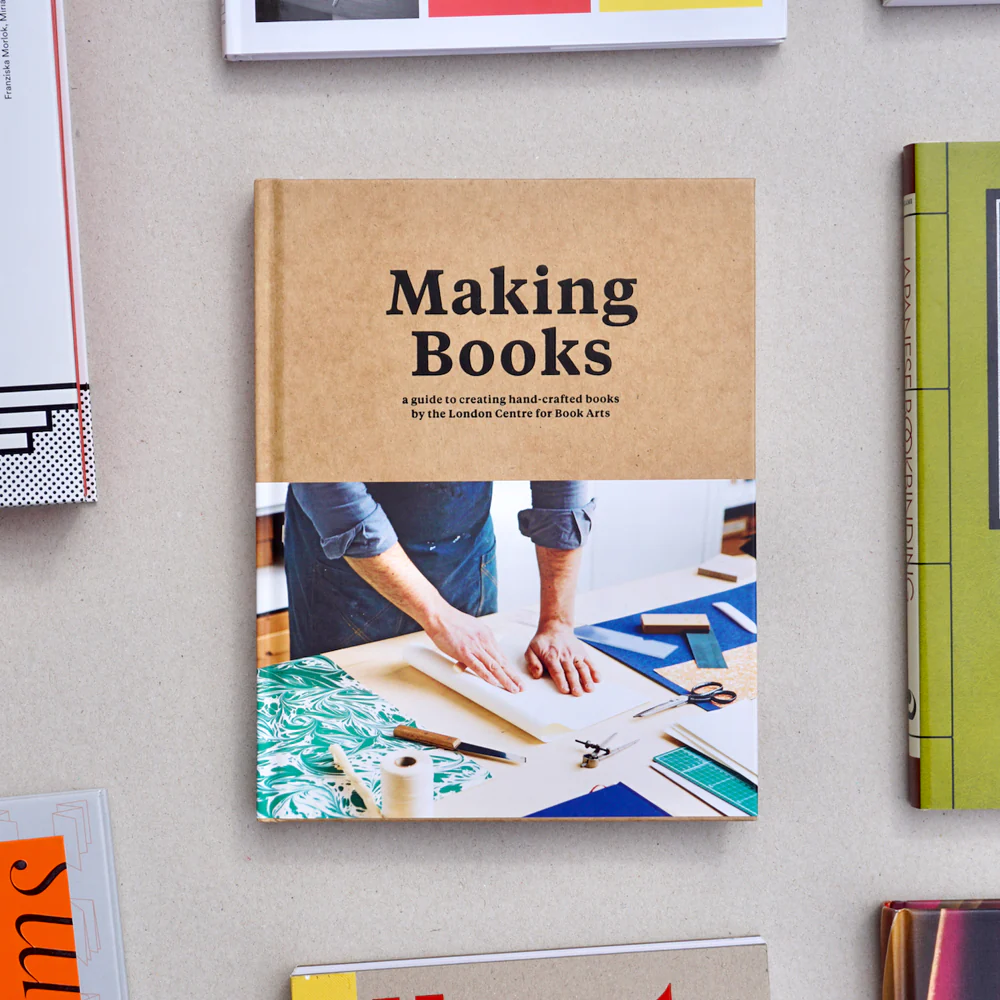
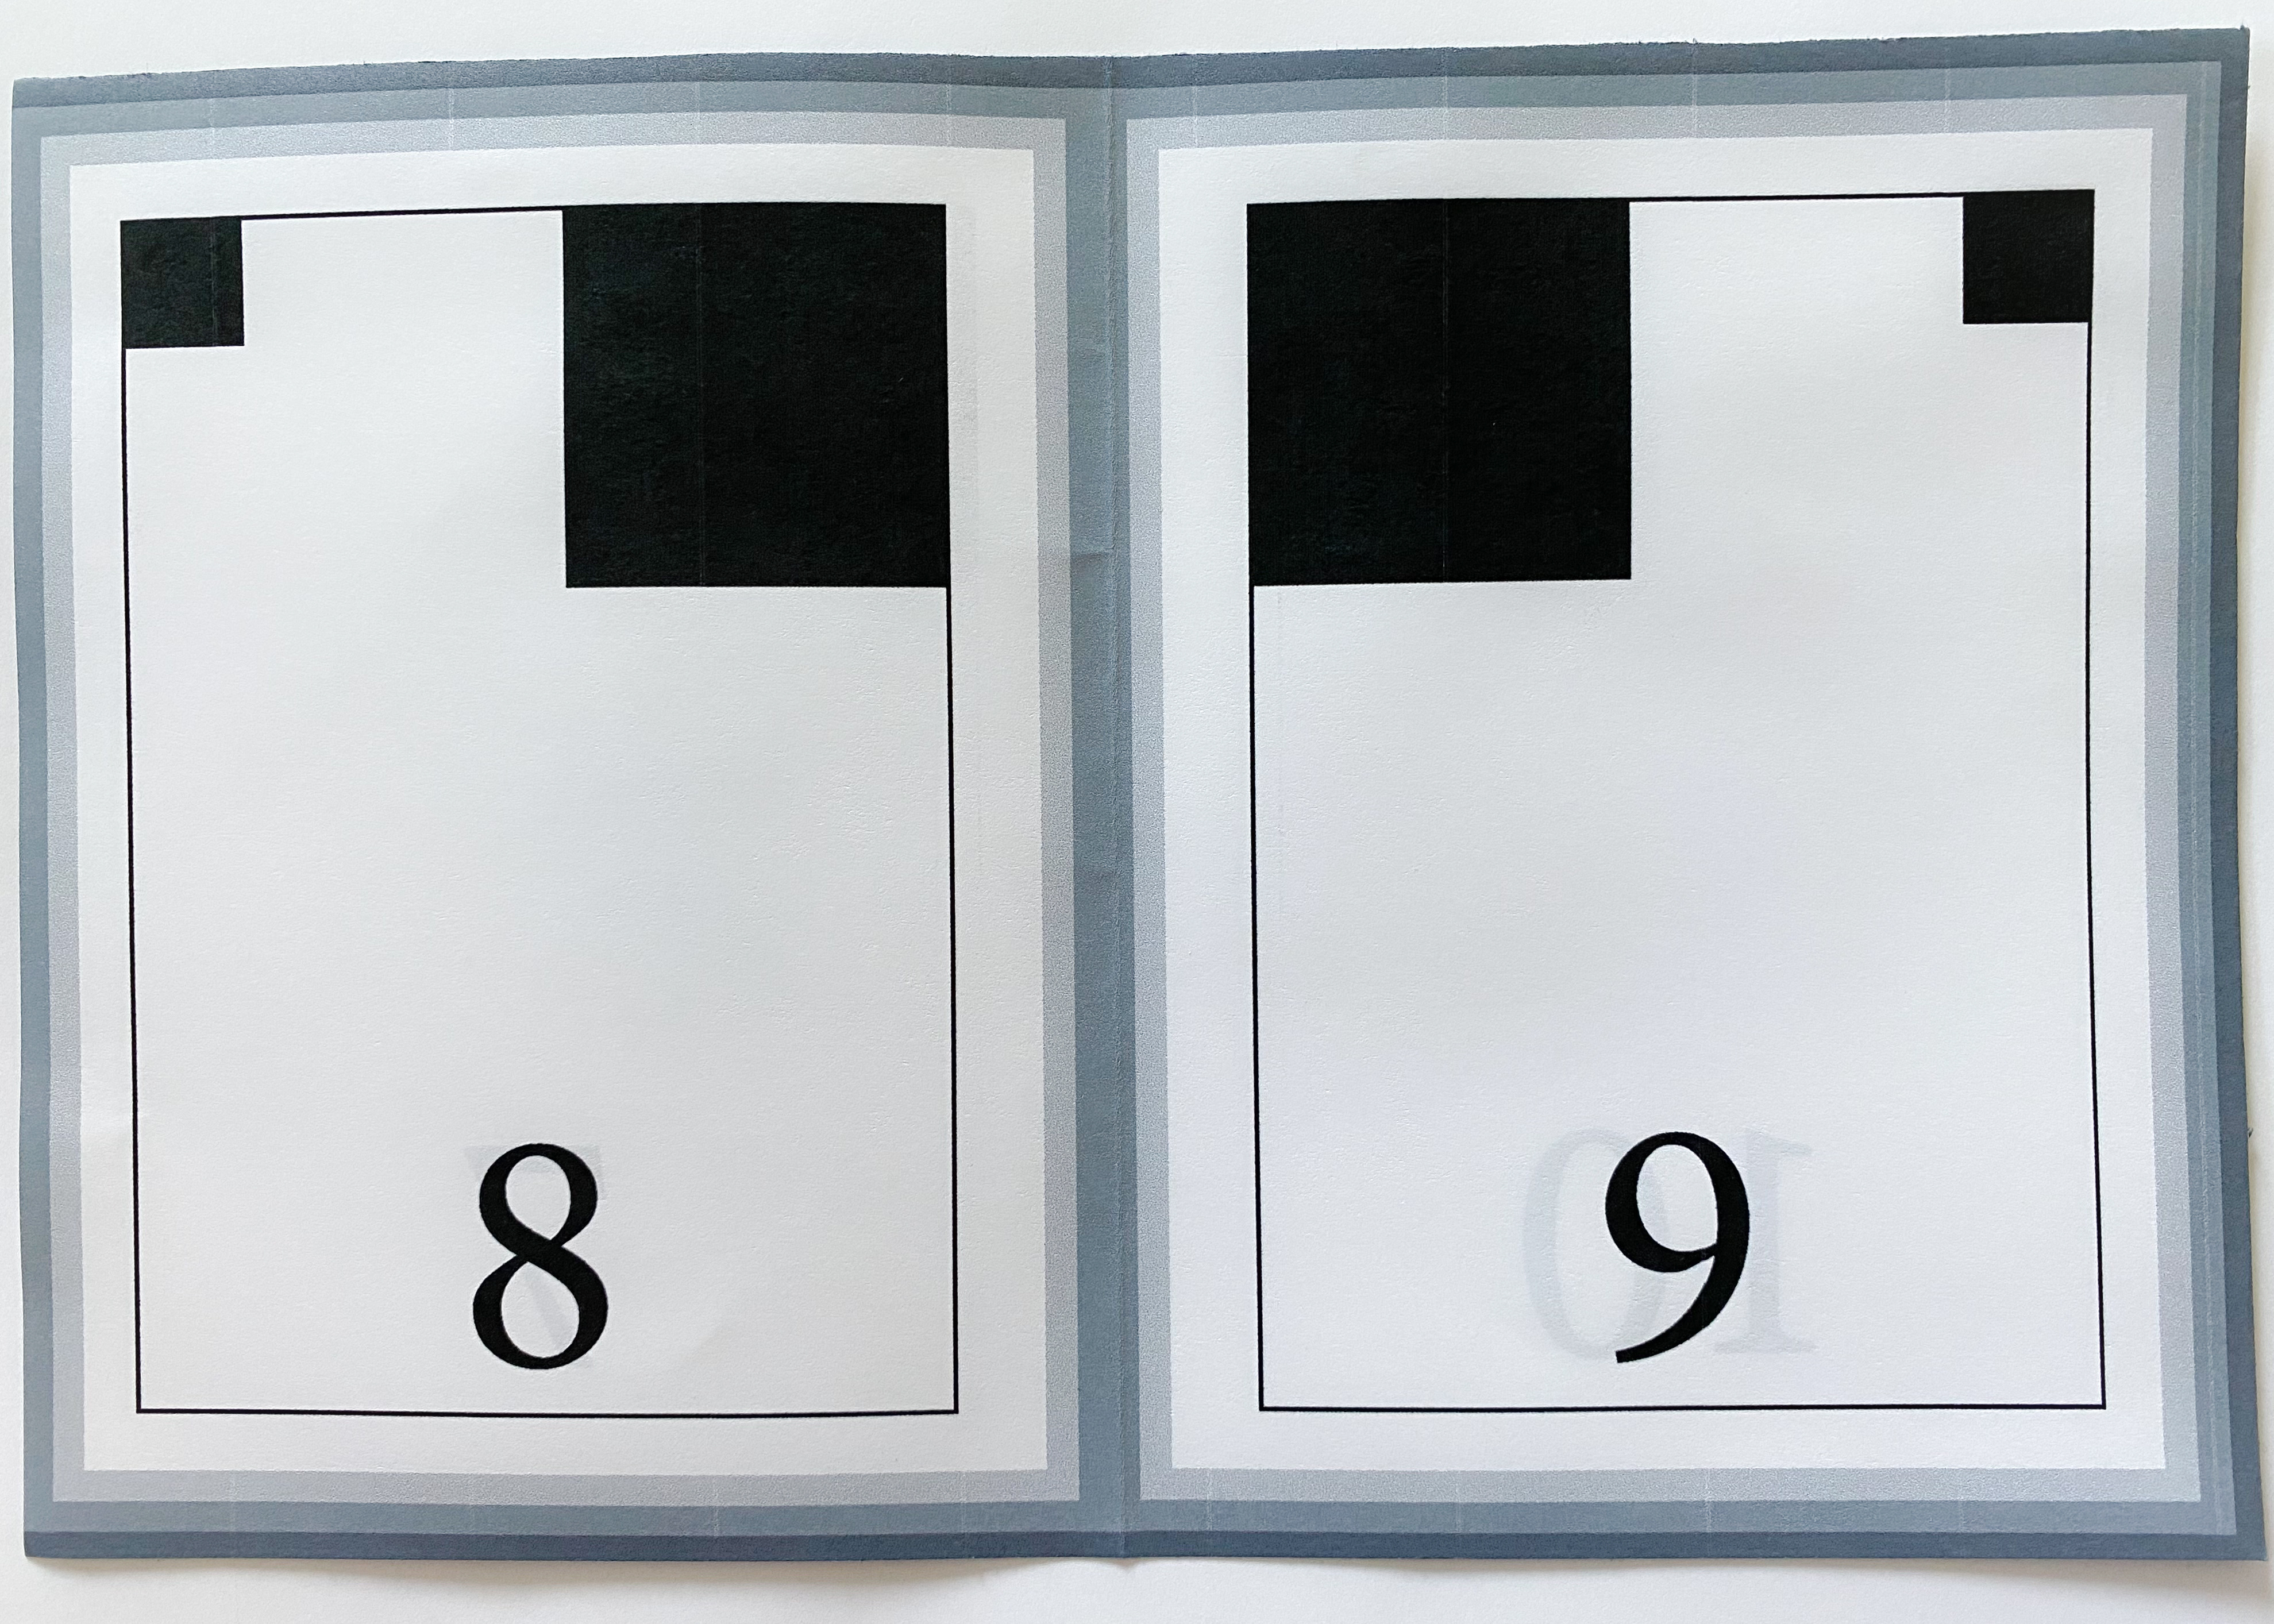
At this point I followed my favorite bookbinding tutorial (found in the book Making Books) for how to properly fold and cut the paper into signatures, with a few modifications. Because the printer didn’t print all the way to the edge (or if it did, the pages still have an extra .25" bar on one end), I had to cut off the extra margins before making the first fold. I’ve accounted for this unevenness in my templates by adding .25" black bars wherever the margins should be removed. So, while making each fold, when I encountered solid black bars on the edges of the pages, I’d cut those off first then continue folding.
DAS Bookbinding is also a great channel (if not THE channel) for all the steps of bookbinding with a printed manuscript.
Final Results
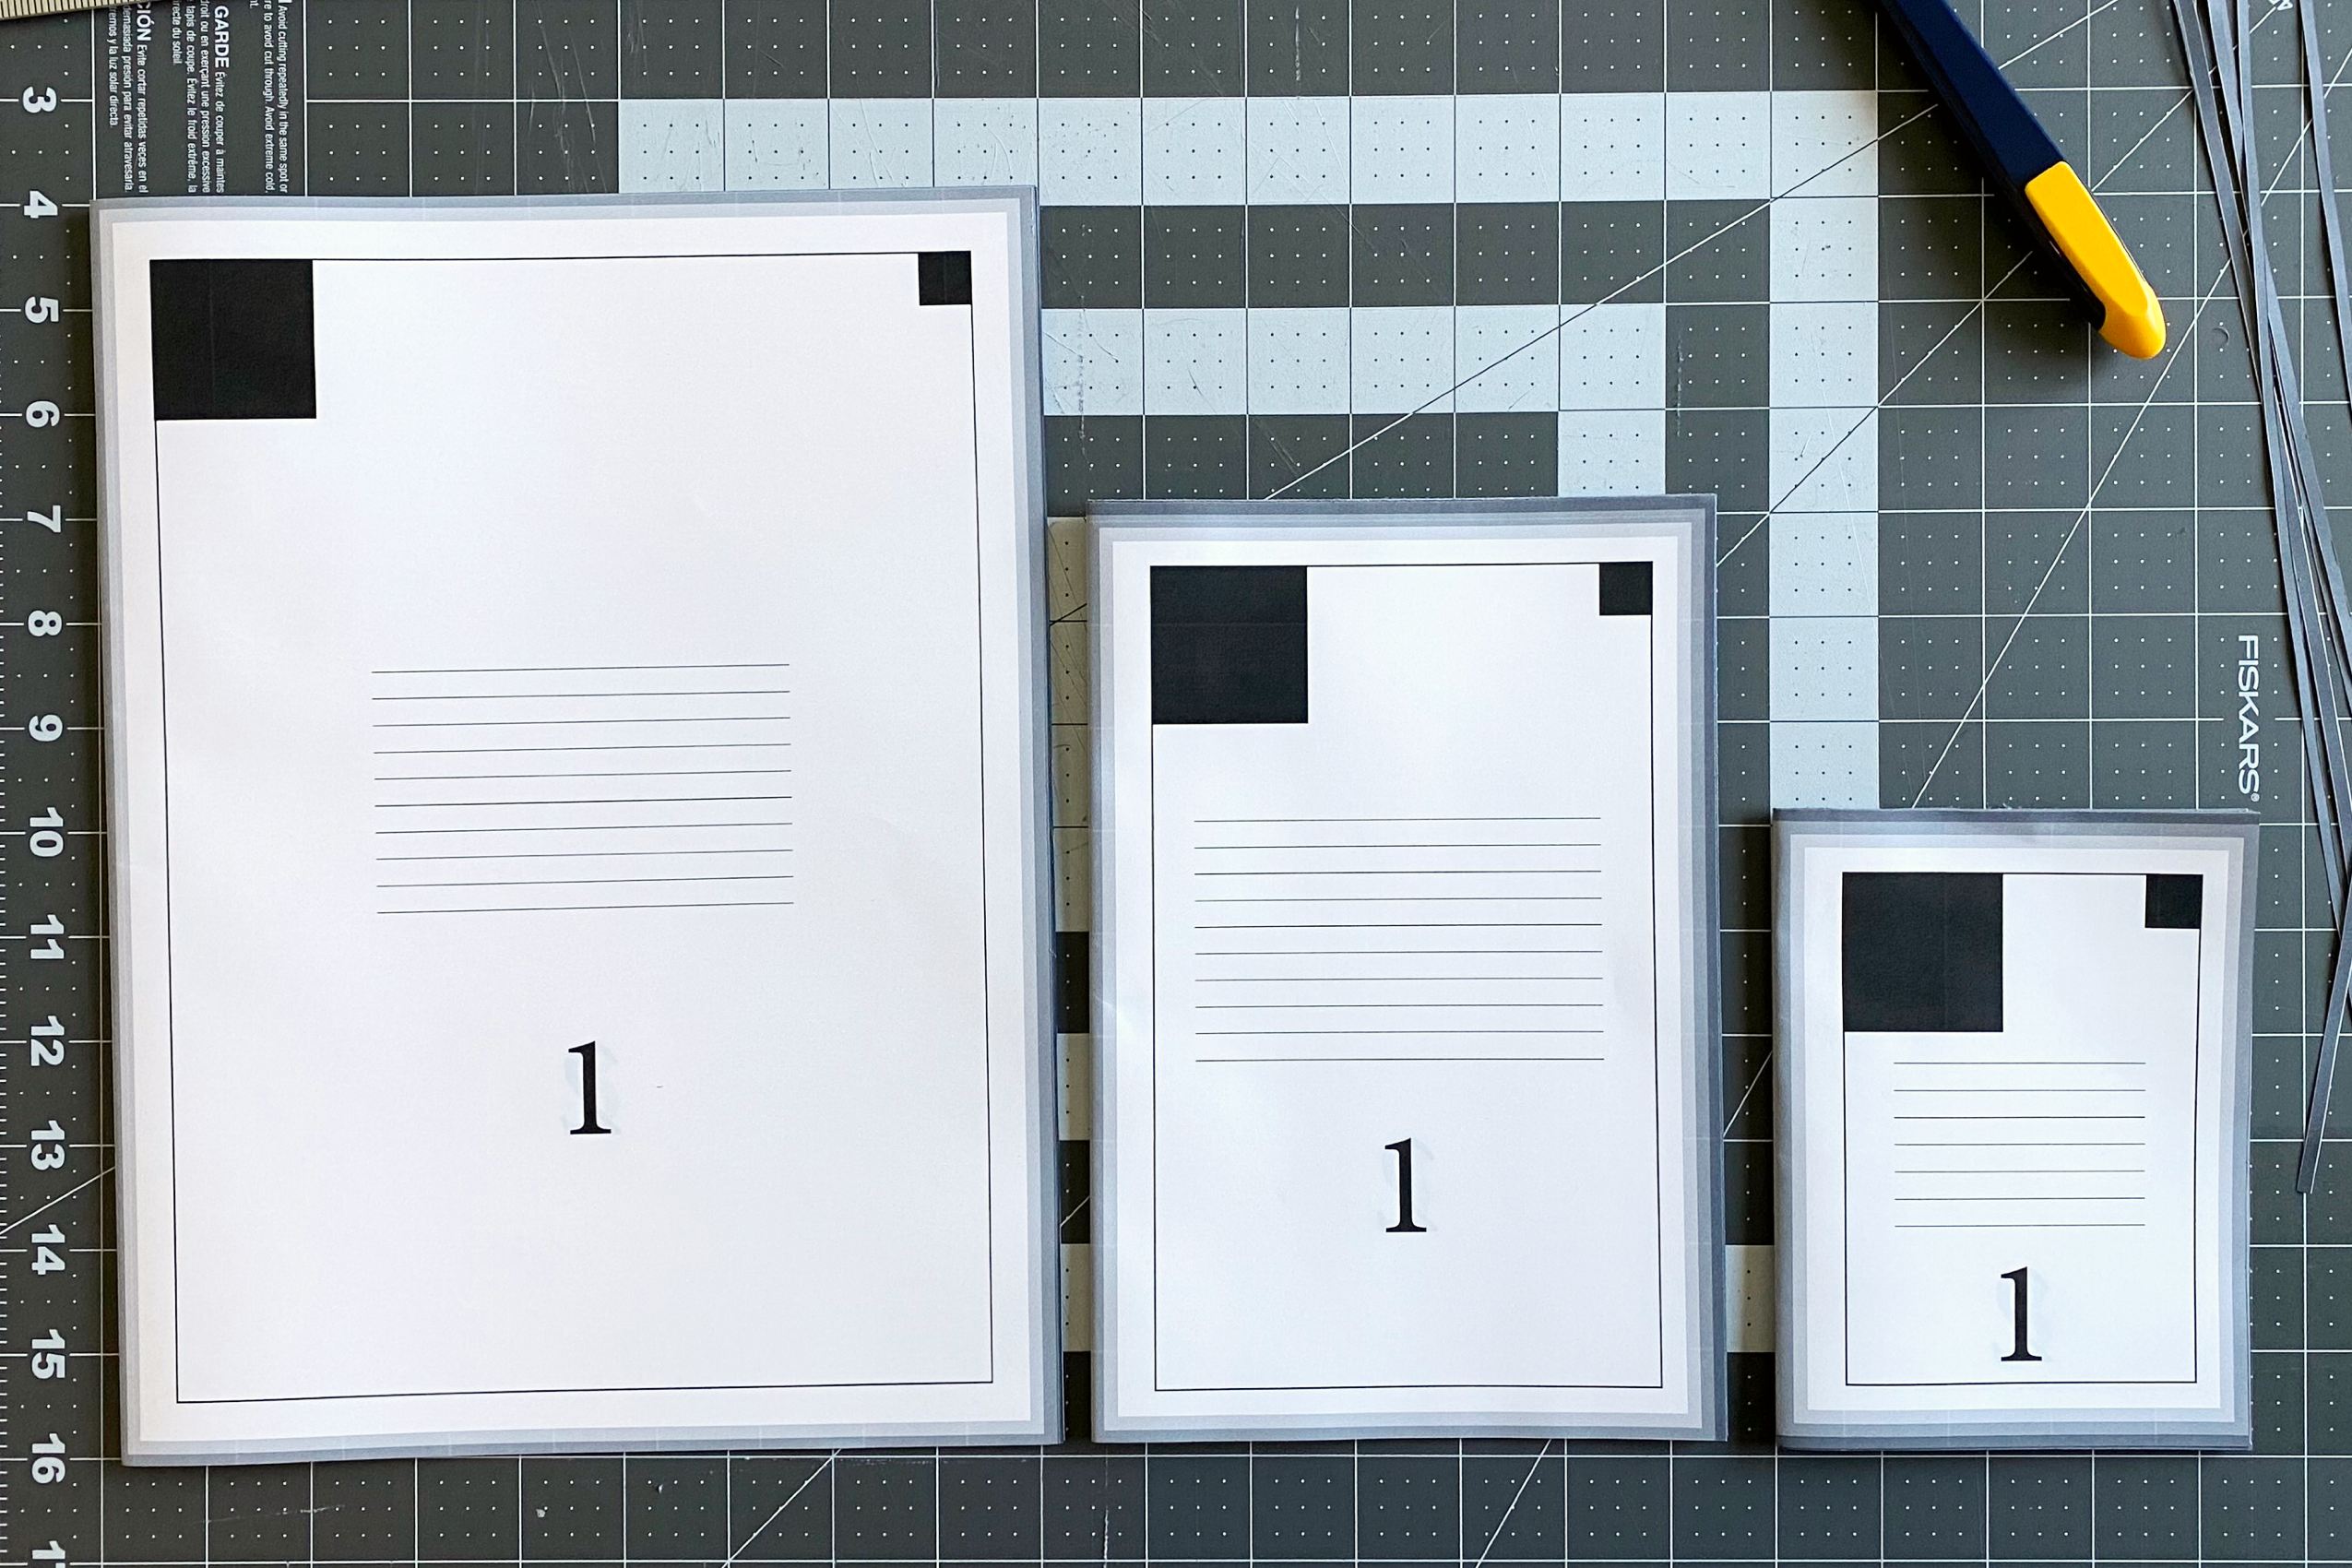
After working through this process a couple of times, I was able to create 3 different sized sample books for deciding which template will produce the size of book I want. The digital templates can then be used for setting up real print projects. I’ve even included outlines of common book sizes in the template files for easy set up.
Additional Resources
- Epson Ecotank ET-8550 User Guide
- Standard published book sizes
- More standard book sizes
- Hammermill Copy Paper
- InDesign templates ($5 for 3 templates: octavo, quarto and folio)
- PDF test files ($1.20 for 8 files: 8.5"x11" folio pre- and post-imposition, 12"x18" octavo pre- and post-imposition, 12"x18" quarto pre- and post-imposition, and 12"x18" folio pre- and post-imposition)