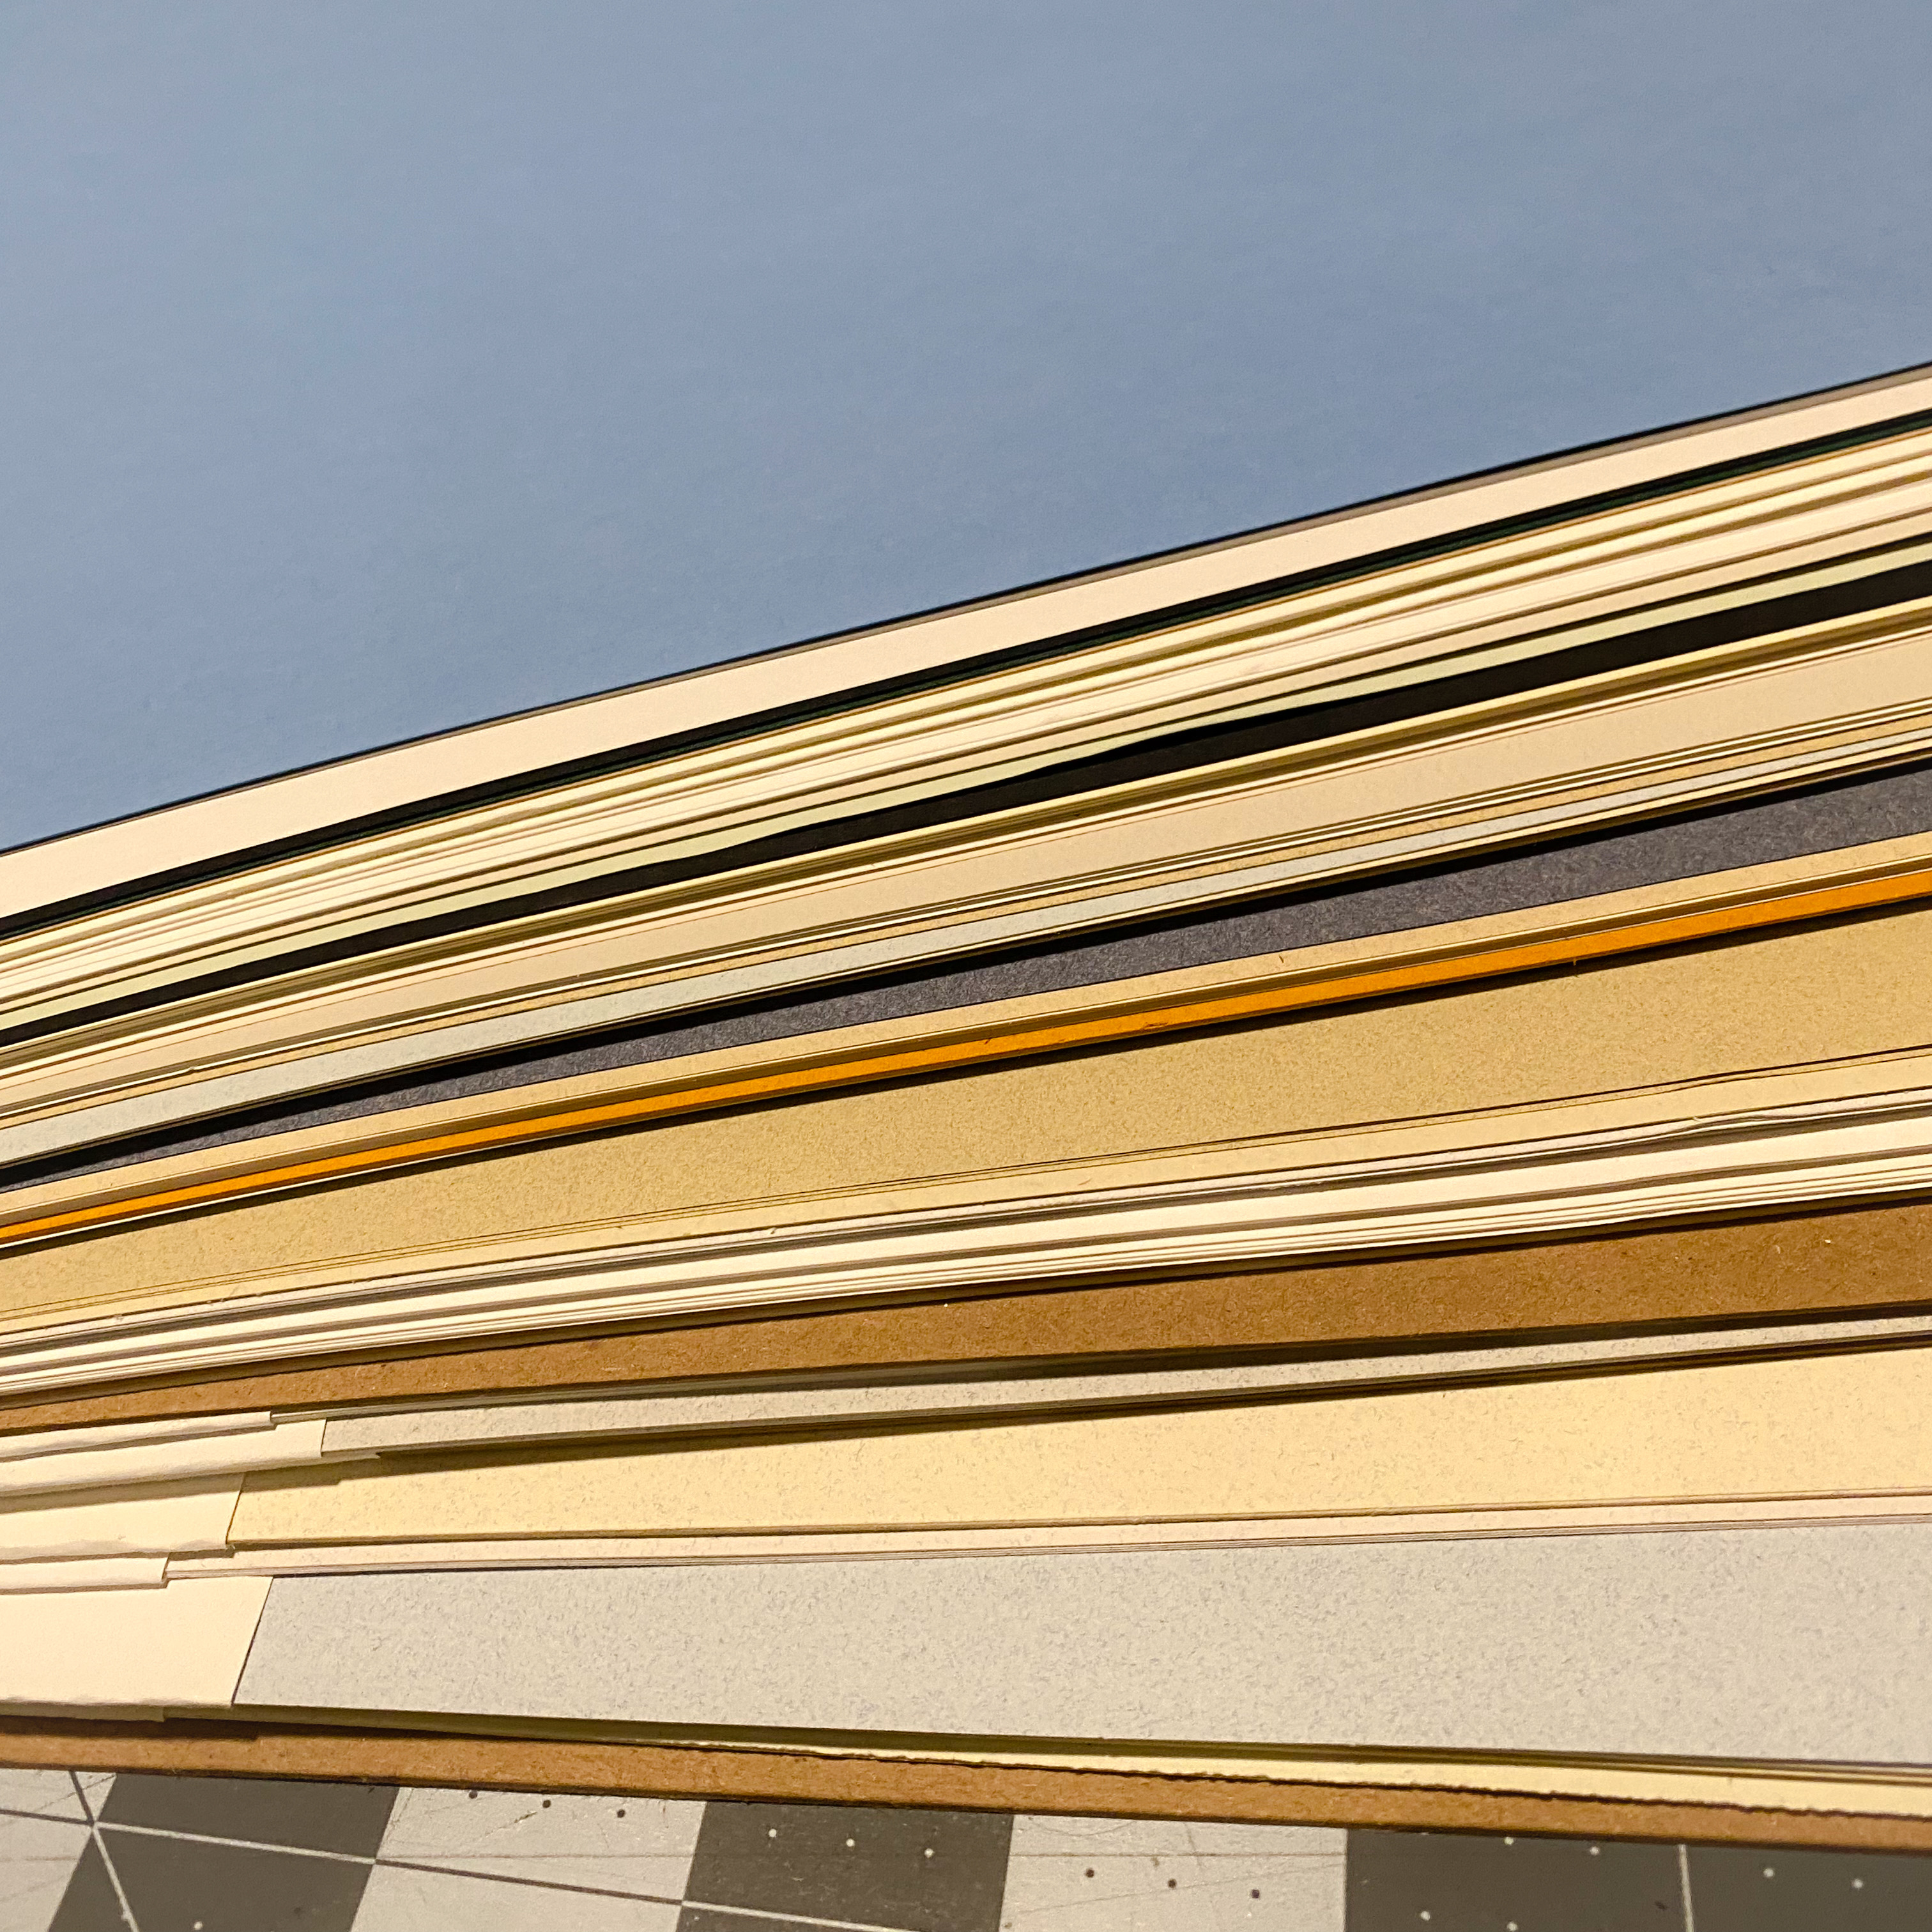
For printing my own books, I had originally bought a couple of paper sample books (a reference I always buy when I’m planning on using an online print shop). However, I quickly found that these didn’t quite have all the information I needed to determine which papers would be best suited for my print projects. So, I ordered over 100 paper samples from both Mohawk Paper and Neenah Paper and let them sit in my workshop for a couple months while I mulled on what information missing from the paper sample books. Then, I finally reached a point in my many book projects where I needed to order paper which meant I could no longer avoid the looming stack of paper samples.
Click here to jump to the final test prints.
The Problem With Paper Swatchbooks
When using online print services, like Smartpress or Blurb, the first thing I always do is order a sample book or kit. So, of course, my first thought when I wanted to order paper for printing was to order a swatchbook (or two) to help me compare papers. What I didn’t realize was that having a swatchbook only helped me get a feel for the paper thickness and color, but I had no idea how the paper would look with text and graphics printed on them because, well, I was the printer.
Print services send you sample kits, not just sample paper, to show you how text and graphics look when printed on the given paper, which can greatly influence which paper you choose for a particular project. Additionally, print services already have profiles and processes set up for each of their papers to get the best quality print (reproduction of black and white and color from digital to physical using ink). But, because I was doing the printing myself, I had to set up my own profiles for my own machine for each type of paper. Therefore, it became a necessity to buy sample sheets and running off my own print tests.
You may not be able to buy sample sheets for every paper you could print on, so swatchbooks are still useful. Here are the ones I ordered:
- Neenah CLASSIC® Papers Swatchbook
- NEENAH® Cotton Swatchbook
- Mohawk Beautiful Collection Swatchbook
- Mohawk Curious Collection Swatchbook
The Problem With Existing Test Prints
So, now I was left with the problem of figuring out what exactly to print on each sheet of paper. I started by just looking at any existing test prints and came across many resources for calibrating the printer. This is because when printing fine art photography at home, it is common practice to print off several different test prints with known color values so that you can make sure that what you’re seeing on your screen is what your going to get on paper. Below are several good resources for learning how to do this with free, high-quality test prints:
- NorthLight Images for fine art image tests.
- Keith Cooper’s YouTube Channel for everything printers and photography.
- printertest-page.com for basic calibration tests.
Initially I thought I’d just be able to use one of the calibration prints and call it a day. Unfortunately, though, these were still missing information. I was not printing single photographs on photography paper, but each sheet plain sheet of paper would contain a mix of text, colored elements, photographs and scanned documents. With this discovery, I was left with creating my own print tests.
Requirements for My Print Test
I had one goal when designing my test prints: to be able to confidently and easily select and order the right paper for my project. I didn’t want to get caught in an evaluate, reorder (and spend more money/time) loop because I ordered the wrong paper. After cutting up a couple of calibration tests I settled on a list of requirements for my own print tests. These requirements fell into three categories: color capability, text legibility, and other utility features.
Ability to evaluate the color capabilities of the paper.
Most of my books are about 50% photos, so using some of the calibration color tests are still useful for evaluating papers for my books. The questions I wanted answered were:
- What colors can be produced? I wanted to see the full color range that can be reproduced by the printer. For one project I had tried printing something with really deep purples and it ended up printing an entire 12x18 sheet of paper completely black… I wanted to avoid this issue for future prints.
- What are the ink visibility limits for colored papers? I wanted to be able to evaluate what papers would be good for certain purposes, for example a color image probably won’t show up on dark blue paper, but could that same paper be used for black and white printing or as a simple colored page? Essentially, how far can I push the ink visibility limits for each paper, especially on vibrantly colored paper.
- Is there a visible difference between the two different black inks? The ET-8550 includes two different blank inks, dye and a pigment based. I had not come across an obvious way to tell the printer to use one ink over another, and I wanted to see if I could get the printer to use one or the other and be able to compare the results.
Ability to evaluate text legibility.
These are books after all, and one critical missing component in the calibration prints was a broad test of text sizes and blocks of text.
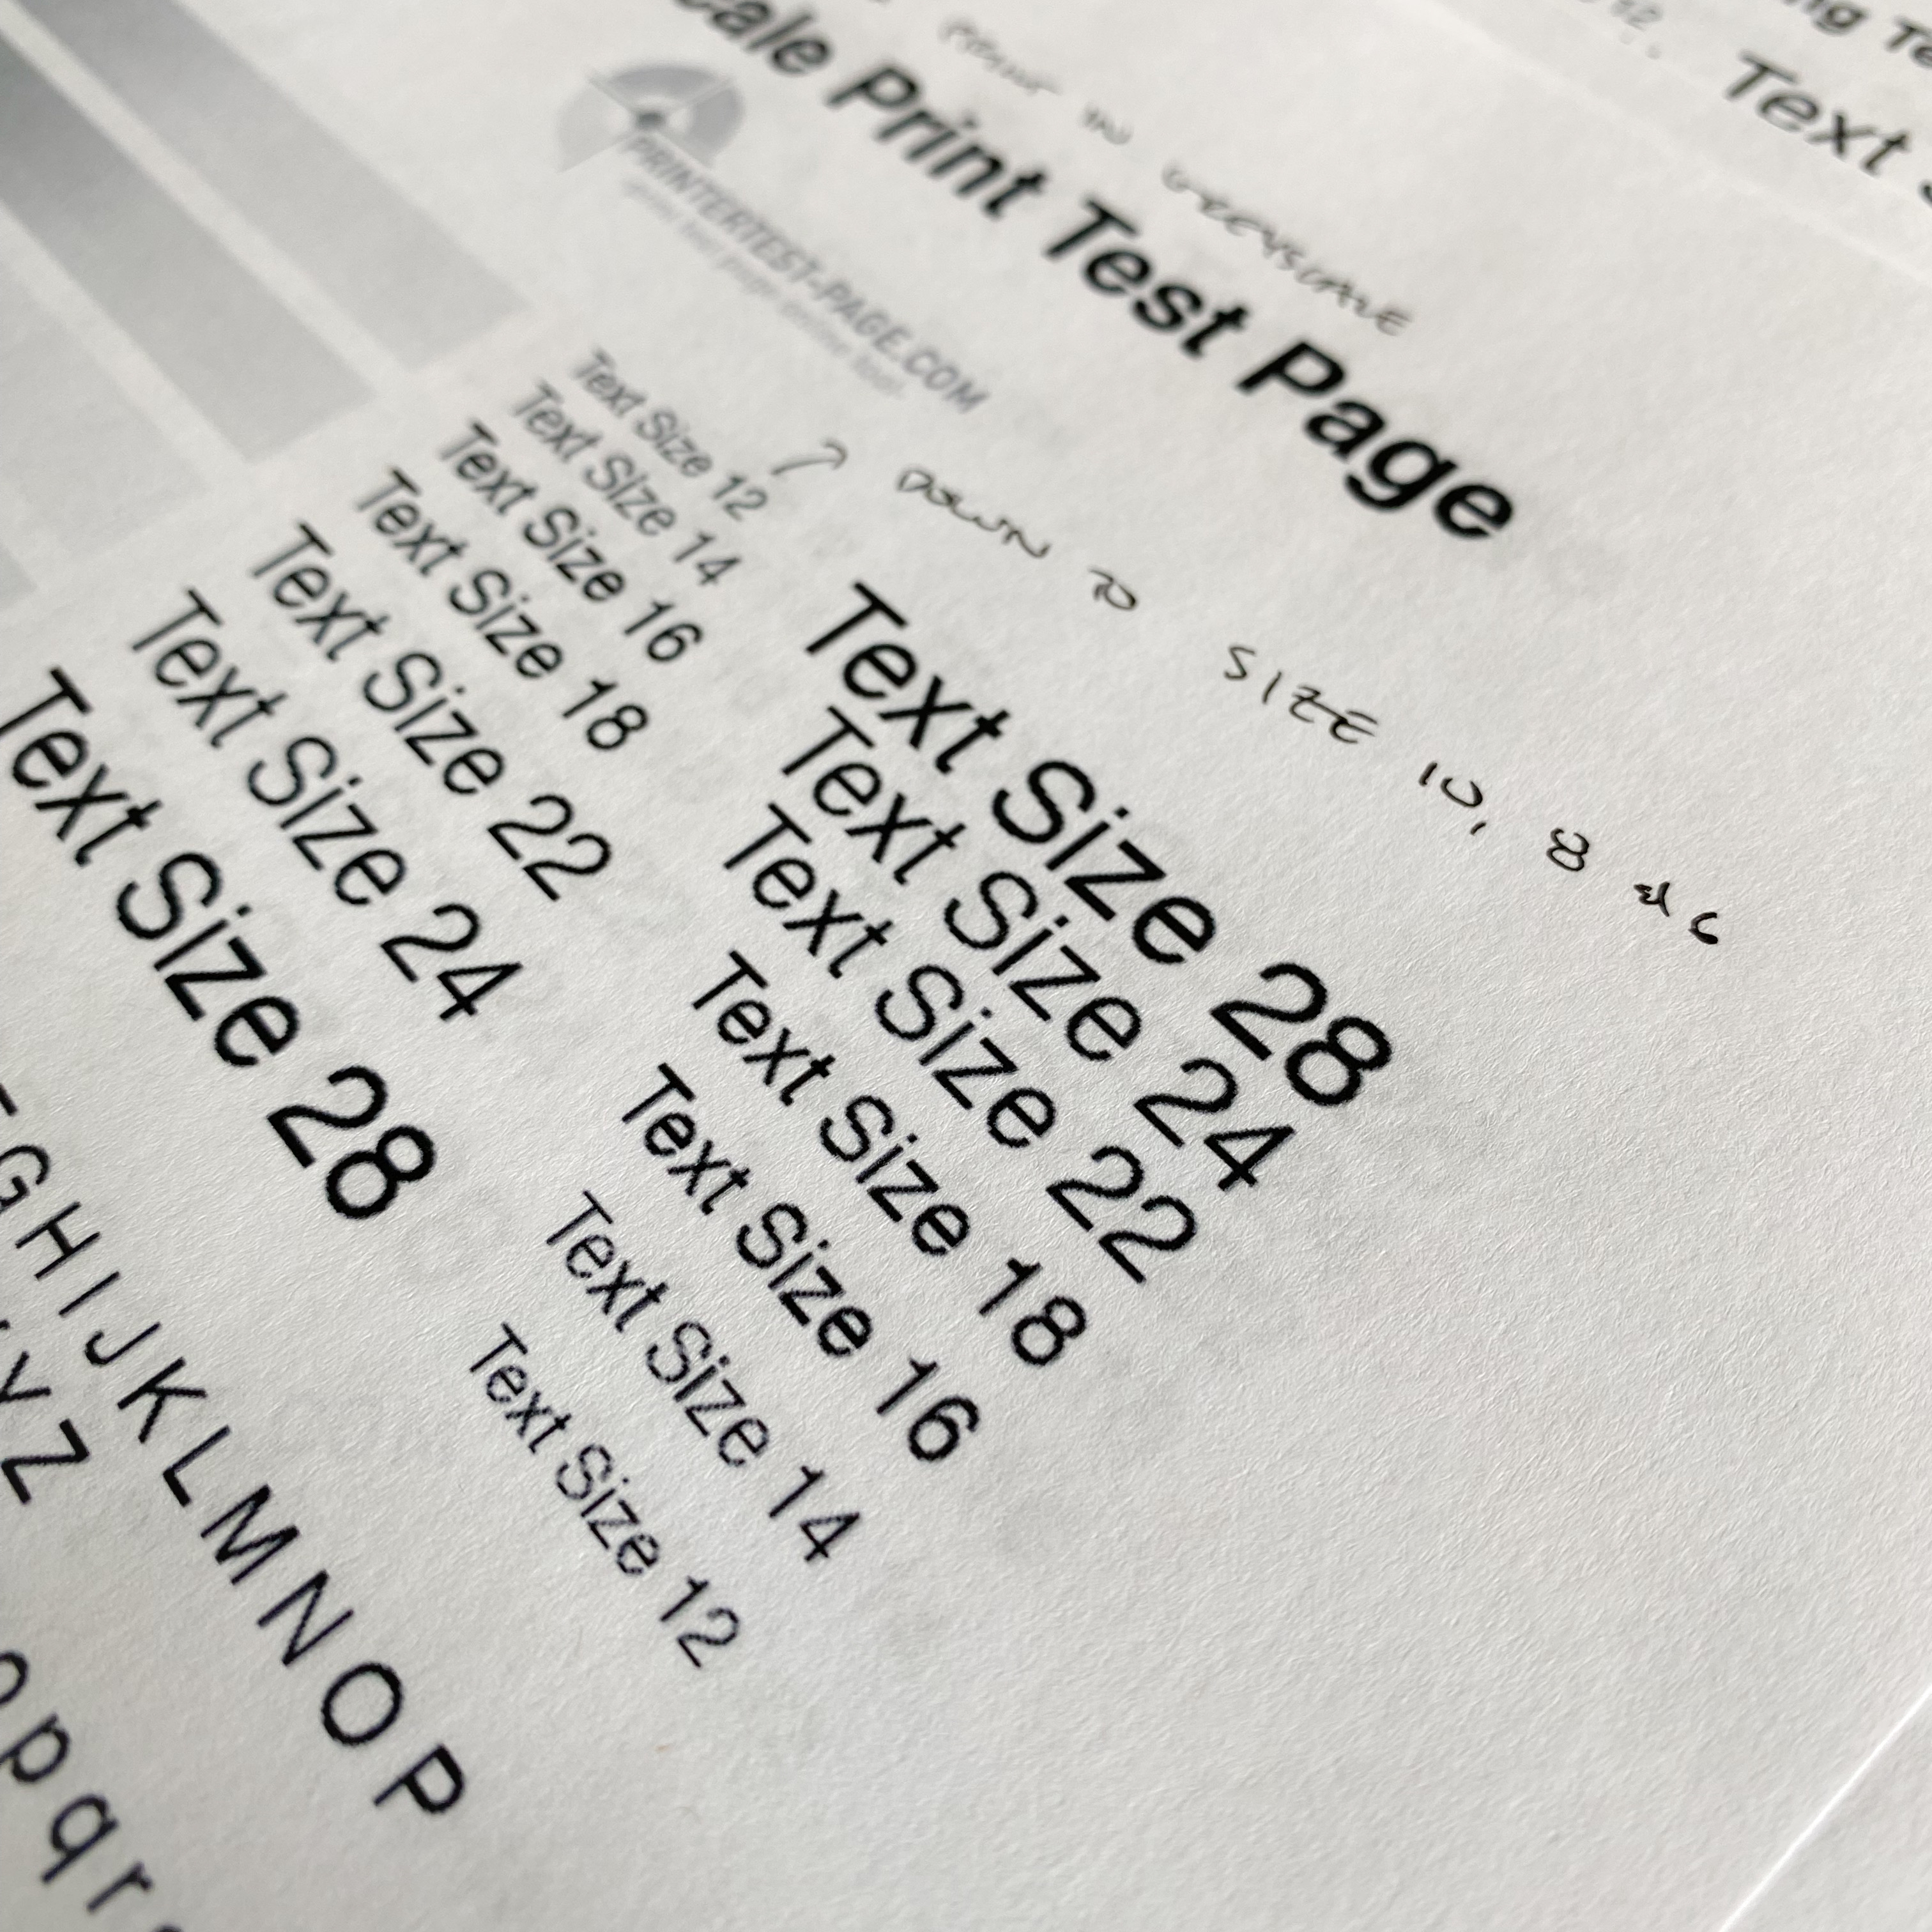
- How small and big can the text go? Depending on the application, I like to print very small text all the way up to very large text. However, there are limits to how small and large a printer can go before the print quality loses fidelity. I wanted to include text sizes all the way from 6pt up to 48pt.
- How do blocks of text look? Since I planned to print books, I wanted to see how printed blocks of text looked. Some papers are good for large text, but blocks of text can get too difficult to read. I wanted to include blocks of text in serif and san serif.
Include utility features.
These are features that the sample books and kits have, like having the samples include name, color and weight printed on them for reordering.
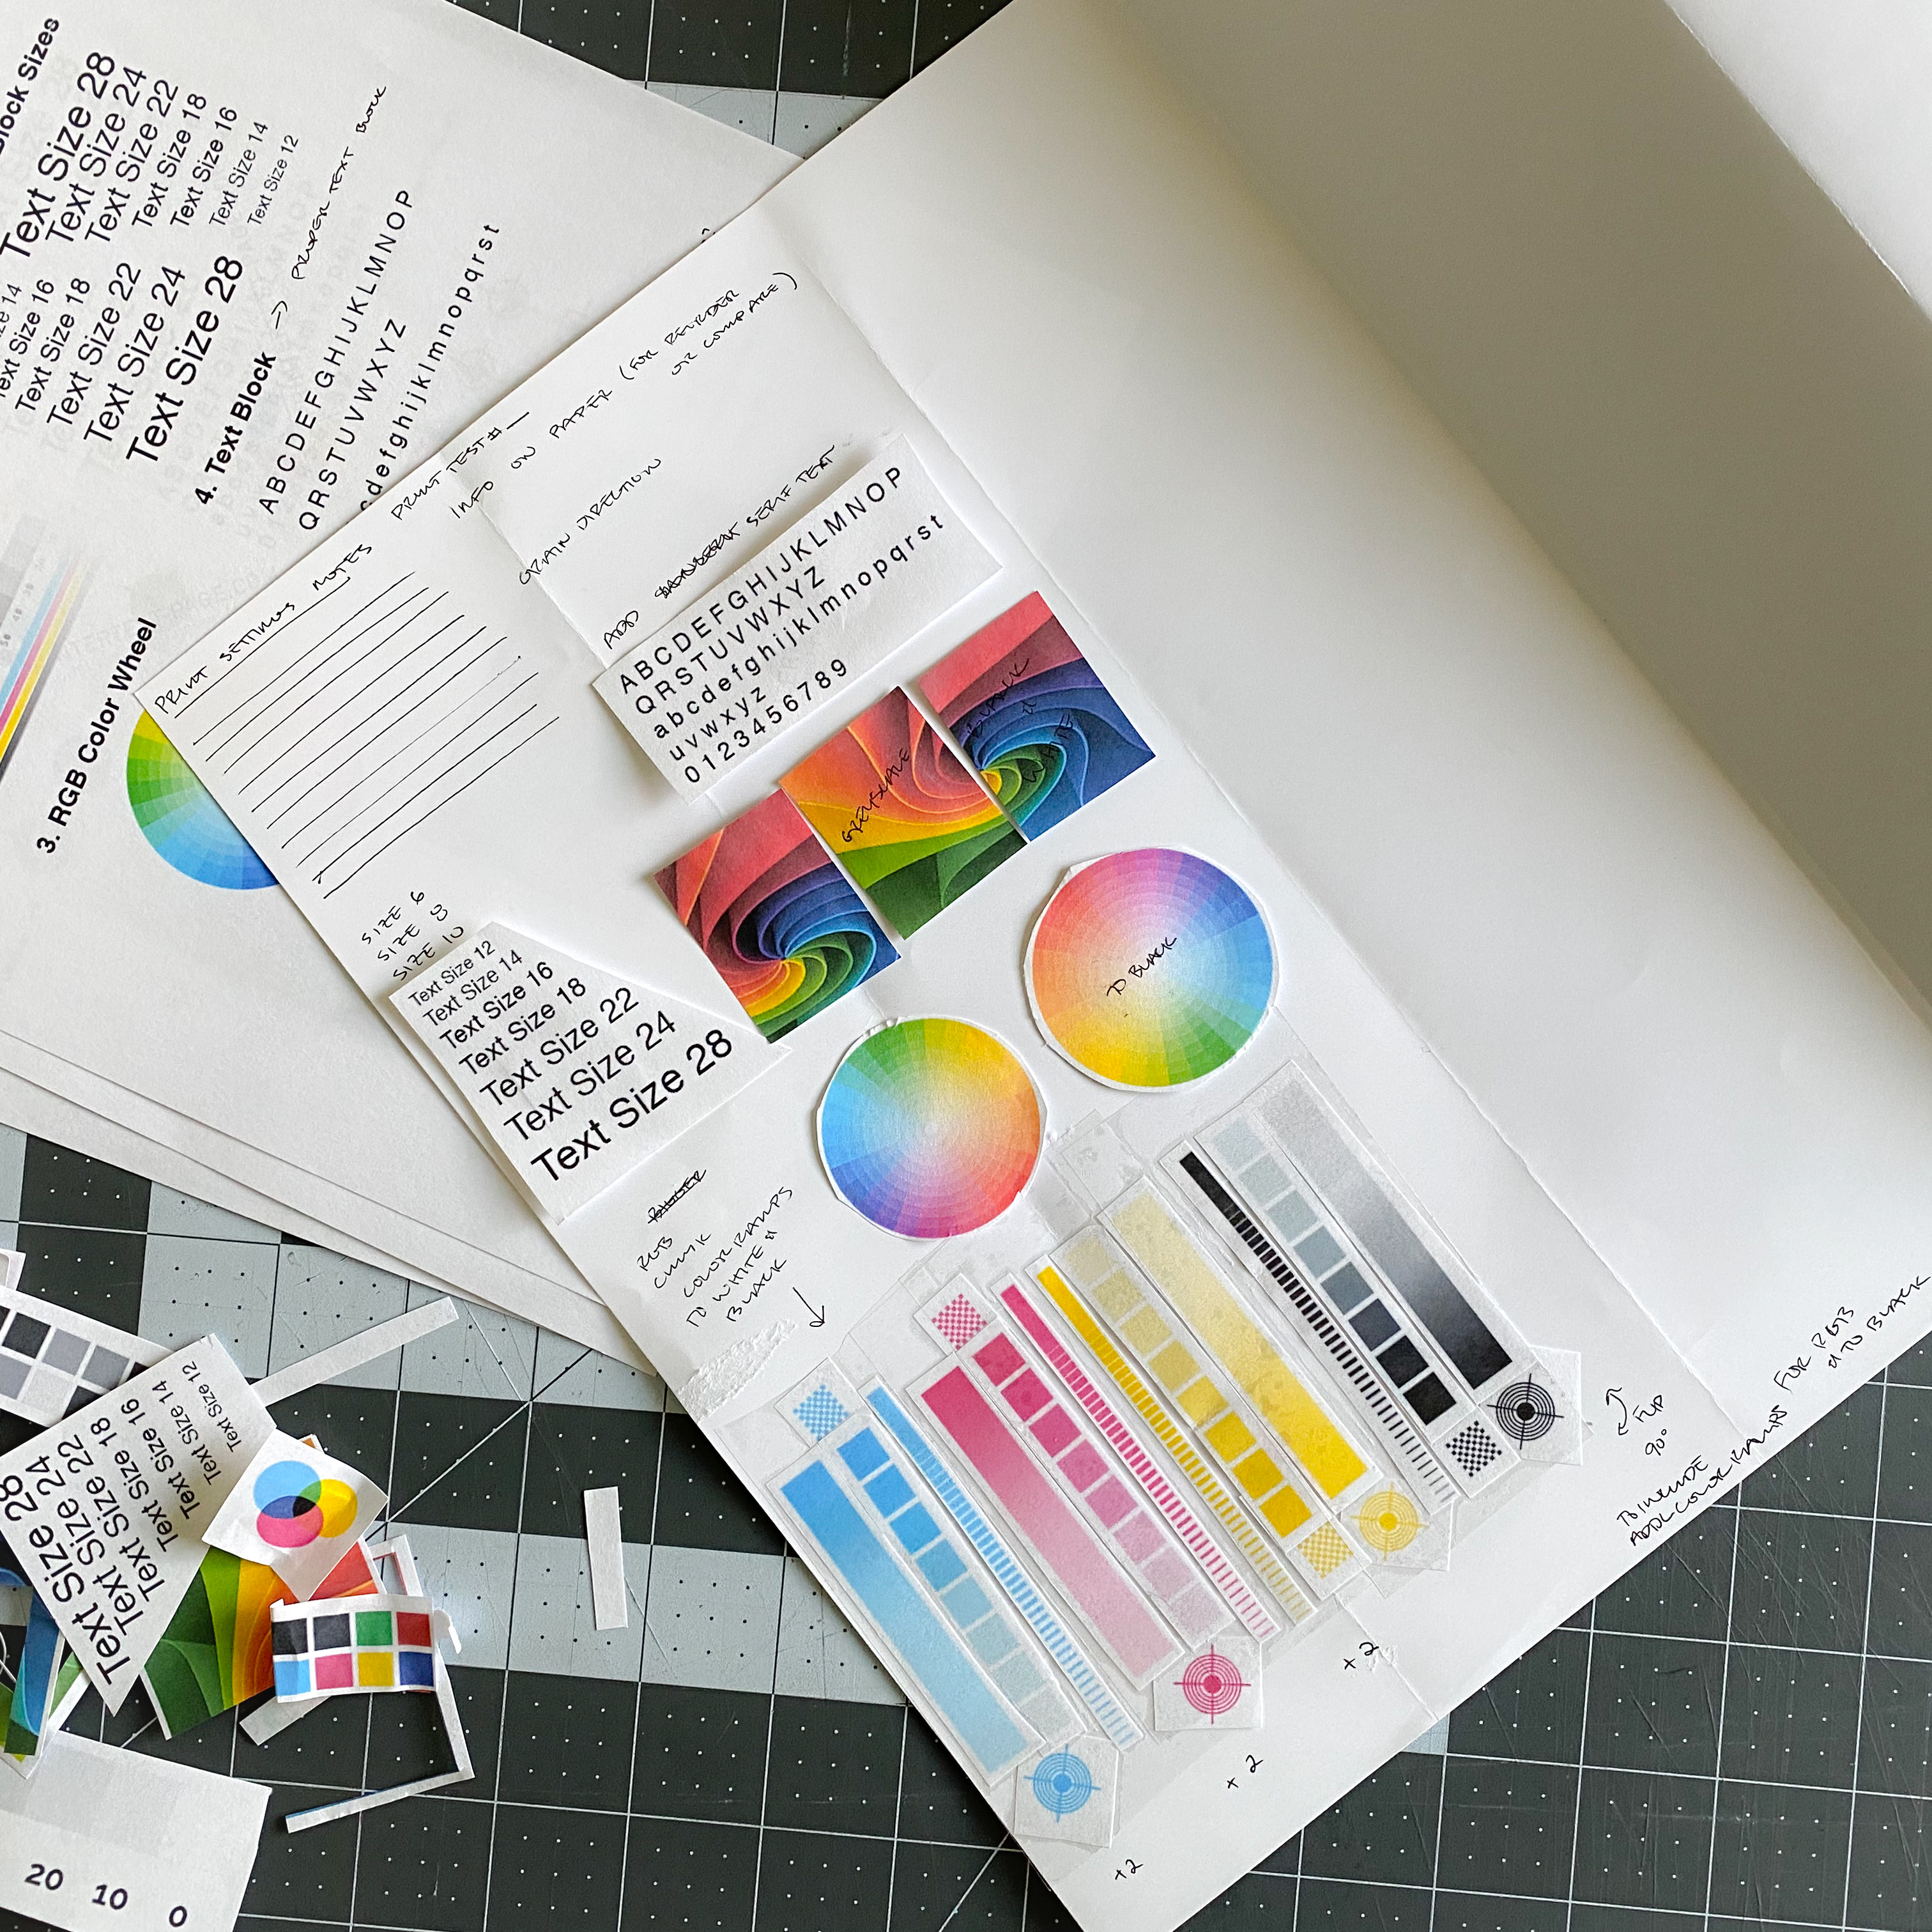
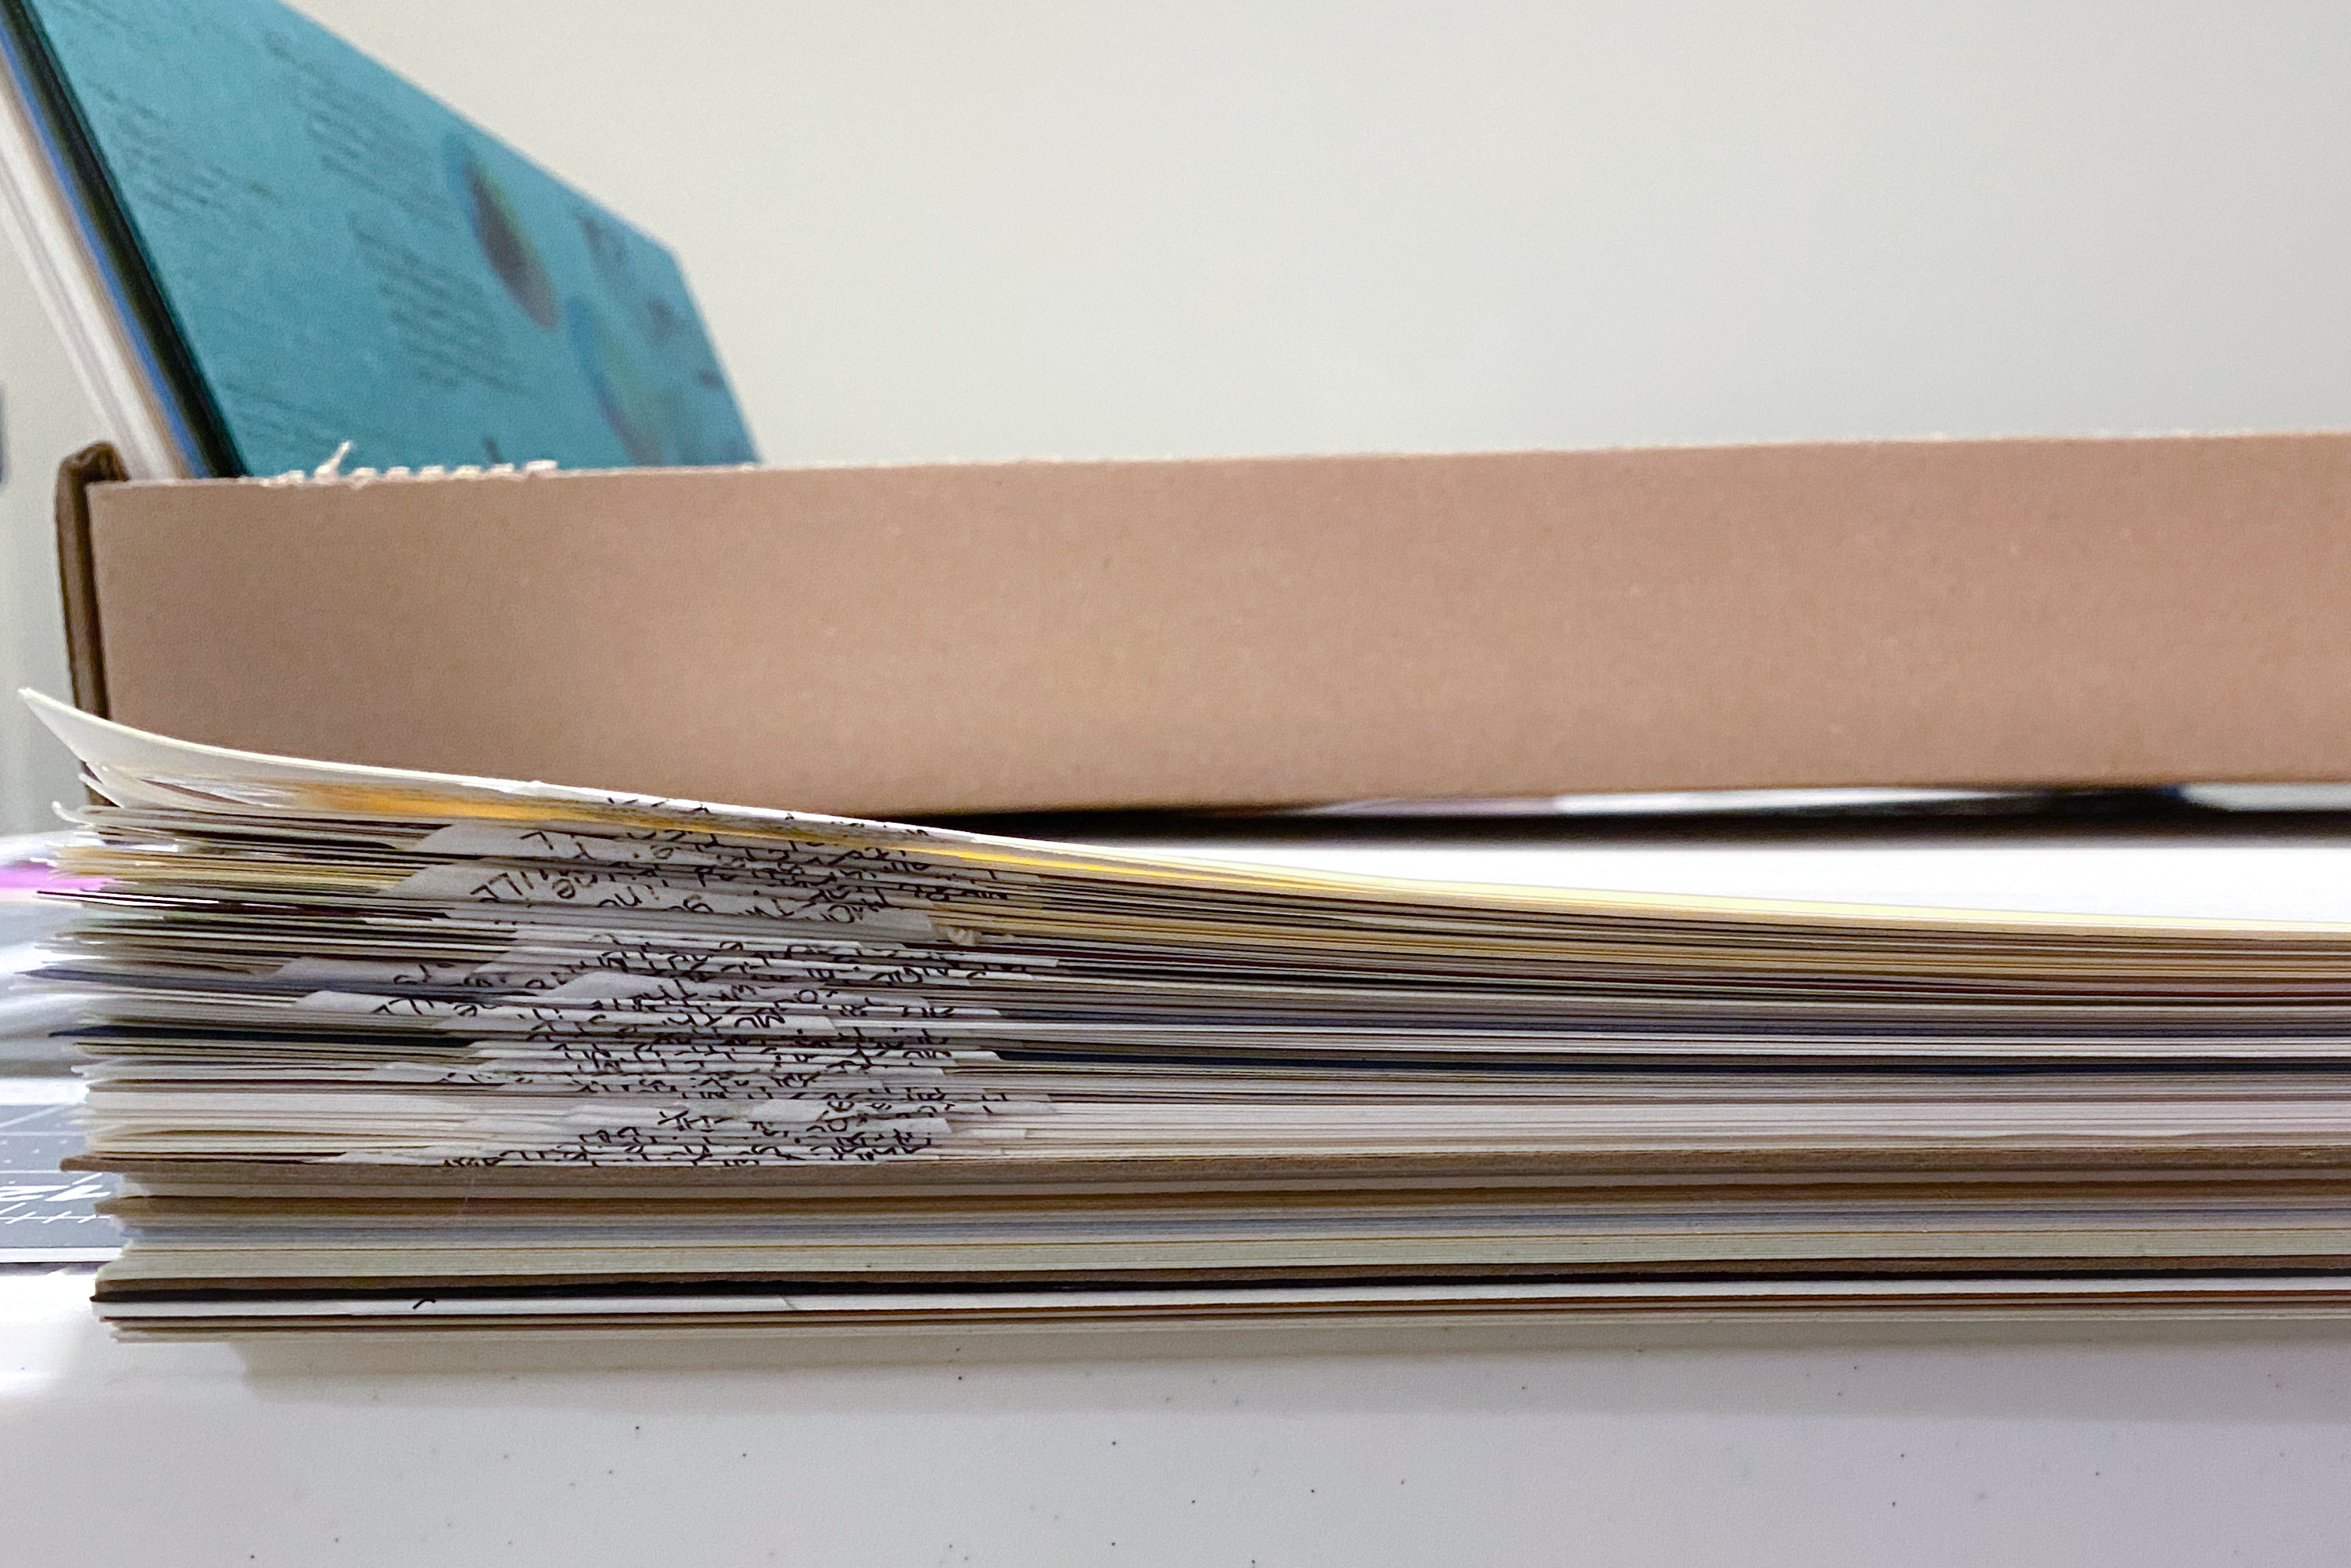
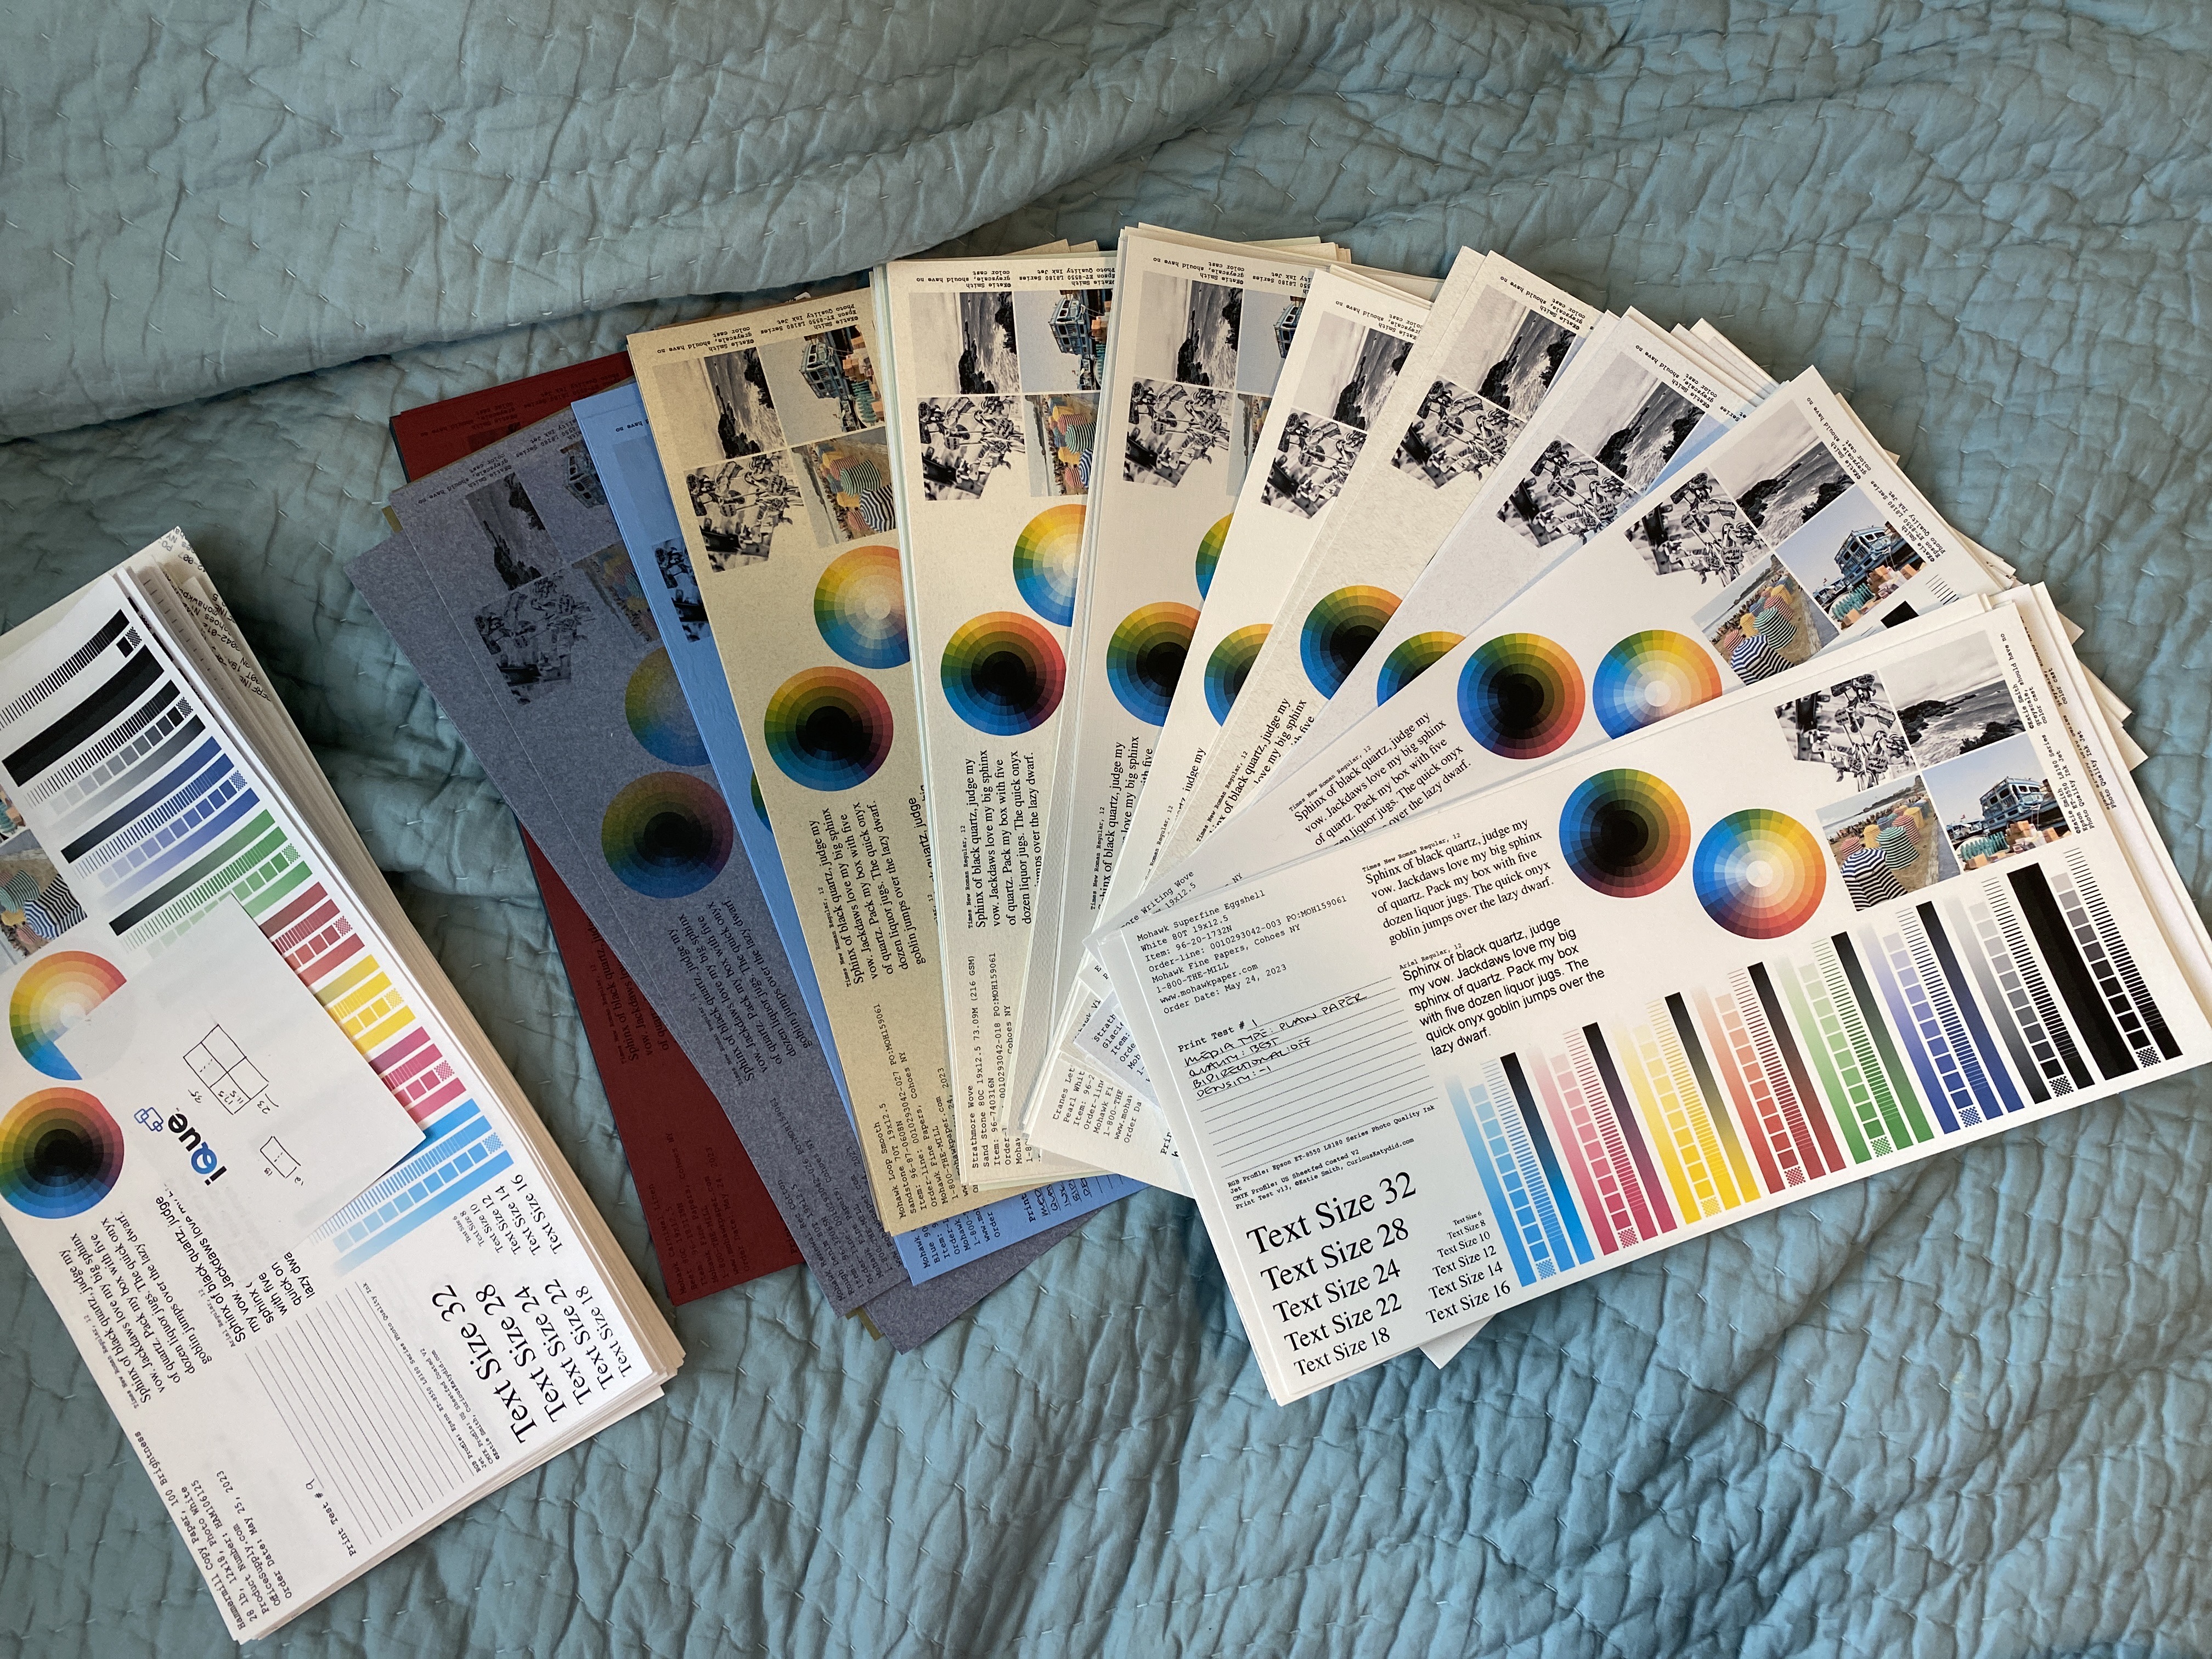
- Easy to reorder. The whole point of these tests is to be able to easily order the right paper. The sample pages I bought from Mohawk tried to solve this problem by placing stickers with the reorder info on each page. The problem with this is that the stickers unevenly add bulk to the samples, which makes storage weird (see image below). I wanted to have the all reorder info printed directly on the sample.
- Ability to compare print results for print profiles. I wanted these tests to serve as a way to tune print profiles for each paper. So, I wanted to have a place where I could write in the settings I used to get the right print results.
- Easy to duplicate the tested print results. I also wanted the print tests to serve as quick settings references for printing the actual pages of my projects. Having a place to write in the test settings also helps this goal.
- Use one sheet of paper for multiple tests. Between the cost of the paper and the shipping, it’s expensive to order sample sheets. Additionally, who has the space to fit a 3 inch stack of 13”x19” paper? So, I wanted to fit multiple tests on a single sheet of paper that I could cut down for easy storage.
- Easy to quickly flip through the samples. I wanted the tests be easily and compactly stored together so that I can quickly sift through and find what I’m looking for. 12"x18" paper or larger is just not easy to sift through, so I hoped to be able to fit multiple tests per page that could then be cut down to a more manageable size.
- Compare results between the same and different papers. Finally, I wanted the tests to be standardized. So, the same thing would be printed on every sample so that I can compare apples to apples when making my selections.
My Print Tests for Book Printing on EPSON ET-5500
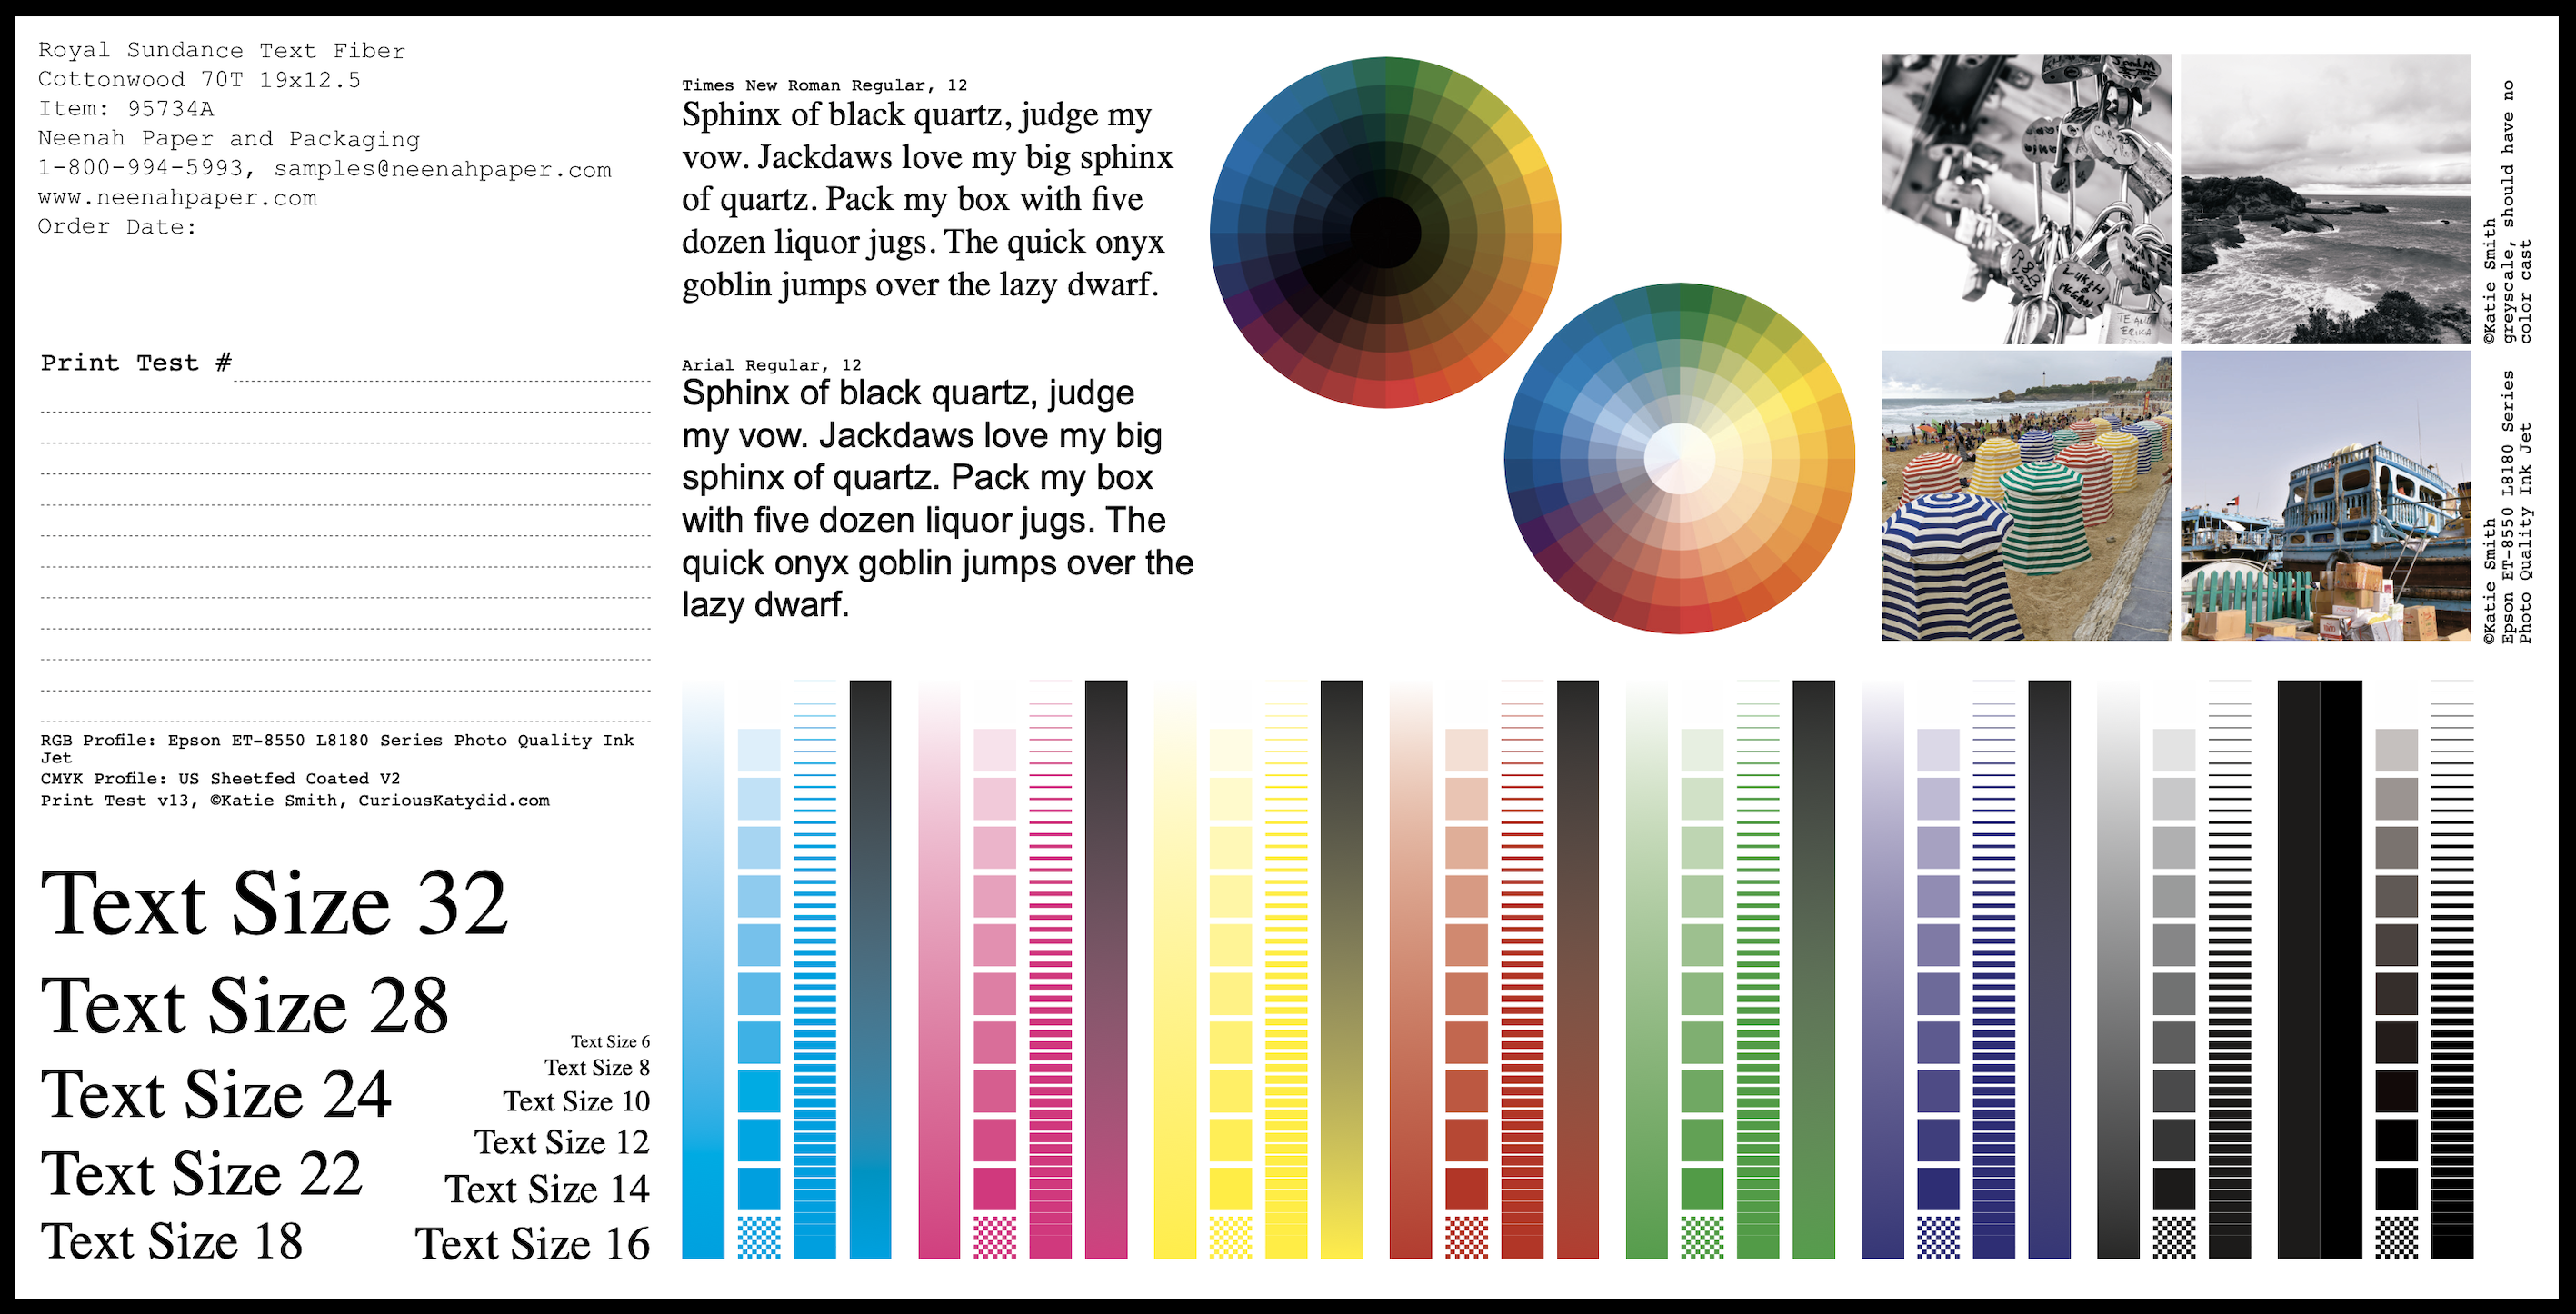
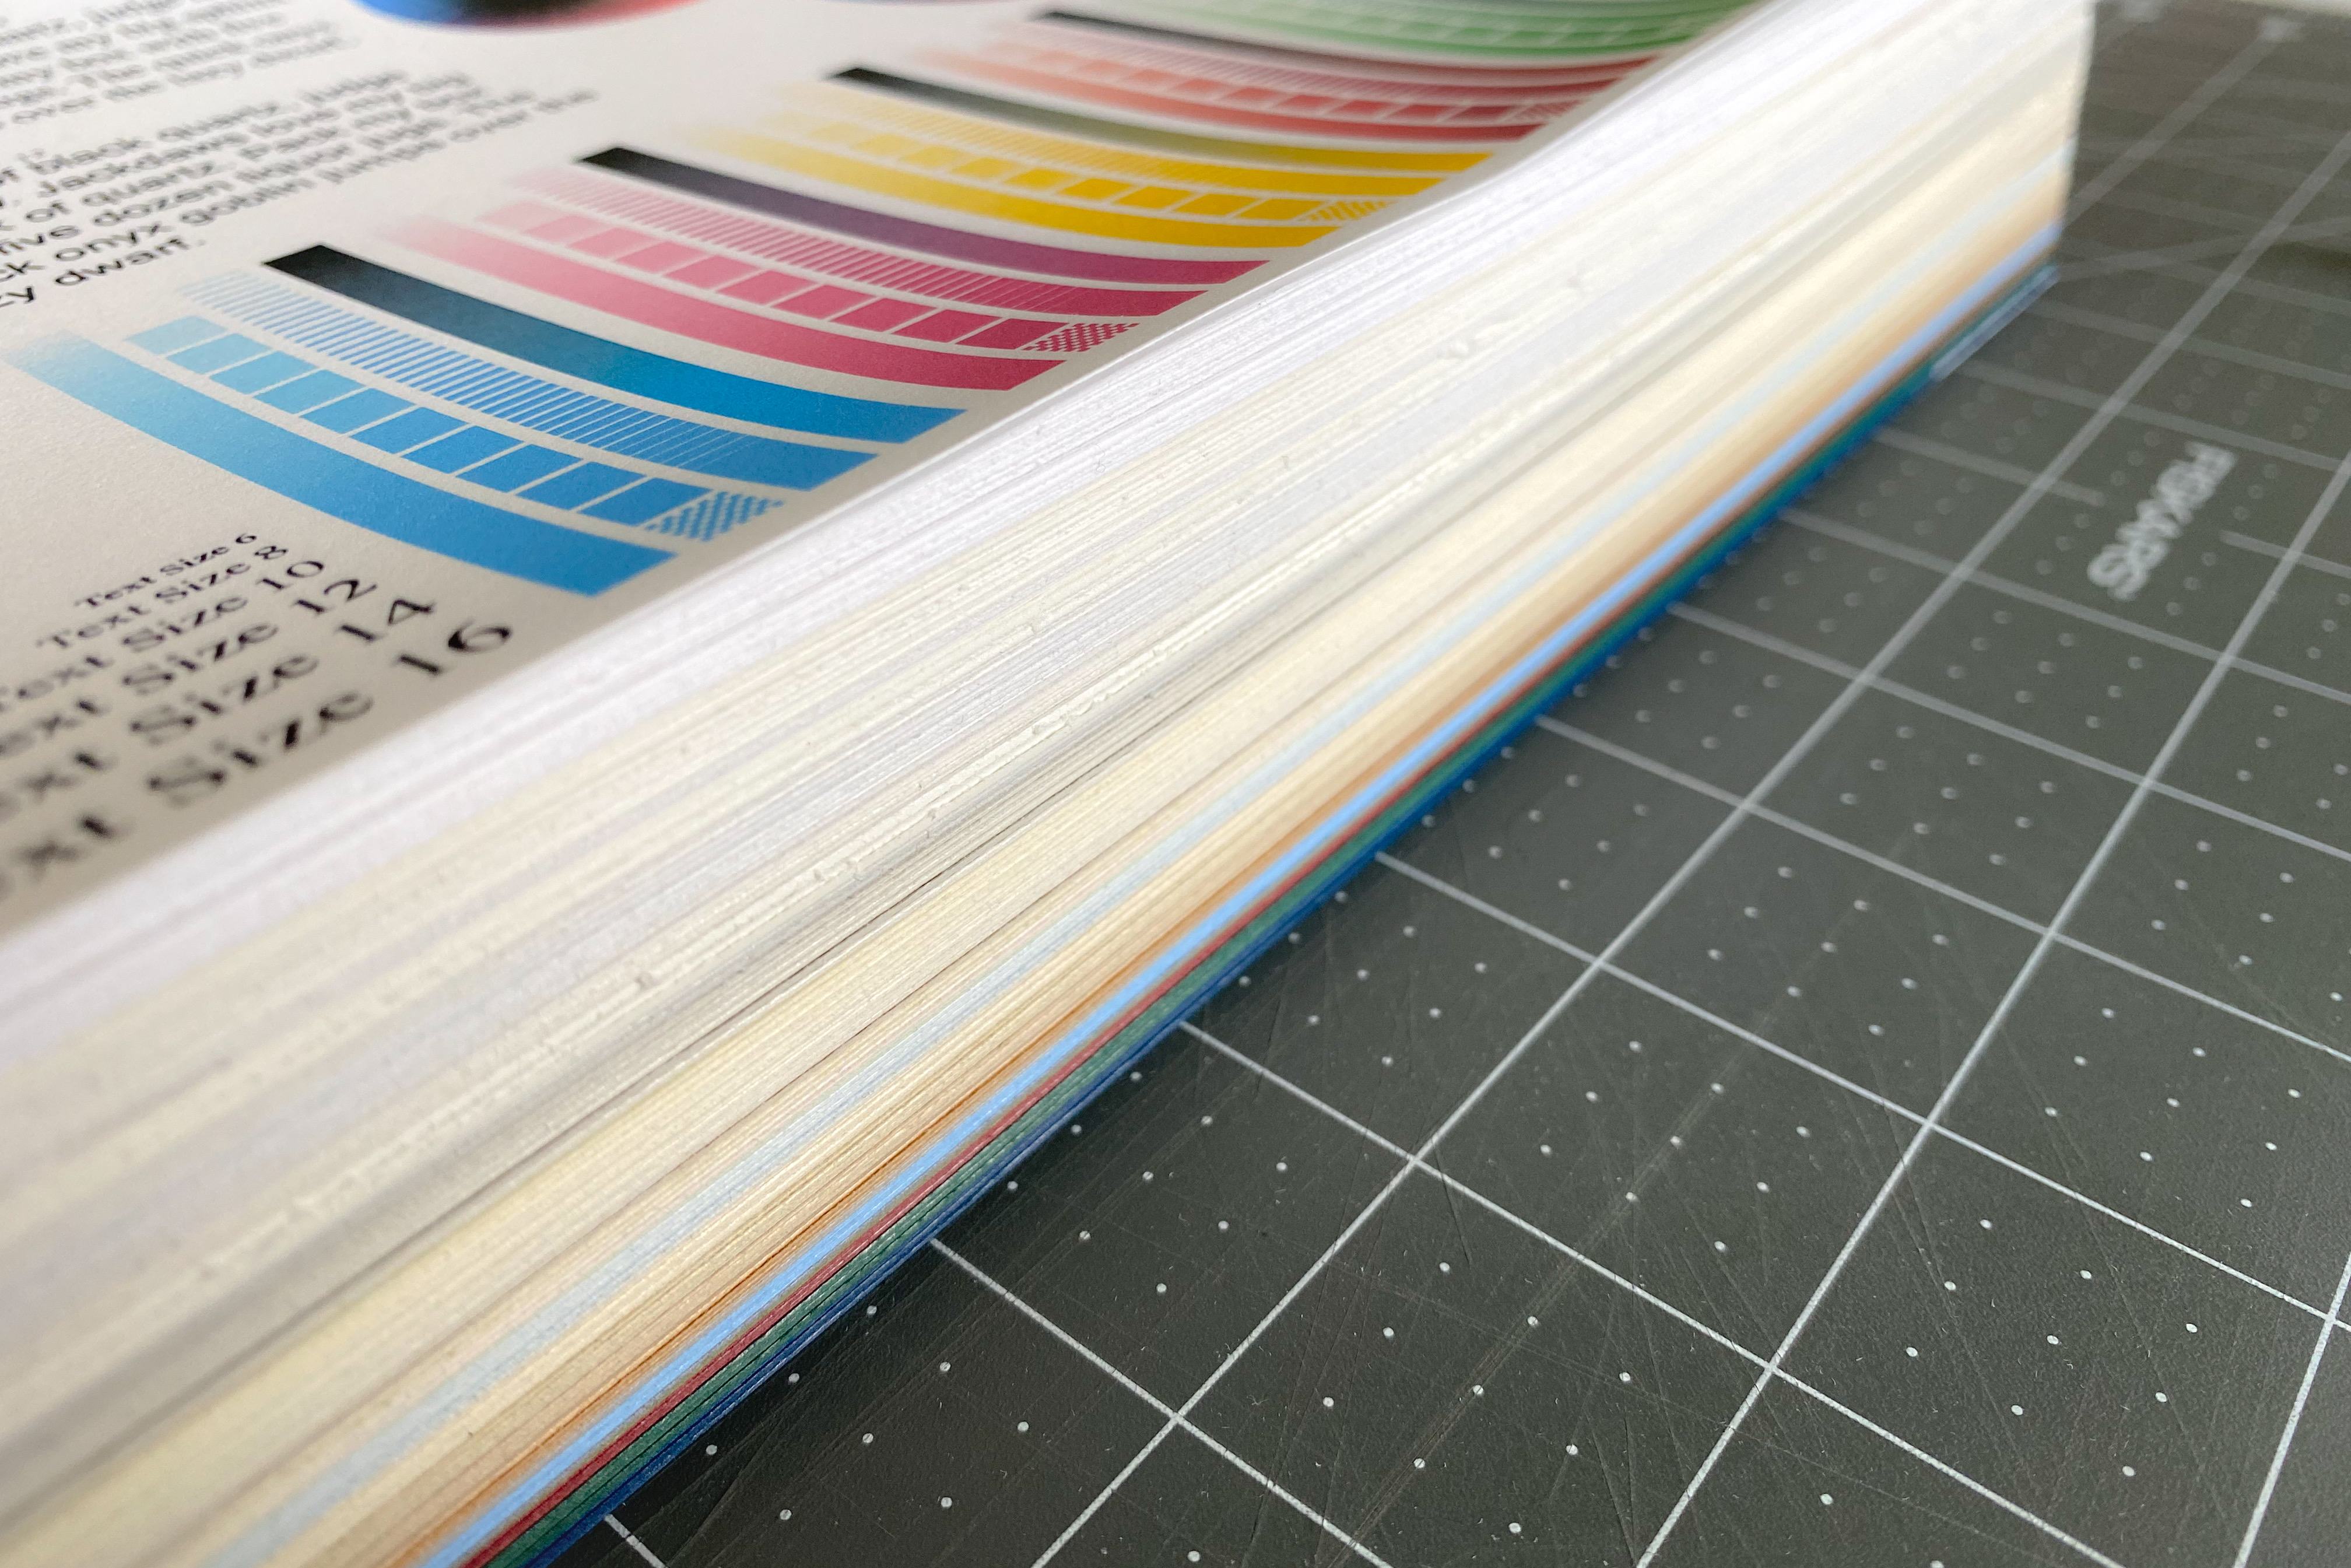
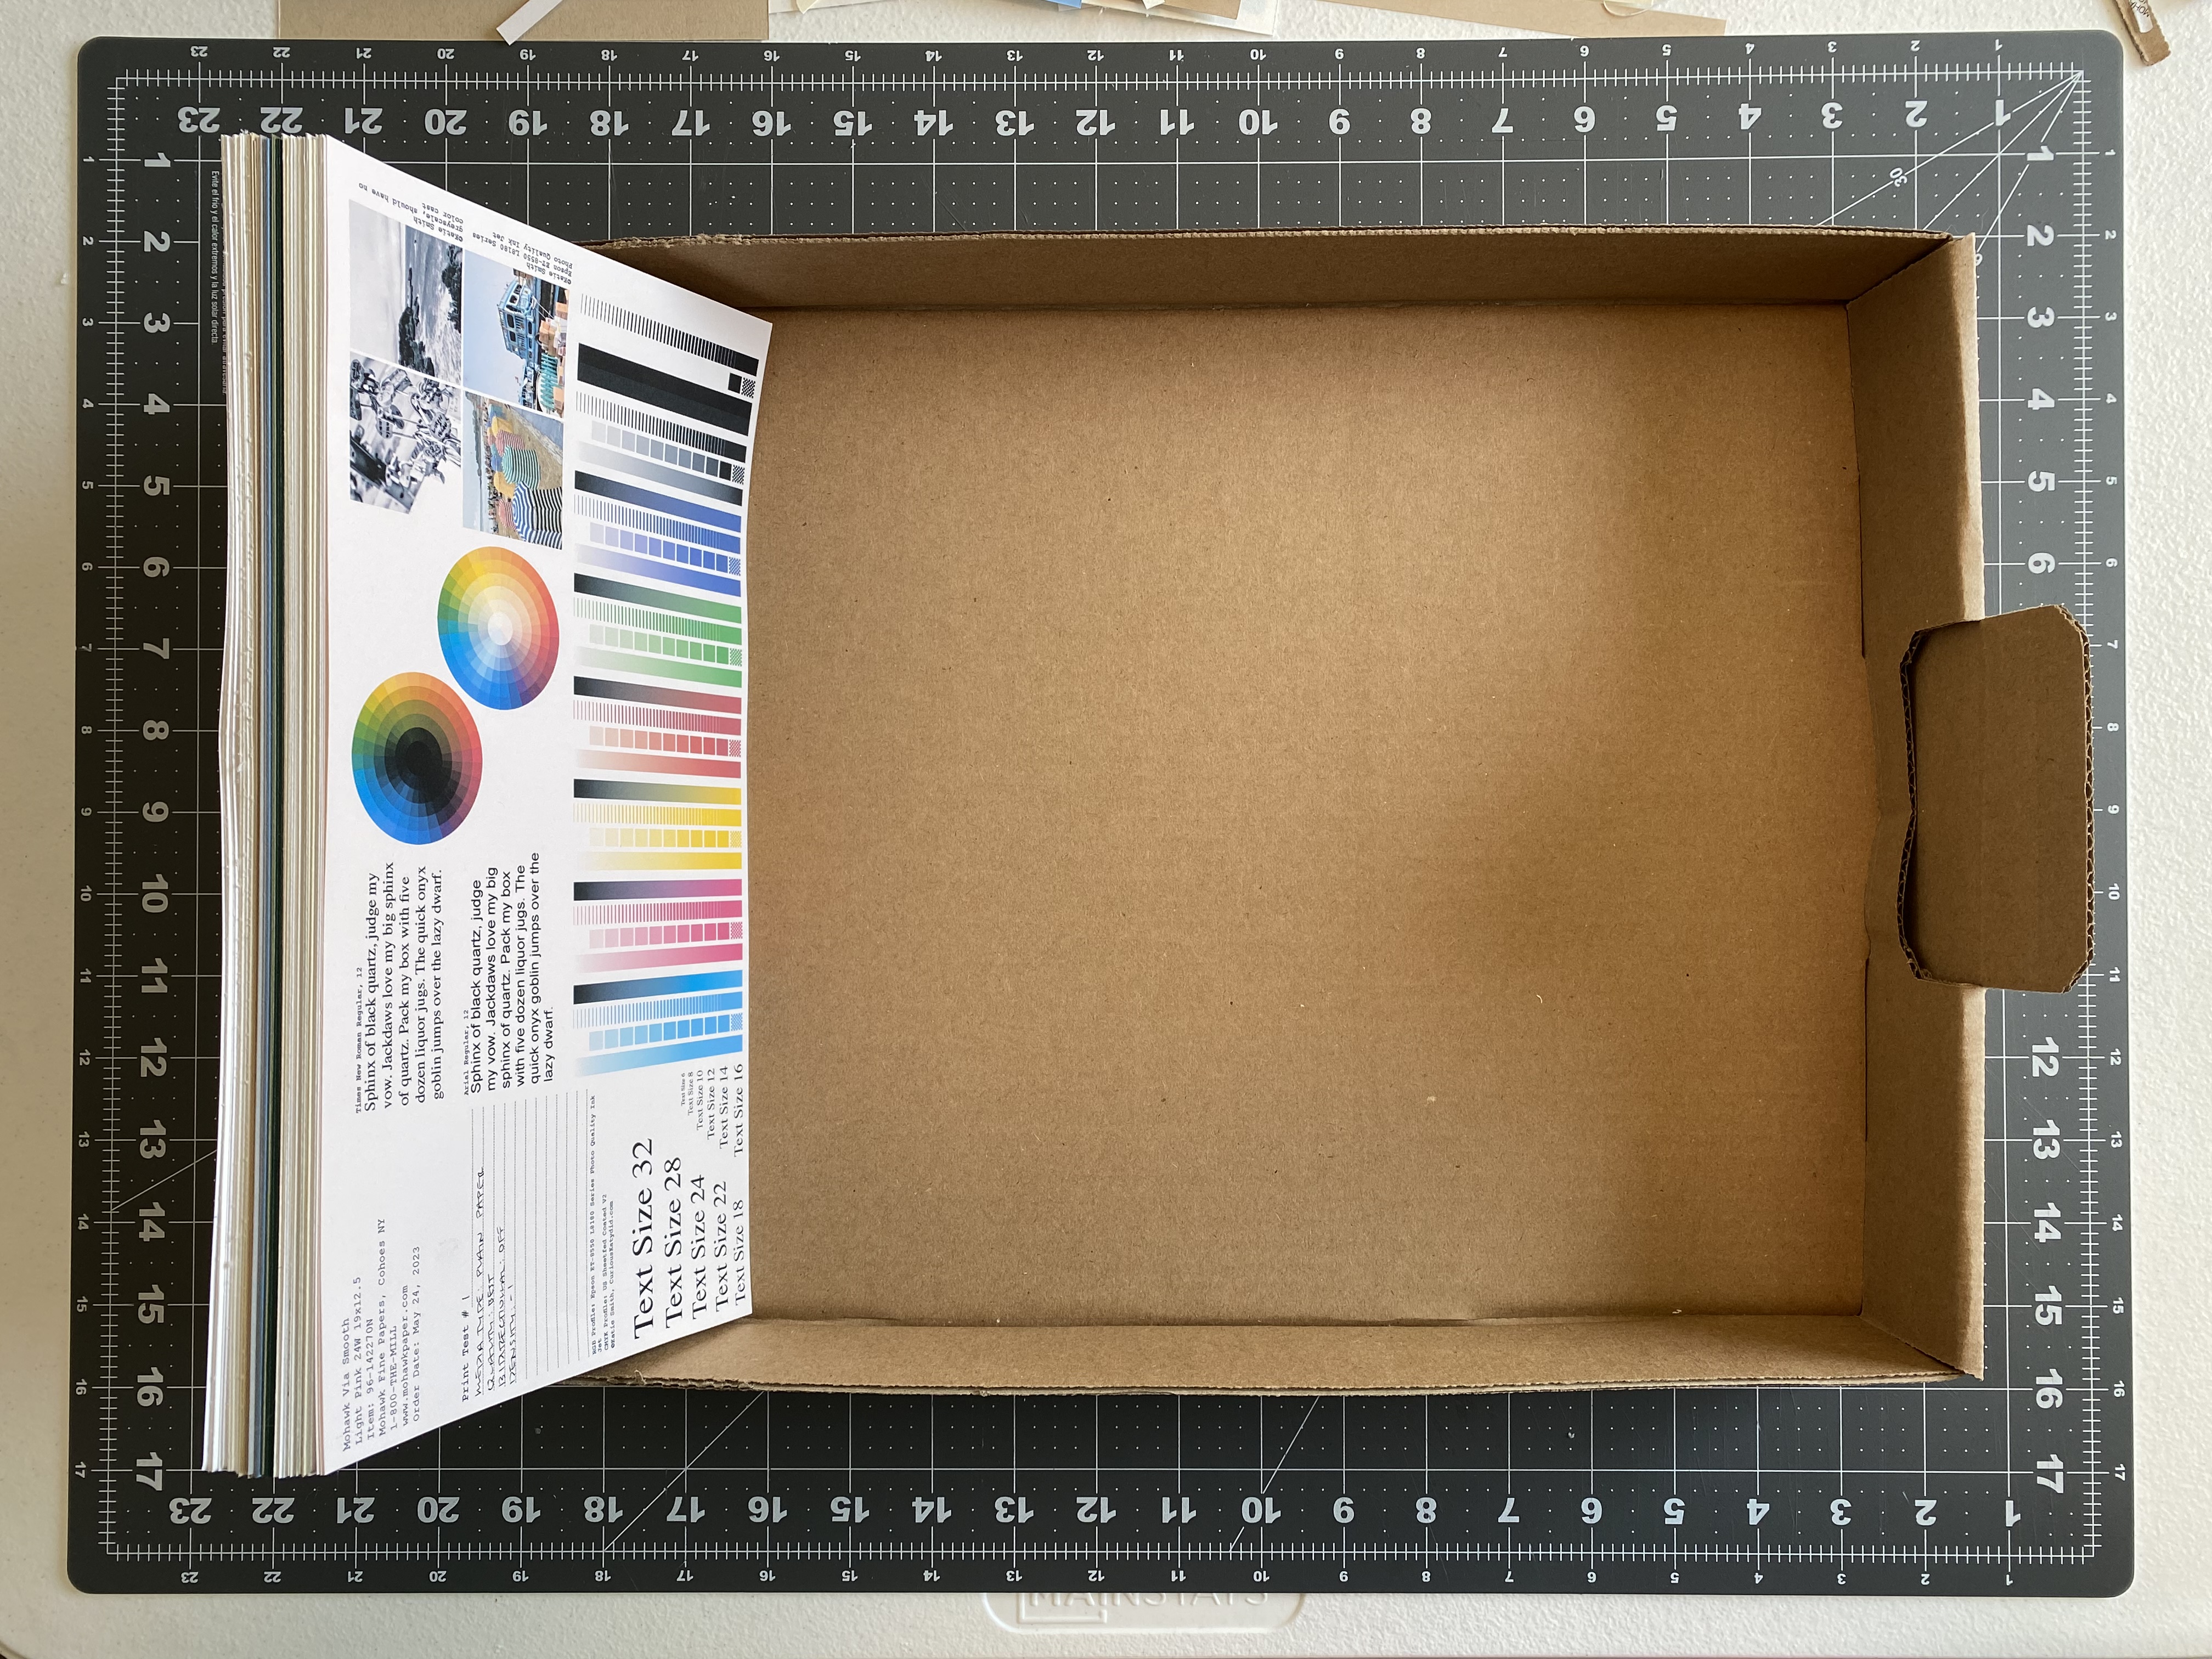
After about 20 iterations I finally came up with a print test that met all my requirements above. The final cards I created are 6”x12” and can fit three tests on a 12”x18” and a 12.5”x19”.
I’m no printing expert and color spaces is still quite new to me, so you may decide to change things up a bit when printing on your own. I did what I could to make my prints look as good as I thought they could get - good color reproduction, no bleeding or over saturation of the paper, etc.
How to use the test prints
Get the test prints on my Etsy shop.
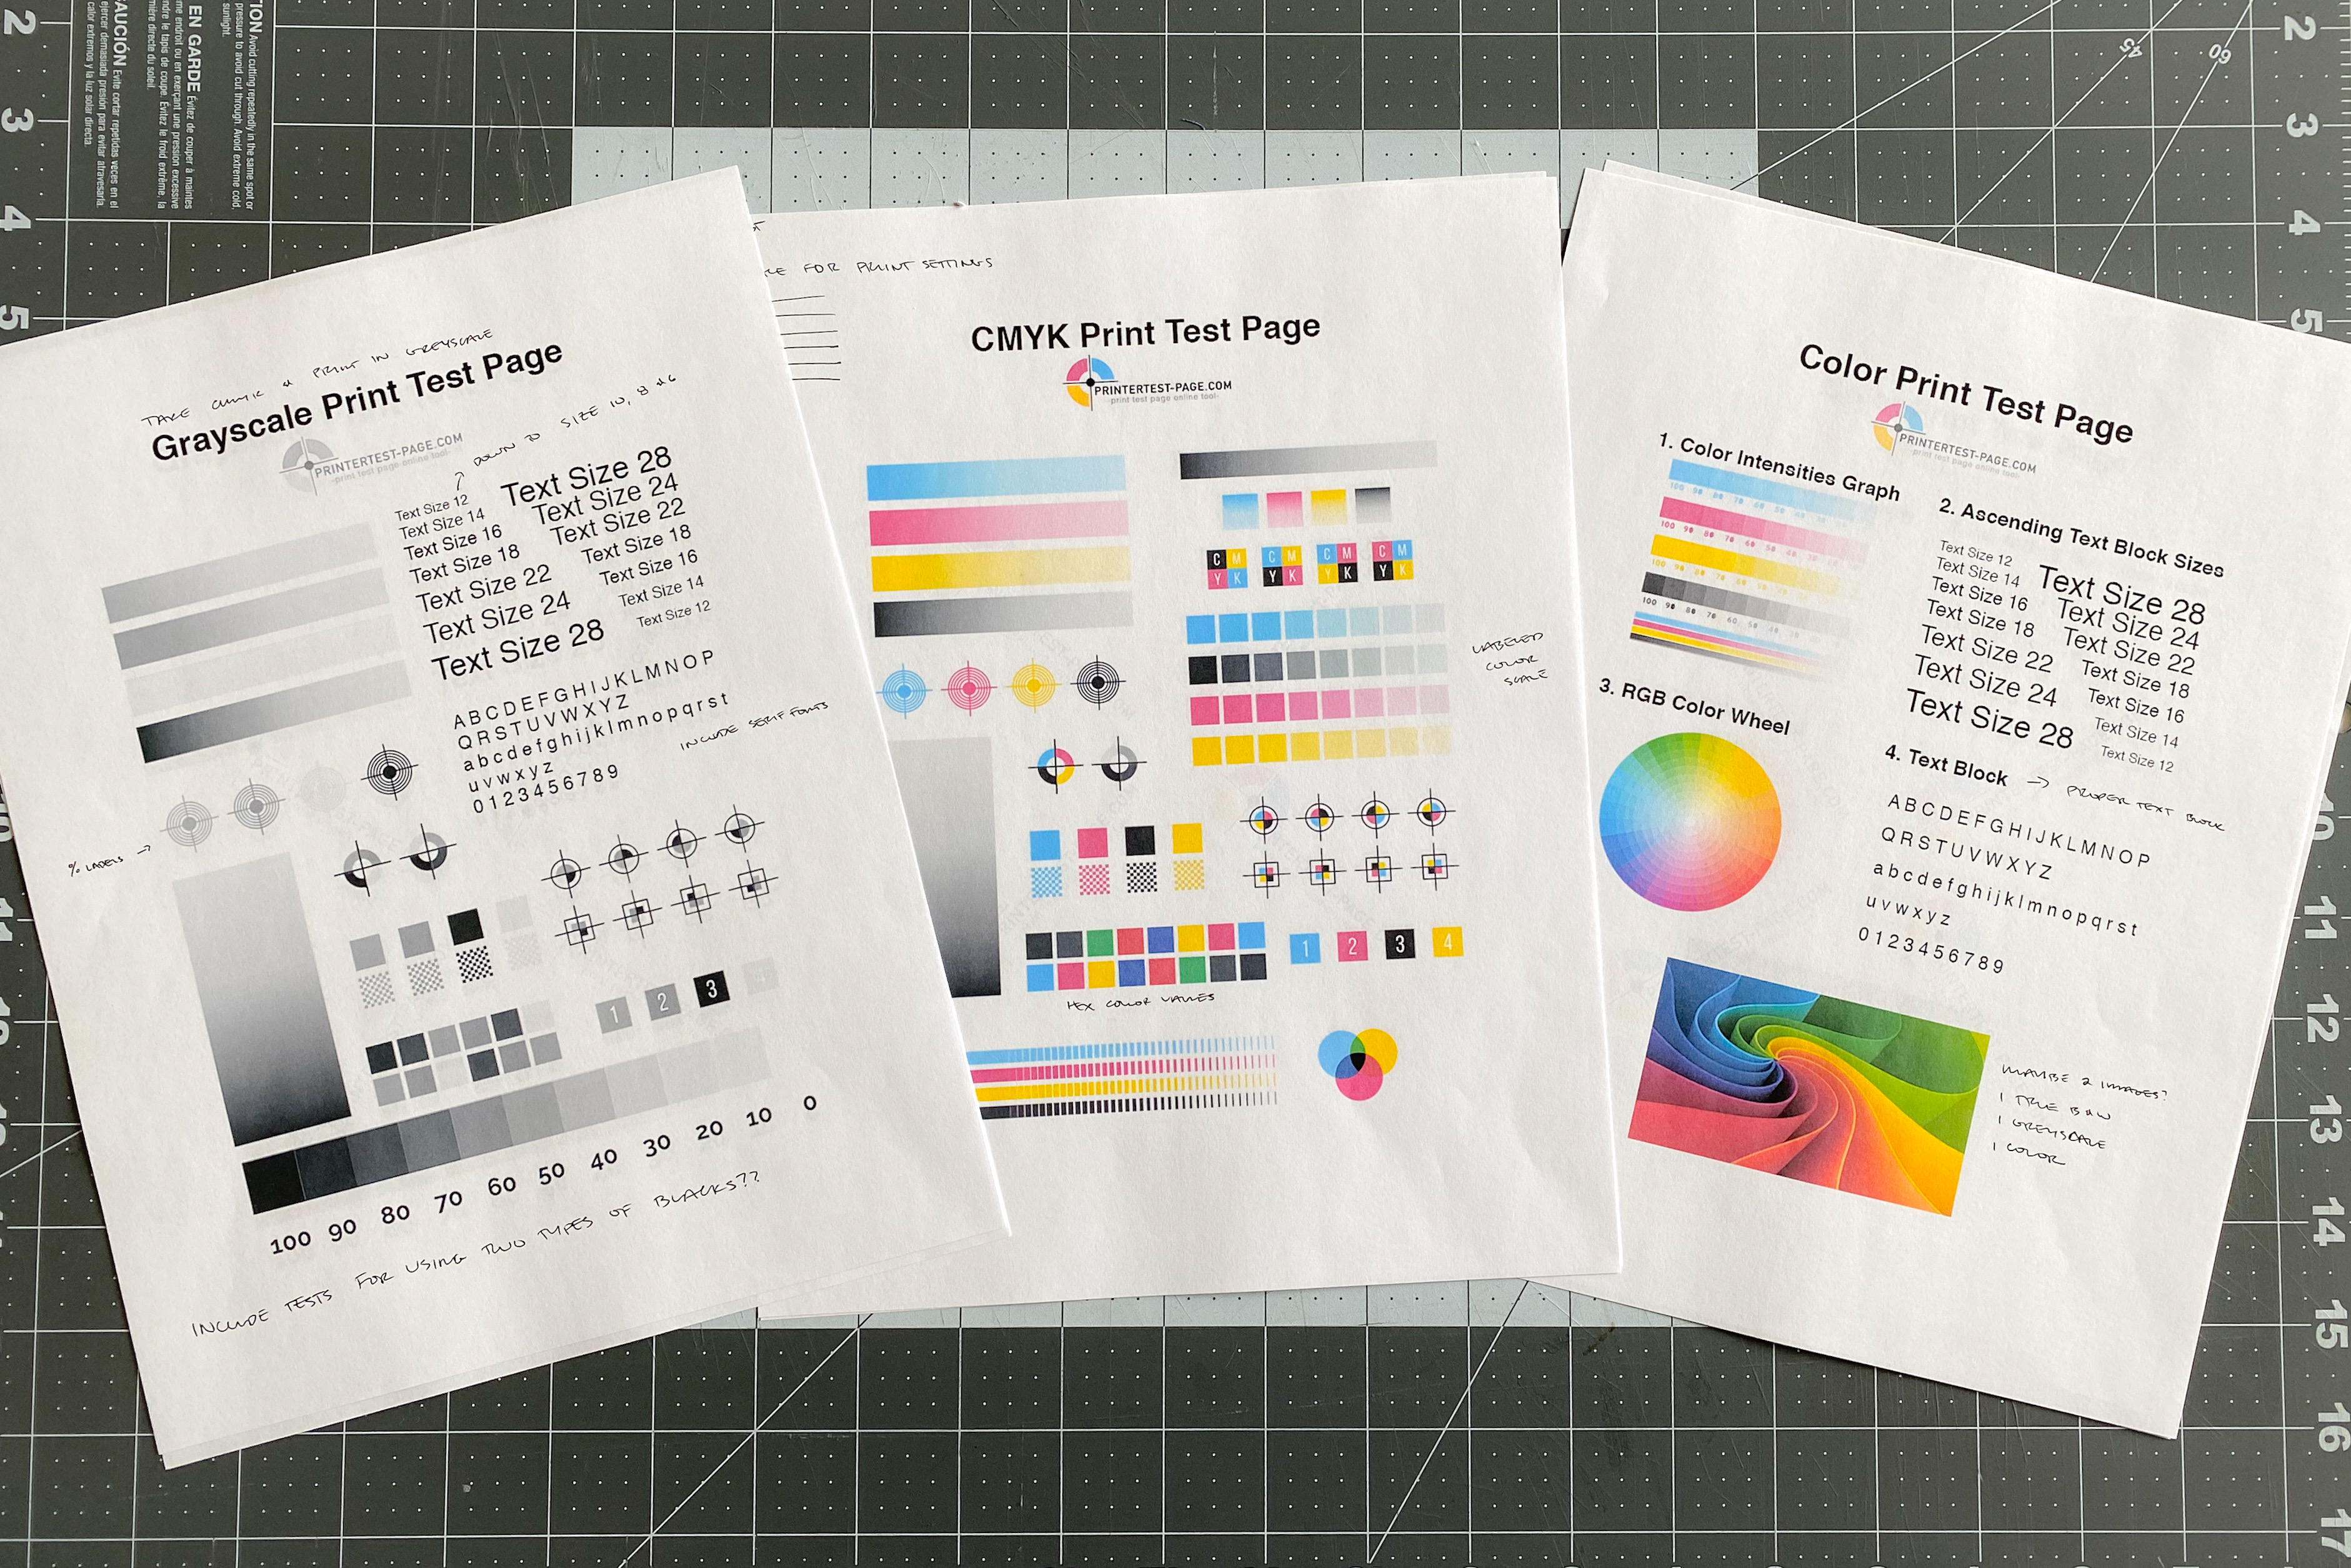
The PDF for the tests is 3 pages: the first page has one test at the top, the second has the test in the middle and the third has the test at the bottom. The idea is that you print off the first test using only the first page, check the print quality, tweak settings and the run the same page through the printer, this time printing the second page only. This way you can use a single sheet for three tests.
Printer settings vary for paper each paper, especially how the tests are scaled for paper of different sizes. To get uniform test prints I always scale the tests to 97%.
Print test features
- Reorder info. In the top left corner there is a blank space for writing in reorder information. This can be handwritten after it’s printed, or the PDF can be opened in a PDF viewer that allows comments to be added. I’ve included a very small black mark for aligning comments to the same spot for each print.
- Print test number. Shows which test print this one is so that I can make sure I’m using the most recent one.
- Blank lines. An area to record print settings and special notes about the paper.
- Profiles list. The profiles I used in InDesign for creating and exporting the document. I’m no pro at profiles, but these seemed to work well enough for me.
- Copyright line. These are files that I created and are only for use by the individual who purchased a license through my Etsy shop.
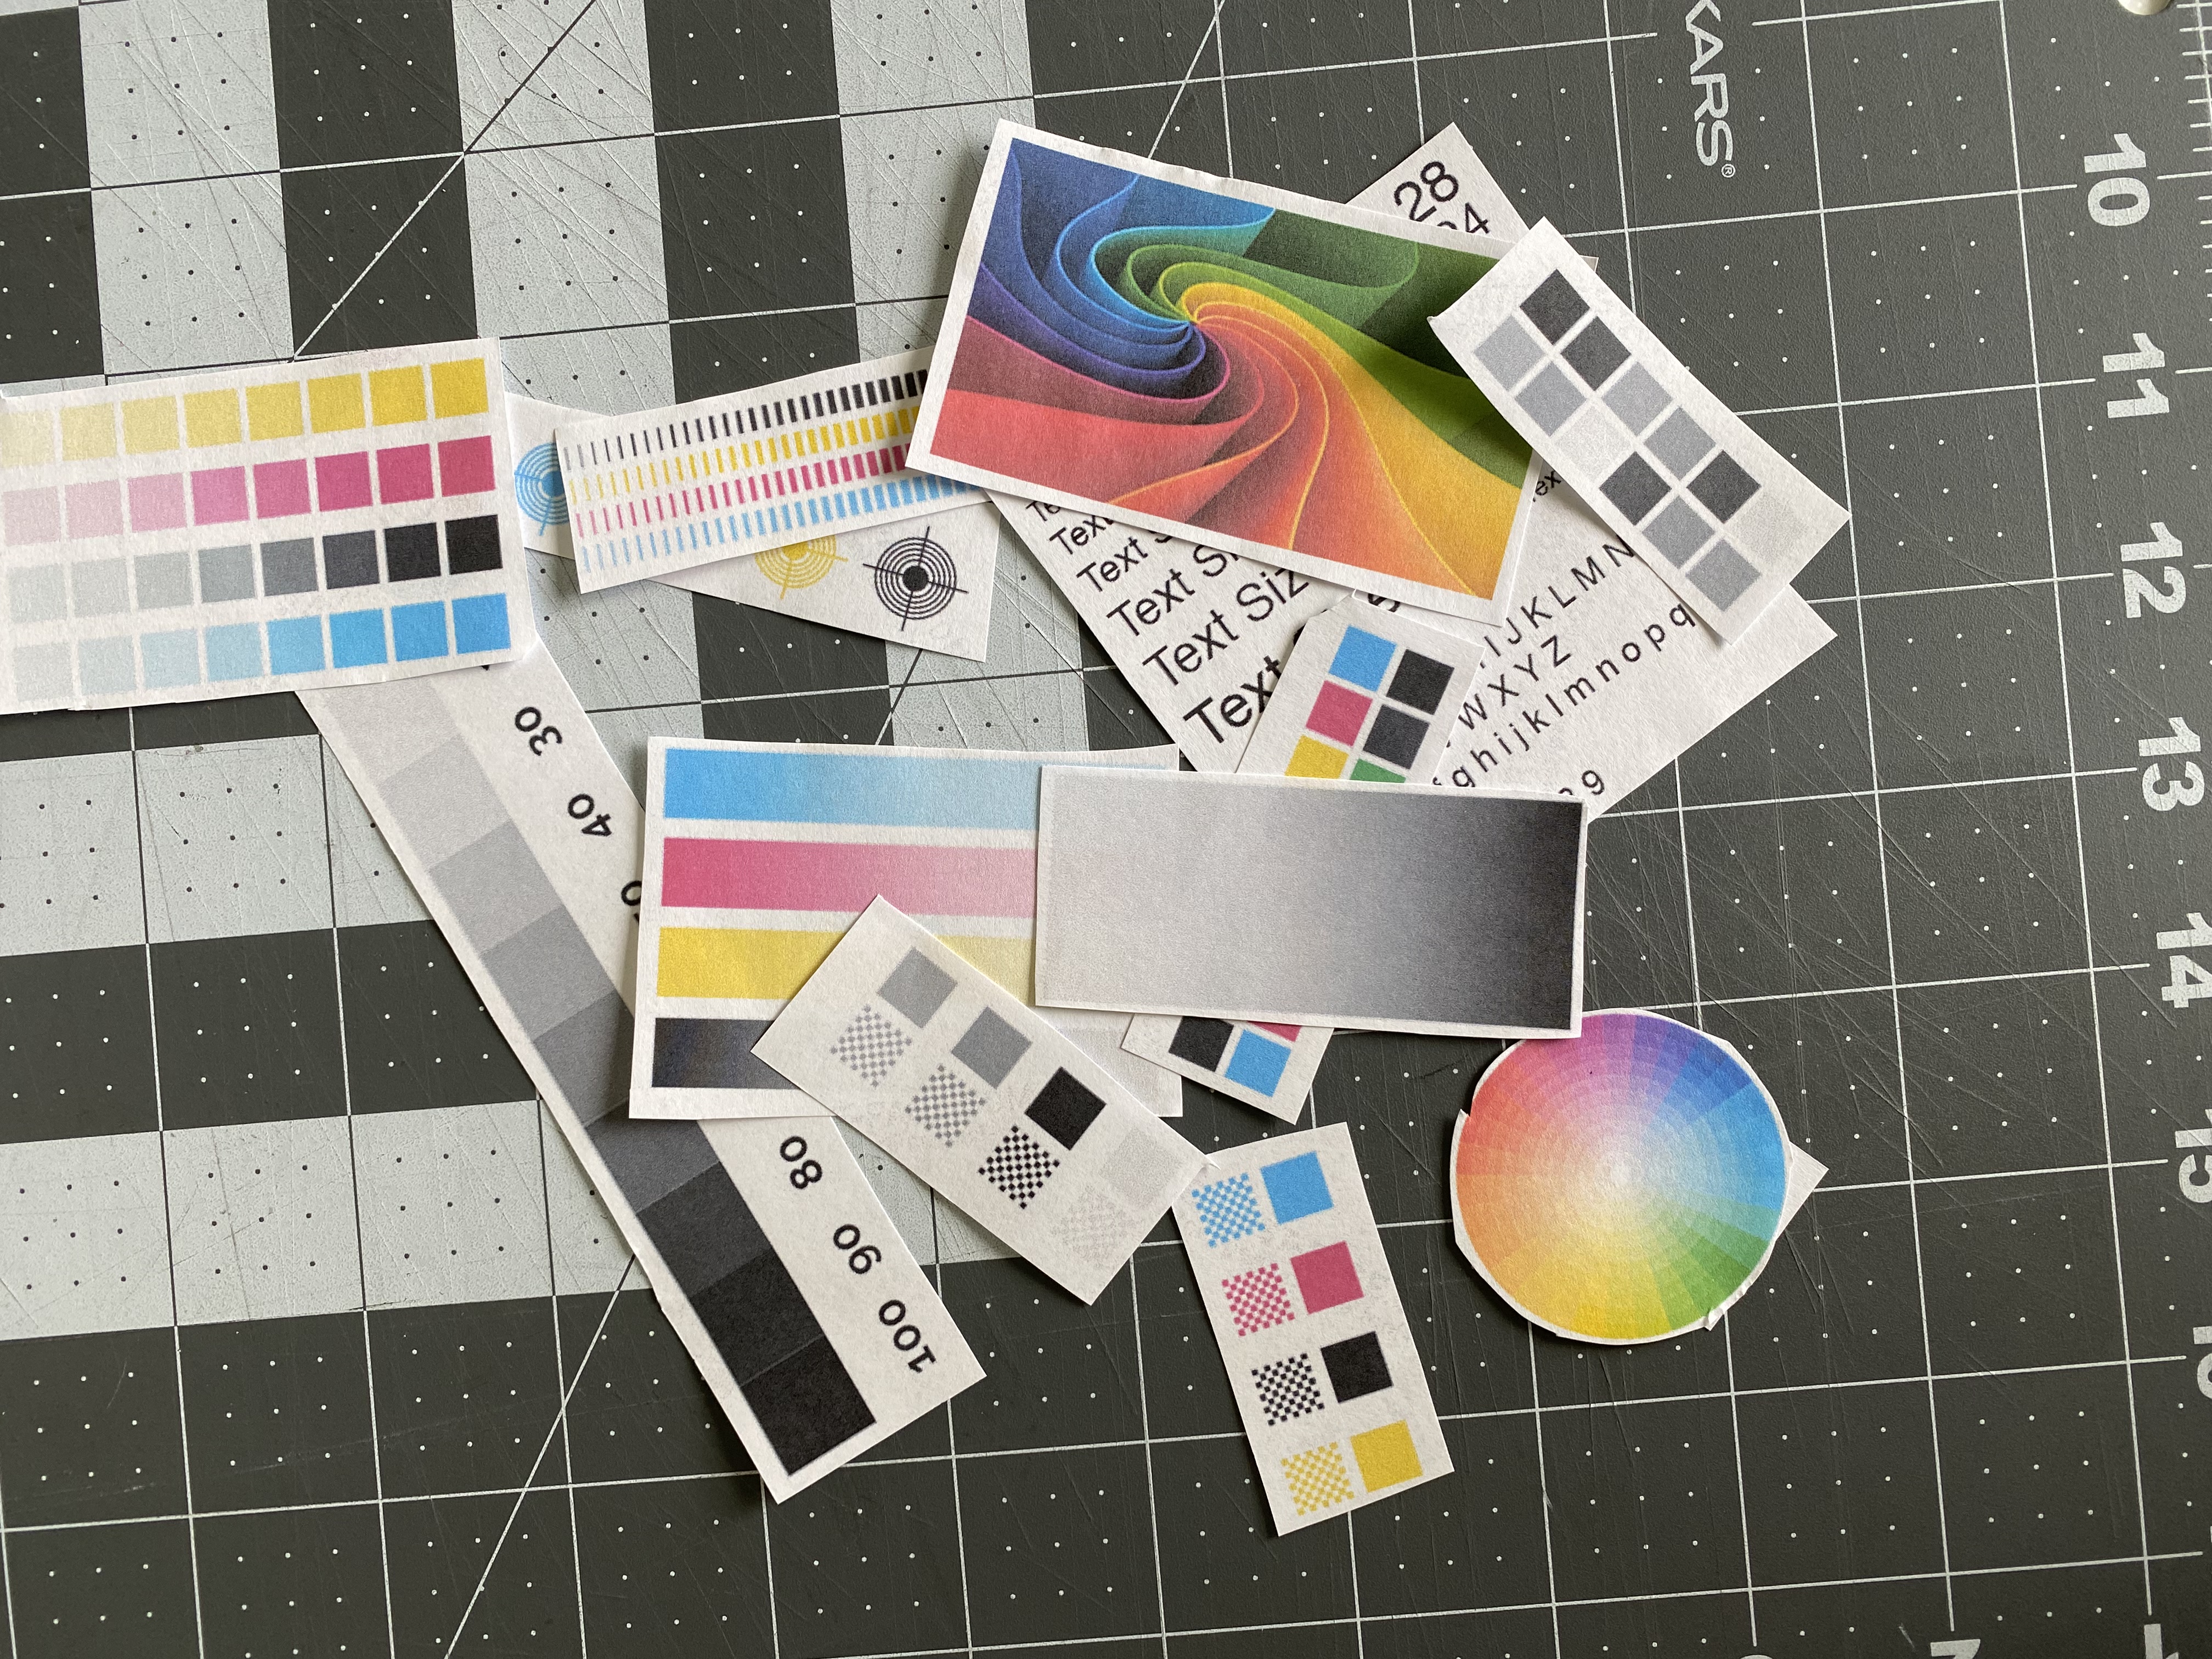
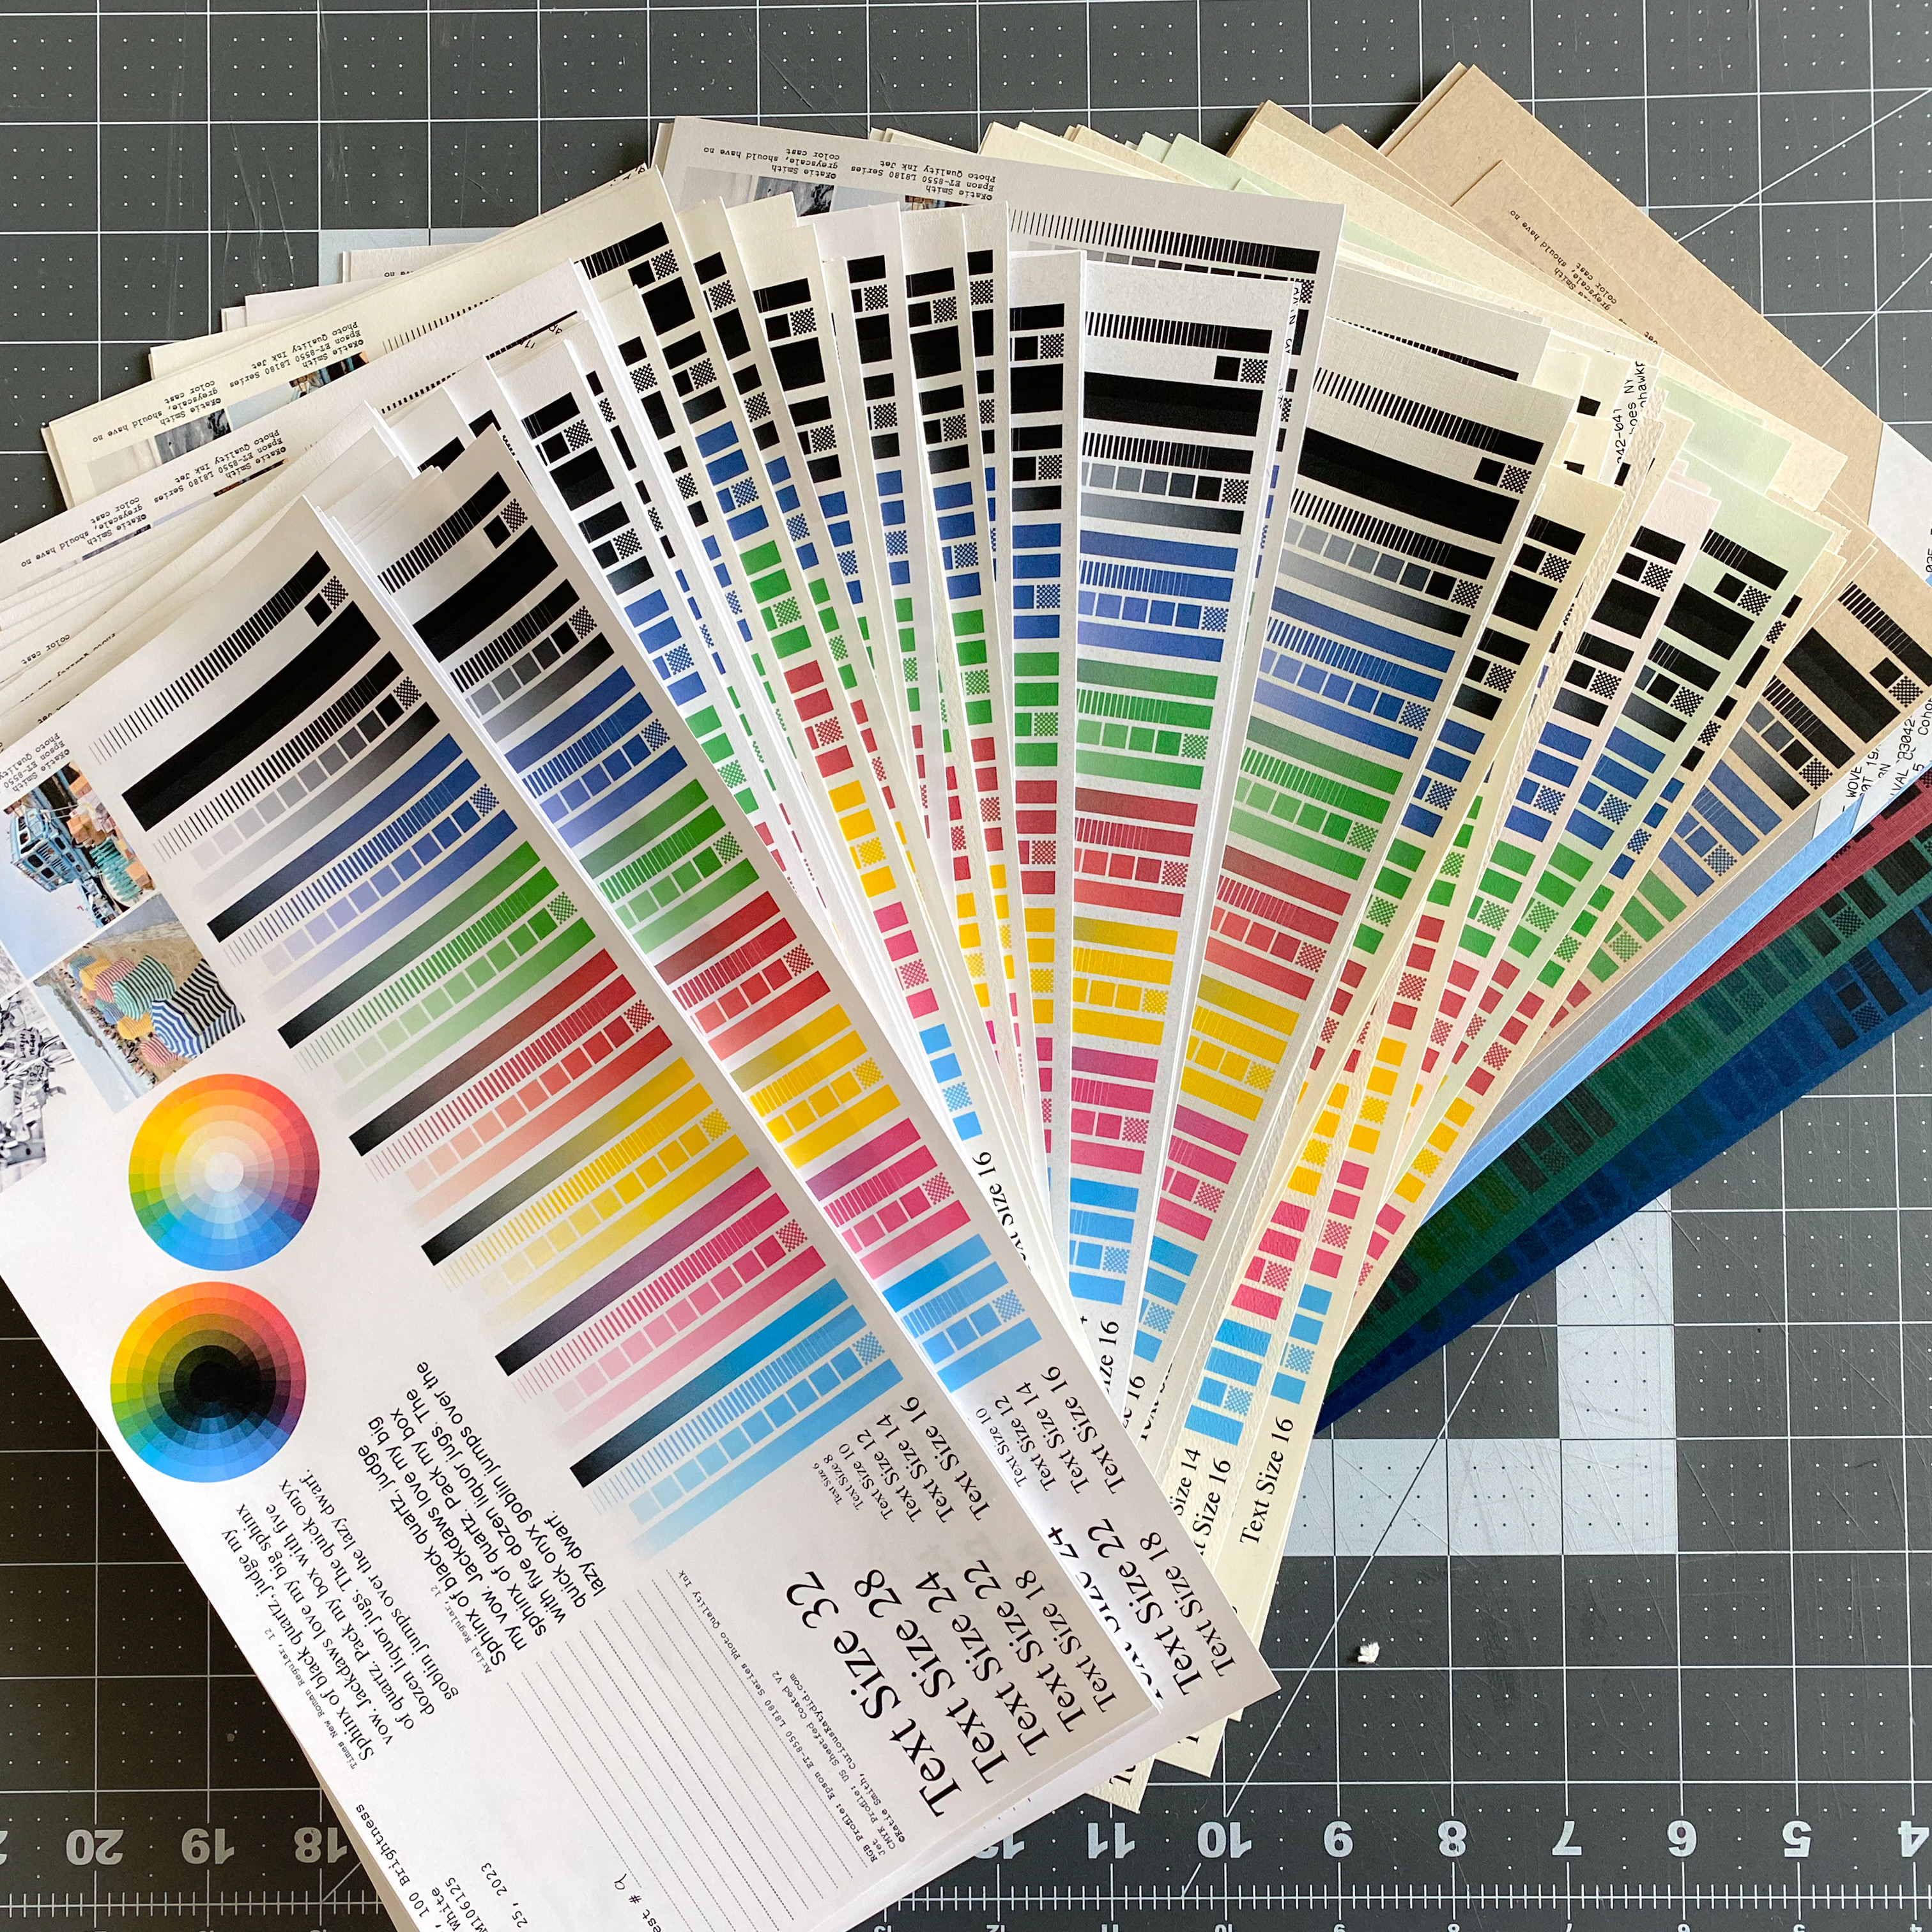
- Text size scale. Times New Roman in size 6 point all the way up to size 32.
- Block text. Two longer paragraphs in size 12 font using every letter in the English alphabet. One paragraph is serif (Times New Roman), one is sans serif (Arial).
- Color wheels. Two color wheels, one fading to black, the other to white. This helps for determining what colors are actually reproducible (e.g. purples start looking very black very quickly whereas blues are quite visible).
- Black and white photos. While not a true calibration test, these black and white photos help show how soft, grey gradients and sharp, black edges appear on the paper.
- Color photos. I purposely picked two photos that are detailed, colorful and vibrant. These are especially useful for determining which colors pop or disappear on colored paper.
- Bar scales. There are 8 sets of bar scales with four bars in each set. One bar fades to white, another fades to black, again to see what colors can be reproduced. There is another scale made of boxes where each box is 10% lighter or darker compared to its neighbors. The last square on this scale is checkered, which can help analyze sharpness and the line fidelity for each pure color. Finally, the last bar is made up of individual bars that are slowly getting smaller and closer together. Again great for analyzing the line fidelity.
Final Thoughts
Since I began writing this article I have already used my paper sample collection to select paper for several projects and it has made a world of a difference. There’s is nothing like being able to compare 3 or 4 different types of paper from different brands with the same lighting. Being able to feel the thickness and see how the paper is able to produce black and colored ink. And then once the paper comes in being able to refer back to the same test print for the final print settings. Now I can move on to actually printing and binding instead of being stuck on picking paper.
Other Resources
- Paper weight conversion chart for determining which preset should be used for each paper.
- Definitions for Epson presets